Maya
Basics of Maya
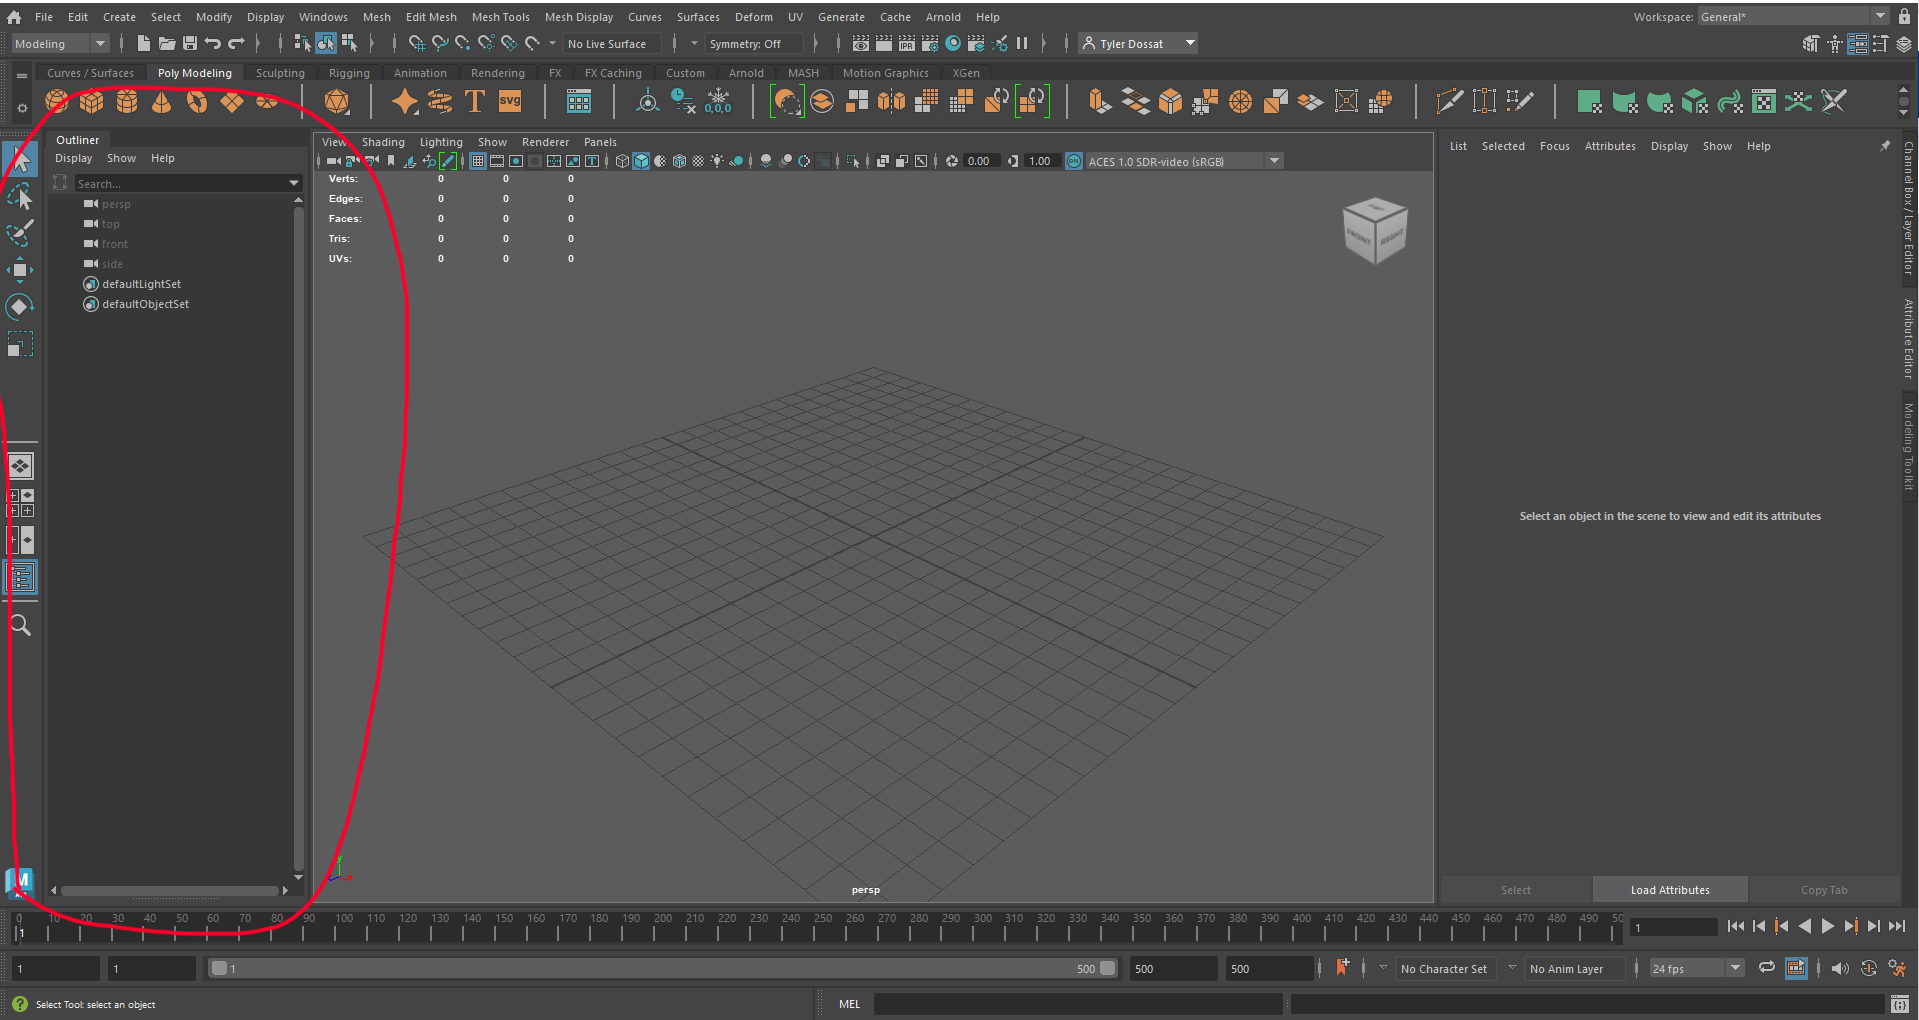
When you boot up Maya, You will see a similar screen. On the left side of the screen you can find a few buttons. New, Which creates a new Maya file, Open which opens a existing file, and a drop down menu called current project. This drop down menu is basically the folder where your Maya files are stored. Creating a project is helpful for when you need to organize a project. You will see your recent files taking up most of your screen.
Once you open a new file, you will see this scene by default.
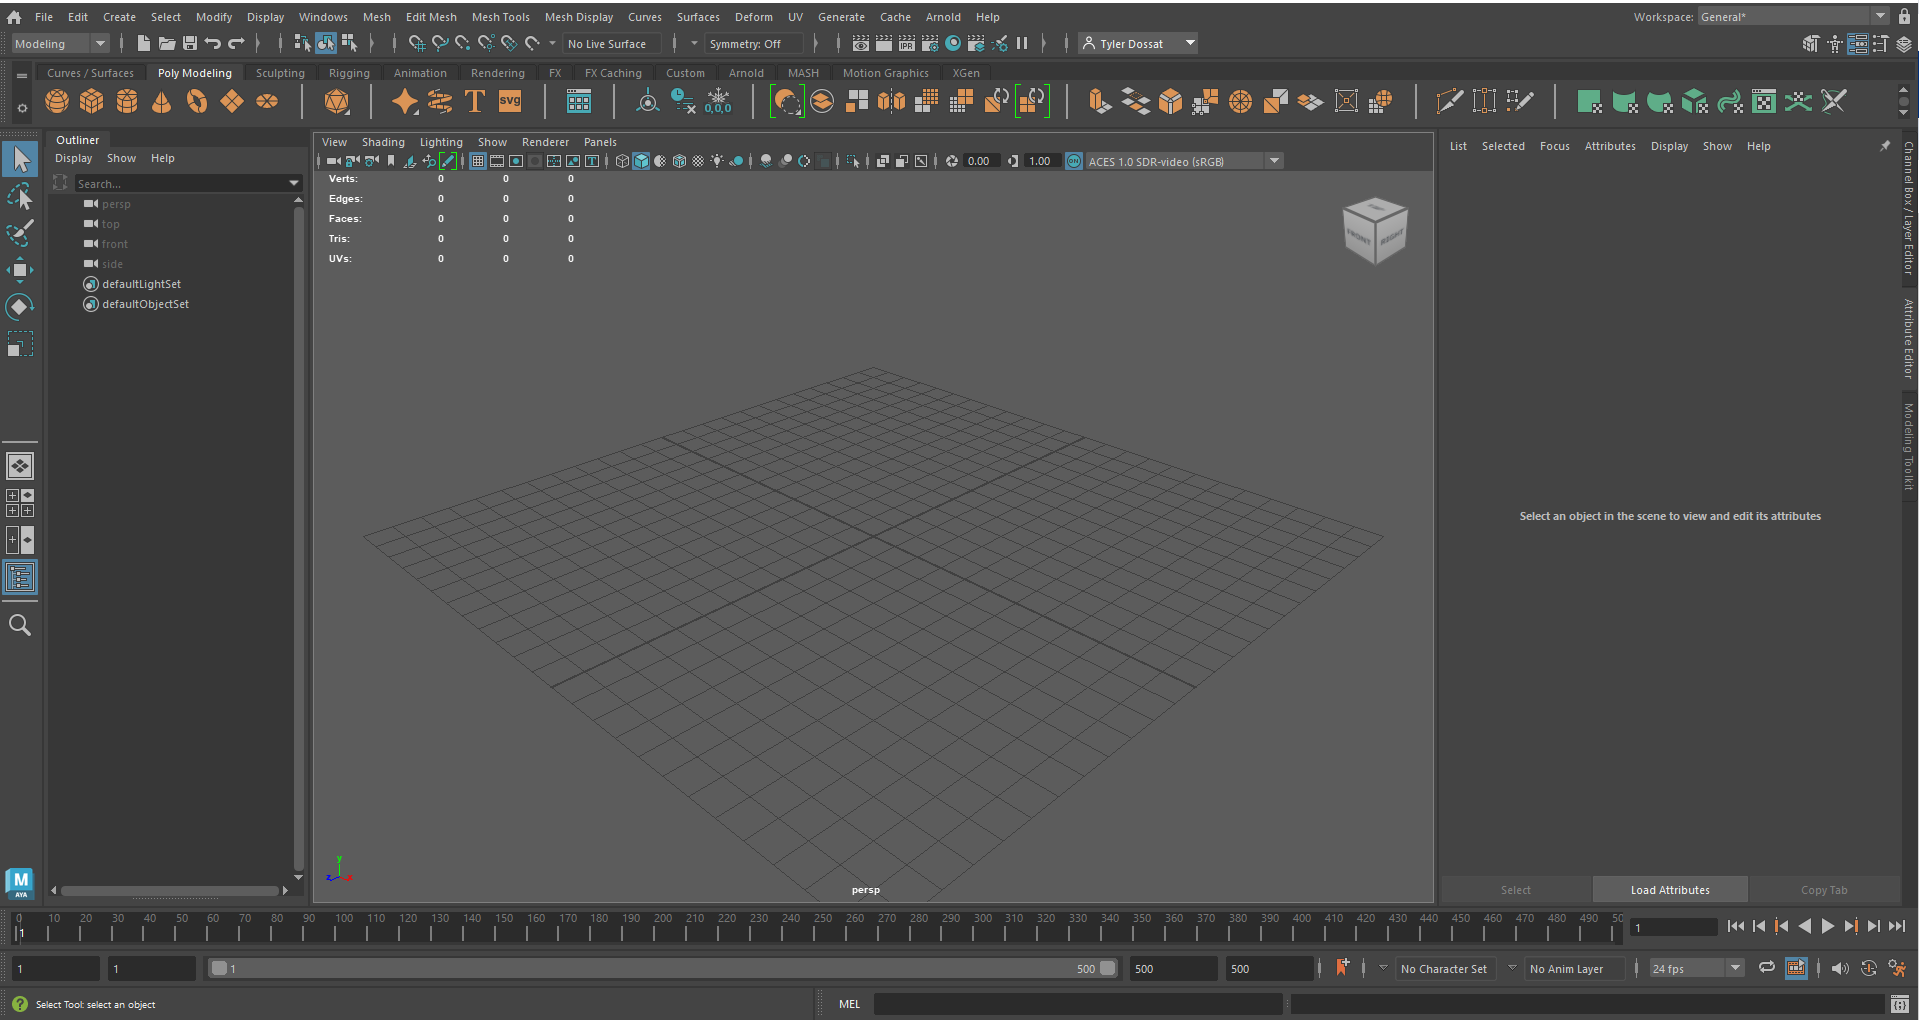
On the left side you will see the outline. The outline is where all of your meshes. It is where you can organize all of the parts of your scene. All the things you add will appear here.
The top is your short cut bar. A lot of the basic things that you want to do you can find up top. Most of the time you will have the Poly Modeling tab selected as that is where you can add a cube, sphere, etc. The other tabs have useful short cuts to help you out. The bar above are useful and have alternate ways to get what your looking for. Exploring these features is recommended.

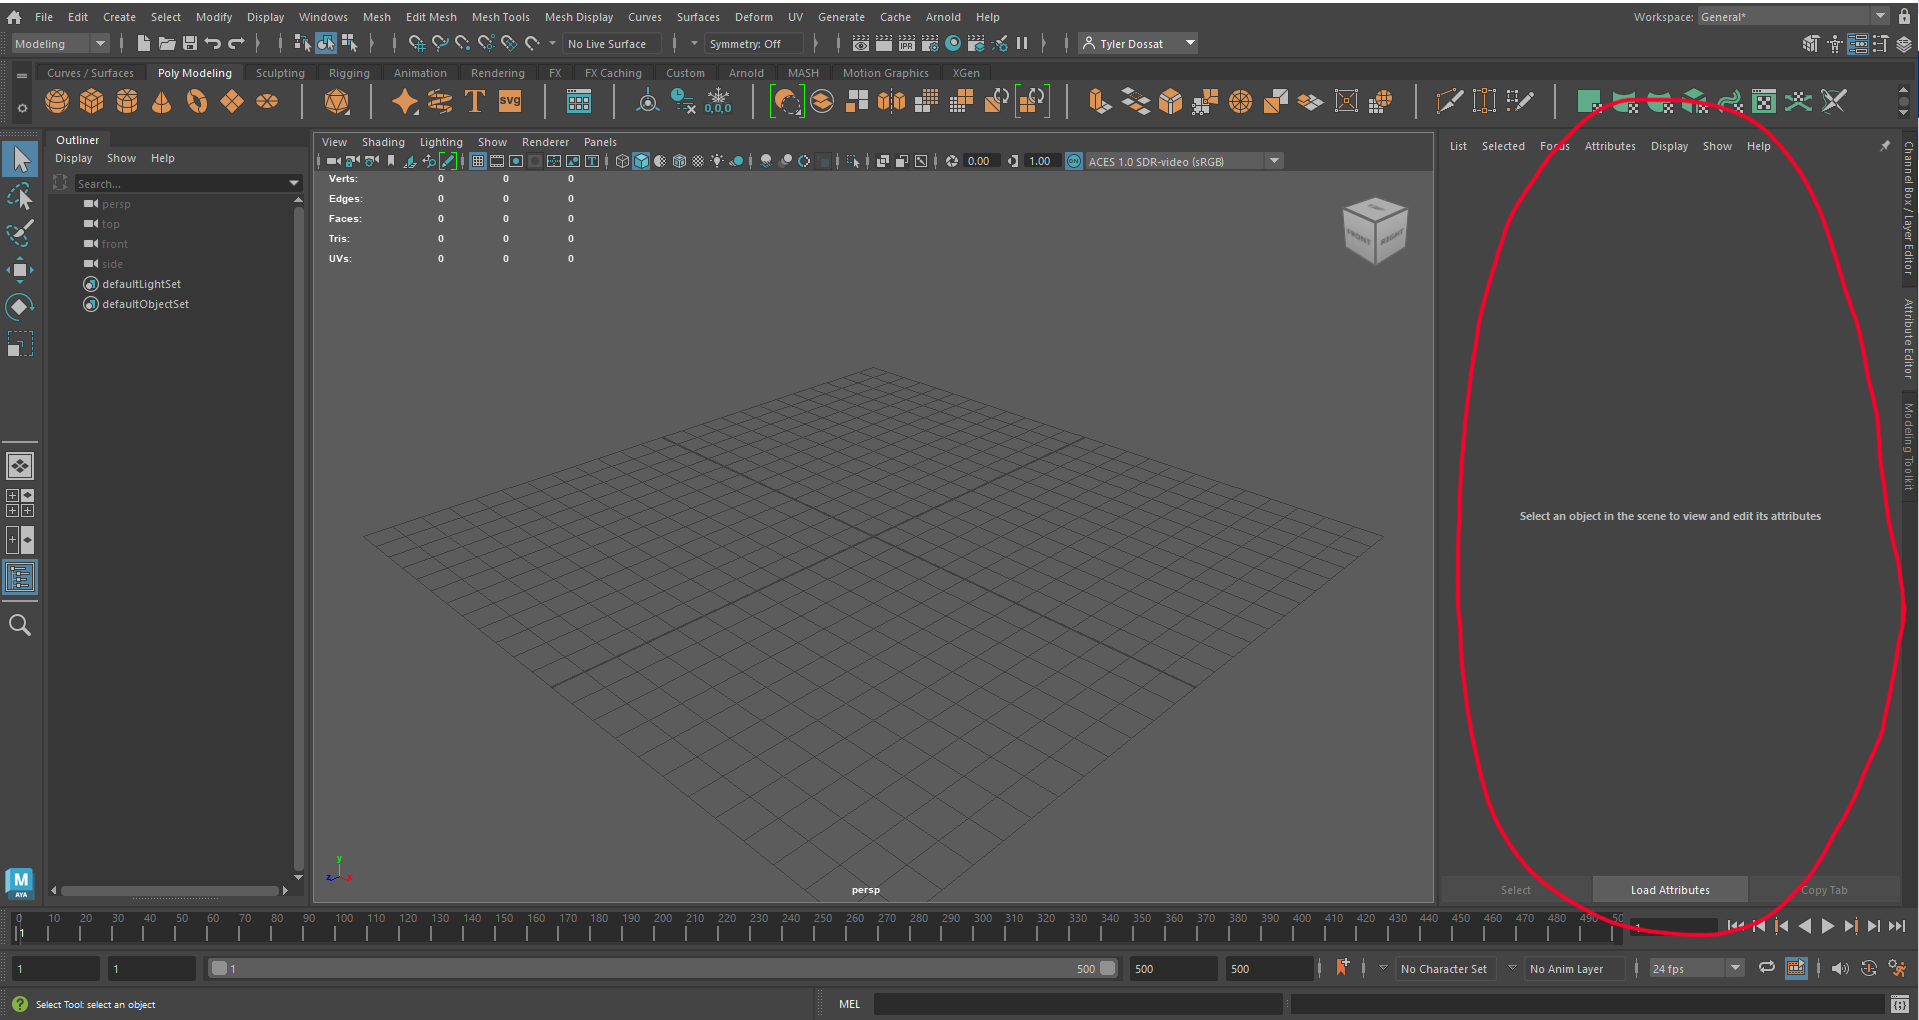
The right side of this is the attribute editor. This is for editing the small details of your mesh. When you click your mesh you can find ways to edit, position, scale, rotation, subdivisions, materials. If those terms mean nothing to you, there is a page on the attribute editor.
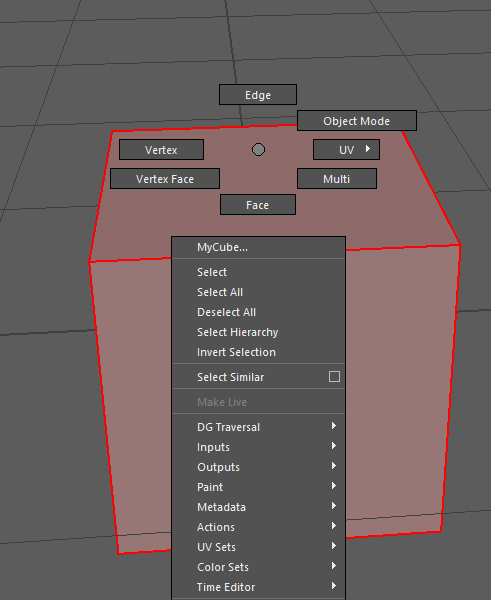
You can get to this menu by holding right click on your mouse. This menu is a super helpful short cut menu. This is where you can accesses certain modes to help you edit. The main to worry about now being Face, Edge, and Vertex.
To understand what these mean you need to understand how a mesh is made. A vertex is a point in space. These points in space are then connected by lines which we call edges and when edges connect 3 or more vertex's together, we get a face. Put a bunch of faces together and you get the mesh. In the example photo below, you can see the cube. This cube is 6 faces. These faces are made up of edges connected by points called vertex's.
Armed with that knowledge, The face option will allow you to select faces individually. The Edge option will allow you to select edges individually. The vertex option will allow you to select the vertexes individually. You can use the transformations to edit each of these parts of your mesh. (Info on transformations found in Attribute Editor article)
That's the basics of Maya. Good Luck
Attribute Editor
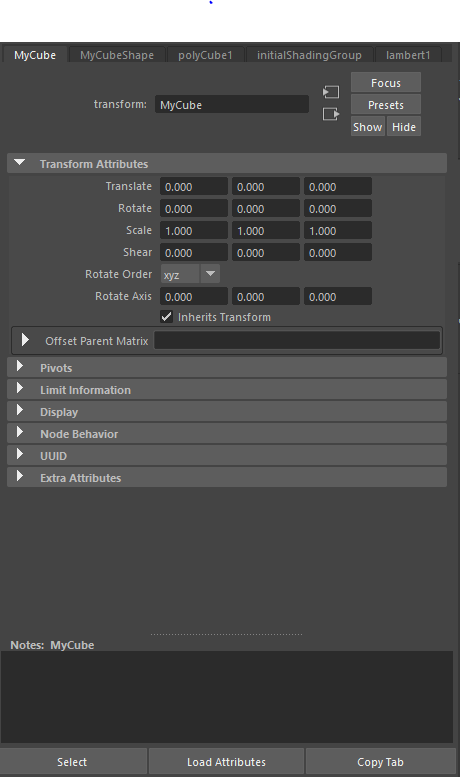
The Attribute editor has a couple of tabs when you click on an mesh.
The first is the transformations of the mesh. Translate, Rotate, Scale.
Translate is the position in the scene. X Y and Z are what is used to note the position of the mesh. Z being the first number and corresponding to left and right , Y being the second and corresponding to up and down, Z being the last and being forward and back.
Rotate is edited in the same way you translate. Rotate is what it sounds like. It turns the mesh from its pivot (which is usually in the middle).
Scale is also edited the same way you translate. Scale will edit the size of an object in the direction picked.
(You can do a short cut for each by clicked the mesh and then hitting W for Translate, E for Rotate, or R for Scale.)
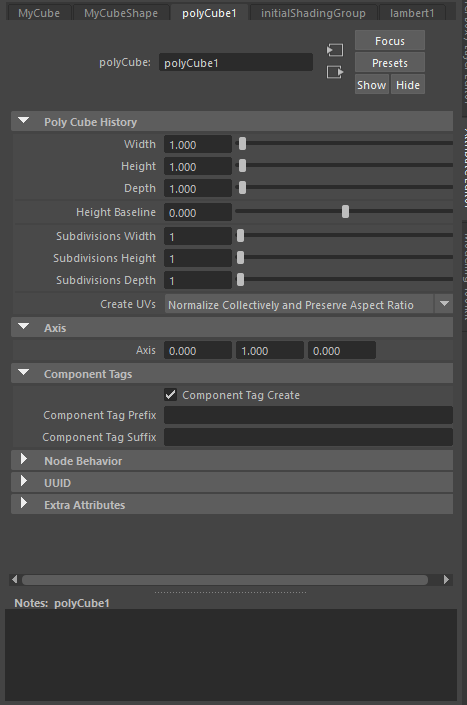
The poly tab is another way to edit your mesh.
Width, Height, and Depth can be used similarly to the scale tool. The more important part of this tab is the subdivisions. Subdivisions are used to split the object into more faces. This allows you to edit more of the mesh as you have more vertexes, edges, and faces.
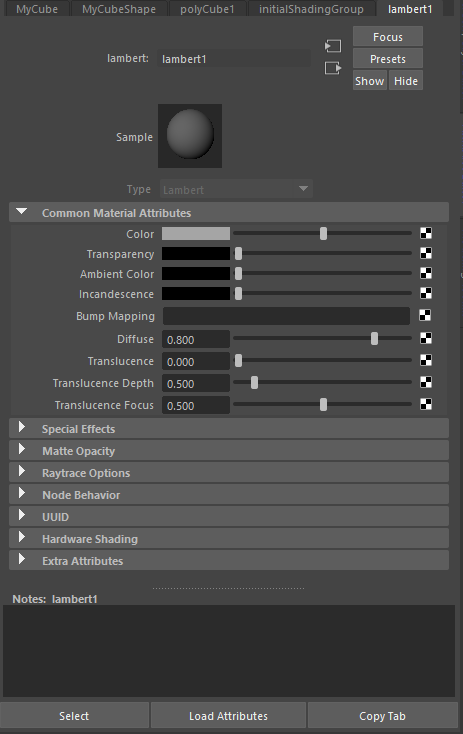
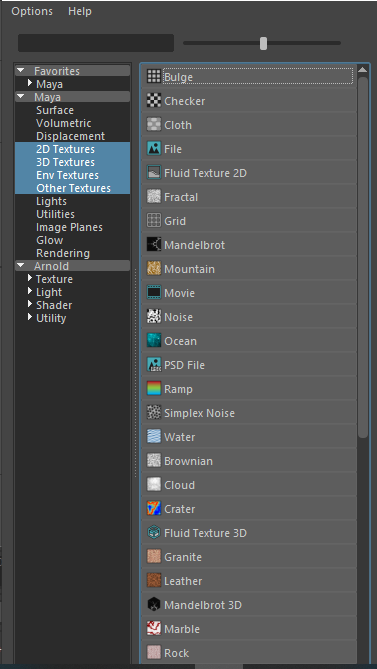
The lambert1 tab is a default tab. It is the material that is assigned to every mesh by default. In this part of the editor you can add a different material if you do not want the flat look of lambert.
(Hold Right Click the Mash ~ Assign New Material ~ Click Desired Material.)
Once you have the material, You can edit the color, Transparency, Ambient Color, Incandescence, and other small settings of the material. Clicking the Black and white checkered will pullup a screen that allows you to assign a pre existing texture or one you have made yourself.