Canon EOS 5D Mark IV
- Chapter 1: How it Works
- Chapter 2: Camera Settings, The Mode Dial
- Chapter 3: Camera Settings, ISO
- Chapter 4: Camera Settings, Aperture & F-Stop
- Chapter 5: Camera Settings, Shutter Speed
- Chapter 6: Camera Settings, White Balance
Chapter 1: How it Works
The cameras owned by SCiL are “digital single-lens reflex” (DSLR) types, specifically the Canon EOS 5D MK IV.
Helpful manuals and guides for this camera are available online.
Important! This equipment is expensive, so you must treat it with care.
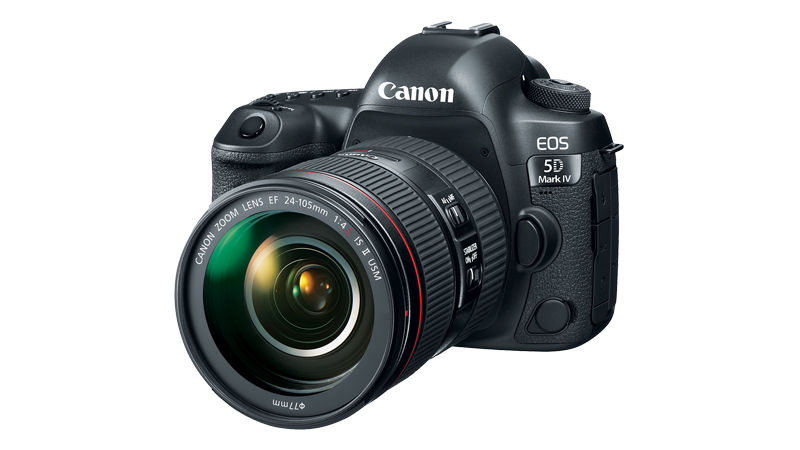
DSLR cameras tend to look a lot like older film cameras of the SLR type. Let's break this acronym down:
Digital - the camera produces images digitally instead of on film
Single-Lens - there is one path for light to enter the camera
Reflex - the light entering is split via mirror to both imaging chip and viewfinder
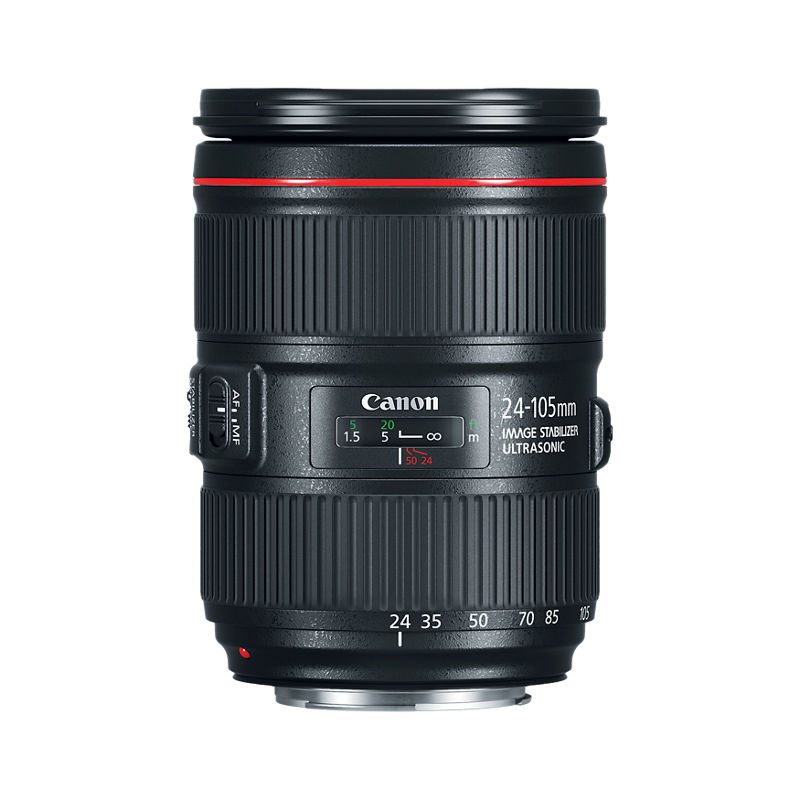
SLR cameras, whether digital or film, are notable for allowing simple switching of different lenses to accomplish various photographic techniques. Both SCiL camera kits come with a Canon 24-105mm lens. A selection of other lenses is available as needed.
Helpful manuals and information about this lens are available online.
CCD vs. CMOS
Digital cameras usually use one of two types of image sensor, either a charge-coupled device (CCD) or a complementary metal-oxide semiconductor (CMOS).
CCDs used to be the more common technology, but newer cameras outside of specialized applications tend to use CMOS because they operate more quickly, allowing DSLR cameras to shoot video in addition to stills.
The EOS 5D MK IV uses a CMOS sensor.
Chapter 2: Camera Settings, The Mode Dial
SCiL's Canon EOS 5D Mark IV DSLR has a mode dial, located on the upper left of the camera chassis. The mode dial allows you to choose which mode the camera will operate in. The available modes are:
- C1, C2, and C3: user defined presets
- B: Bulb mode (the shutter remains open as long as the shutter button is held down)
- M: Manual mode (photographer controls all settings)
- Av: Aperture Priority mode (set the aperture/f-stop; other settings are set automatically)
- Tv: Shutter Priority mode (set the shutter speed; other settings are set automatically)
- P: Program AE mode (aperture and shutter are set automatically based on brightness)
- [A+]: Scene Intelligent Auto mode (fully automatic mode)
Which mode should you use? That will depend on what you are trying to accomplish. However, some modes are more commonly used than others. The modes you are most likely to use are:
- M (manual mode). Usually, professional photographers and filmmakers will usually prefer to have complete control over the camera and all of its settings. This is the recommended mode for a serious photographer or filmmaker.
As a matter of convenience, it can sometimes speed up your workflow to use partially automated settings:
- Av (aperture priority). Sometimes it may be convenient to set the aperture/f-stop and allow the camera to automatically handle other settings. This may be useful when, for example, you want to control depth of field using aperture but do not have special requirements for ISO or shutter speed.
- Tv (shutter priority). Sometimes it may be convenient to set the shutter speed and allow the camera to handle other settings. This may be useful when, for example, you would like to achieve specialized shutter effects (like a long exposure) and would like the camera to automatically assign other settings to achieve a good exposure.
- P (automated shutter and aperture). Sometimes, especially when shooting casually, you may find fully automatic settings help you to capture images and video quickly when the camera handles most settings for itself. This is not the recommended mode for capturing imagery or videos for immersive media productions.
Chapter 3: Camera Settings, ISO
ISO
- The International Organization for Standardization (ISO) established a numerical scale to rate how sensitive different kinds of film were to light. This scale was retained for digital cameras. When you change the ISO value on a DSLR, you can think of it as changing film to something more or less light sensitive to what is currently in the camera. A big advantage of a digital camera is that you can change the ISO from shot to shot, instead of only per roll of film.
- Higher ISO numbers are more light sensitive, meaning the camera will be able to take pictures in darker environments. However, higher ISO numbers also tend to produce grainier images.
- Examples:
- ISO 100: suitable for a bright, sunny day
- ISO 800: indoor spaces when not using a flash
- ISO 1600: dim or even dark environments
This short video shows how to set ISO on the Canon EOS 5D Mk IV.
For a more in depth explanation, visit Chapter 2: Elements of Exposure, ISO
Chapter 4: Camera Settings, Aperture & F-Stop
- Determines how much light is allowed to enter the camera to reach the imaging sensor and measured in F-Stop. This is controlled mechanically, by opening or closing the camera aperture. Different lenses have different apertures, handling different f-stop ranges. Aperture also determines the Depth of Field.
- Lower f-stop numbers indicate that the aperture is more open, allowing in more light. Lower f-stop numbers also narrow the depth of field, causing the area of focus to be relatively shallow, with foreground and background parts of the image being out of focus.
- Examples:
- f/1.2 - f/2.8 - lets in a lot of light; shallow depth of field
- f/4 - f/8 - useful in many scenarios; somewhat wider depth of field
- f/11 - f/32 - best for bright settings; wide depth of field
- The “depth of field” is the distance between the nearest and furthest in-focus objects in an image. A narrow depth of field will have a very narrow area in which objects will be in focus. A wide depth of field will put most elements of the image in focus. Turning the focus ring will adjust the position of the in-focus area, or focal point.
|
Shallow Depth of Field |
Aperture |
Wide Depth of Field |
|
Aperture = f/1.4 DOF = 0.8cm |
f/4.0 DOF = 2.2cm |
Aperture = f/22 DOF 12.4 |
The Canon EF 24-105mm f/4L IS II USM lens that is normally kept on the SCiL DSLR cameras has an adjustable f-stop rangefrom f/4 (wide open) to f/22 (nearly closed). It will retain the f-stop you set through its entire zoom range from 24mm to 105mm.
When the camera is set to video mode, you can set the f-stop on the Canon EOS 5D Mk IV using the large dial around the "set" button located at the lower right of the camera body.

For a more in depth explanation, visit Chapter 3: Elements of Exposure, Aperture
Chapter 5: Camera Settings, Shutter Speed
- The shutter speed, aka exposure time, is the time that the image sensor is exposed to light when capturing an image. The shutter is a mechanical window inside the camera that opens and closes to allow light into the sensor for a selected amount of time.
- A fast shutter speed, such as 1/1000 of a second, will allow light into the sensor extremely briefly. This will work in bright lighting conditions, but may not allow enough light to impact the sensor in dimmer light.
- An extremely slow shutter speed, for example ½ second, 1 second, or even more, will allow a lot of light into the sensor and can be useful in low light conditions. However, a lot can happen over a few seconds. Long exposure times may create “motion blur” for any moving object within the frame (or for the whole frame if the camera itself is moving). This may or may not be a desired artistic effect.
The Canon EOS 5D Mk IV shutter speed is set using the small dial located on the top right side of the camera. You will notice that this setting has different limits when shooting in video mode vs. still image mode.
When shooting in video mode, you will usually want to leave the shutter speed setting around 30-60. Faster exposure times are possible if you set your ISO and aperture accordingly but will tend to introduce "flicker" into your video.
For a more in depth explanation, visit Chapter 4: Elements of Exposure, Shutter Speed
Chapter 6: Camera Settings, White Balance
In video mode, the display screen on the camera will show you a preview of the color result from different white balance settings. In still image mode, you can take a test picture to see the effects of your white balance setting (the test picture will briefly appear on the display screen after you take the picture).
What is determined by white light from the camera, what is measured as white. Higher temperatures are cooler (blue tint), lower temperatures are warmer (orange tint). Baseline is whatever you set it to, everything below the baseline is orange or warmer, everything above the baseline is bluer or cooler.
Measured in Kelvin (temperature)
- Daylight = 5500-5600
- Fluorescents/Camera Flash = 5000
- Light bulbs = 3200
- Candle Light = 2000
For a more in depth explanation, visit Chapter 7: White Balance