If this is your first time in Unreal Engine, do **NOT** use **Open World** as a new level! There is NOT an easy way to transfer progress back to an empty/basic level!
Go to **File > Save Current Level** and give your level a *meaningful* name and location. Now is a good moment to [**APPLY VR SETTINGS**](https://scil-wiki.su.edu/books/unreal-engine/page/vr-settings-for-unreal-engine-45 "VR Settings for Unreal Engine 4/5") #### Create the XR Rig Click on the **Content Drawer** (at the bottom-left of the screen). Right-click in the empty space and choose **Blueprint Class**. When prompted, choose **Pawn**. Give it a meaningful name, such as **VRPawn\_BP**. Double click the new pawn to open and edit it. A new window should appear- this is the **Pawn Object Editor**. In the upper left corner of the Pawn Object Editor under Components, click the Add button (marked by a green +). [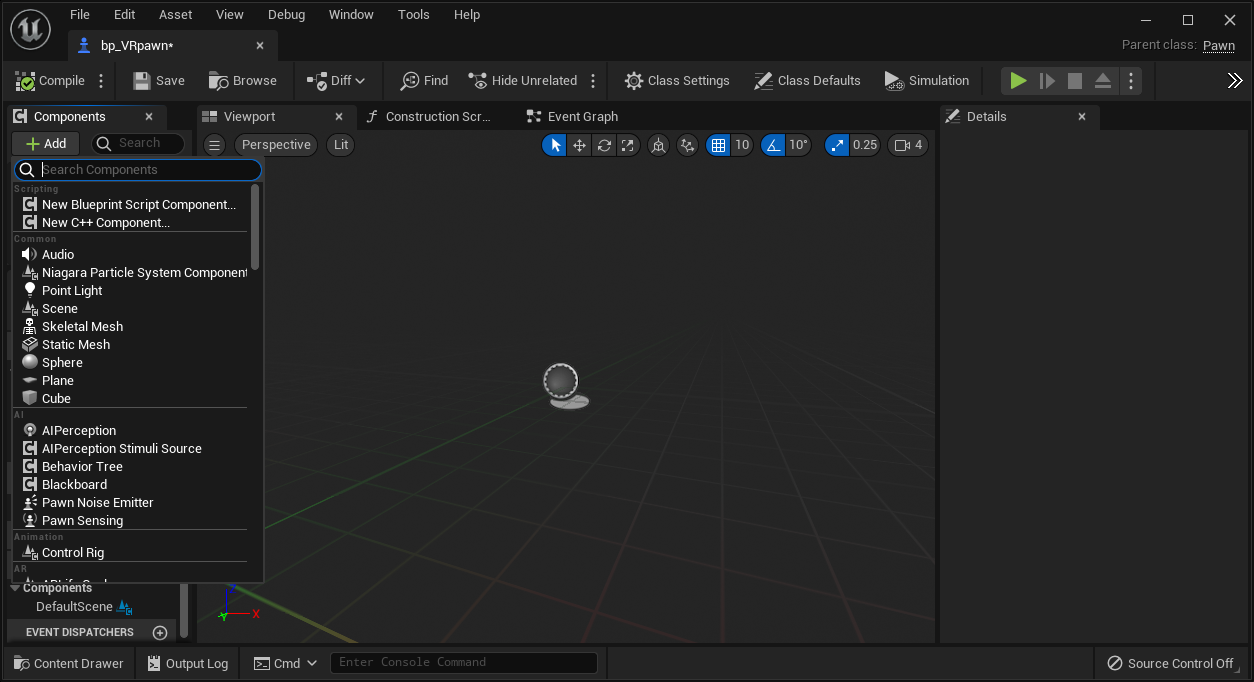](https://scil-wiki.su.edu/uploads/images/gallery/2023-11/aozimage.png) Choose **scene** and rename it to **CameraOffset**. With **CameraOffset** selected, press Add again and add a **camera**. Leave the name as "camera". Select **CameraOffset** once again, press Add, and add a **motion controller**. Name it "Motion\_Controller\_L". Repeat the previous action, this time naming it "Motion\_Controller\_R". Select "Motion\_Controller\_L". With this component selected, add a component by either clicking the **+Add** button or right-clicking and add the component **XR Device Visualization**. This should now be a child of Motion\_Controller\_L. Rename the component to something like "XRDeviceVisualization\_L". In the **Details** panel on the right side of the screen, under **Collision**, change **Can Character Step Up On** to **No,** and change the **Collision Presets** from **BlockAllDynamic** to **NoCollision**. Finally, move to the **Visualization** section of the *Details* panel and check **Is Visualization Active.** Repeat with "Motion\_Controller\_R". Make sure the **Motion Source** is set to **Right** under the **Motion Controller** section (directly under Visualization) for "Motion\_Controller\_R". Do not select Display Device Model (it is deprecated and replaced with a component as mentioned above). Finally, switch to the **Event Graph** tab and find the node listed **Event BeginPlay**. Right click and add a **Set Tracking Origin** node and under origin verify **LocalFloor** is selected. From the **BeginPlay** node, drag a white connector pin to the newly added node. Press **compile** at the top left of the screen. When finished, your **VRPawn\_BP** should **look like the screenshot below.** Note the way the various components (on the left) are structured into a specific **parent-child heirarchy.** Once your VRPawn\_BP is set up like this, press **save** and **return to the level view.** [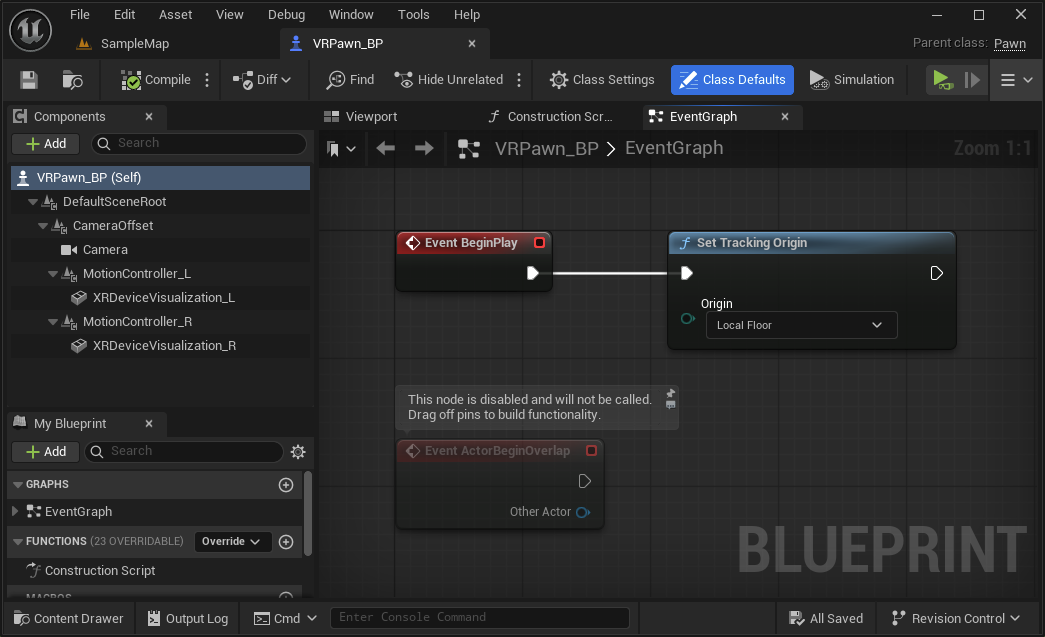](https://scil-wiki.su.edu/uploads/images/gallery/2026-03/BHQimage.png) #### Add your pawn to the level Add your newly created player pawn to the scene. Select your pawn and in the details panel, under Pawn, change **Auto Possess Player** from **Disabled** to **Player 0**. You can also change these values within the pawn blueprint itself, especially if you are using it in multiple maps. In the same panel as the play button, click the three dots and select **VR Preview** (if you don't see VR Preview, leave Unreal, run the Meta Link software,, confirm VR is working through the headset, and restart the Unreal editor). Test the scene in your headset. (Adding an object and/or lighting point may be helpful for testing). #### Where to go from here? The wiki is full of guides, but it is important to learn basic teleport as it covers additional basics for both Unreal and VR.