xTool Laser Cutter
- Safety Procedures
- Technical Walkthrough
- Materials
- Designing with xTool Studios
- Specs and Maintenance
Safety Procedures
xTool P2S 55W Desktop CO2 Class 4 Laser Cutter
Standard Operating Procedures
|
IMPORTANT! Only Authorized Users may operate the laser cutter. Failure to follow safety procedures will result in a loss of operator privilege. |
|
WARNING! The XTool P2S Laser Cutter is a Class 4 laser. Potential hazards include:
|
Authorized Users:
-
Must complete the xTool Laser Cutter Canvas training course.
-
Must complete a “skills test” with the Operations Manager or other SCiL staff before using the laser cutter unsupervised.
-
May supervise or train others to use the laser cutter, however unauthorized users may never use the laser cutter unsupervised by an authorized user.
Safety Procedures:
-
Do NOT operate when any part of it is removed. Removing parts may expose the laser system and cause damage to the device and user.
-
Do NOT leave the device unattended when in operation.
-
In the event of an emergency, there is a big red ‘emergency stop’ button on the right side of the device.
-
When using, where safety goggles capable of shielding eyes from 10500 nanometers(nm), ± 5 nm laser beams.
-
Do NOT put your hands in the processing area or open the lid when in operation.
-
IF YOU ARE BURNED BY LASER BEAMS: disinfect the skin with povidone-iodine solution immediately, and apply burn ointment.
-
Do NOT engrave or cut materials containing PVC, vinyl, or other chlorine-based substances, as they release harmful corrosive vapors and can damage the device.
-
The laser heats and vaporizes material surfaces, which can ignite flammable materials, especially during vector cutting (acrylic is particularly flammable).
-
FIRE PROTOCOL
-
If safe to do so: manually cut off the heat source by lifting the lid, attempt to blow out the flames, or use a damp towel to extinguish the flames.
-
Use a fire extinguisher to put out the flames if the previous methods would be unsafe.
-
If the fire can not be safely extinguished, call 911.
-
|
IMPORTANT! Any fire that is too big to be blown out must be reported to the SCiL Operations Manager immediately after the fire has been put out, so follow up maintenance can be made. |
|
Please contact the SCiL Operations Manager with any equipment or safety concerns so proper maintenance can be ensured. Mariah Arant marant21@su.edu |
Technical Walkthrough
|
IMPORTANT! Only Authorized Users may operate the laser cutter. |
Step 1: Creating the project
-
Open the ‘xTool Studio’ program (previously known as ‘xTool Creative Space’.) The program is available on the SCiL MacBook, or you can download it onto a personal laptop.
-
Create a New Project or Open a project (must be a .xcs file) from the computer via the home page
-
Once you’ve created the project, you can select or create your design using the buttons on the sidebar:
-
Import a Vector compatible file (.svg, .jpeg)
-
Create your own design
-
Premade shapes (free)
-
Templates (requires xTool account)
-
Step 2: Connecting to the device
-
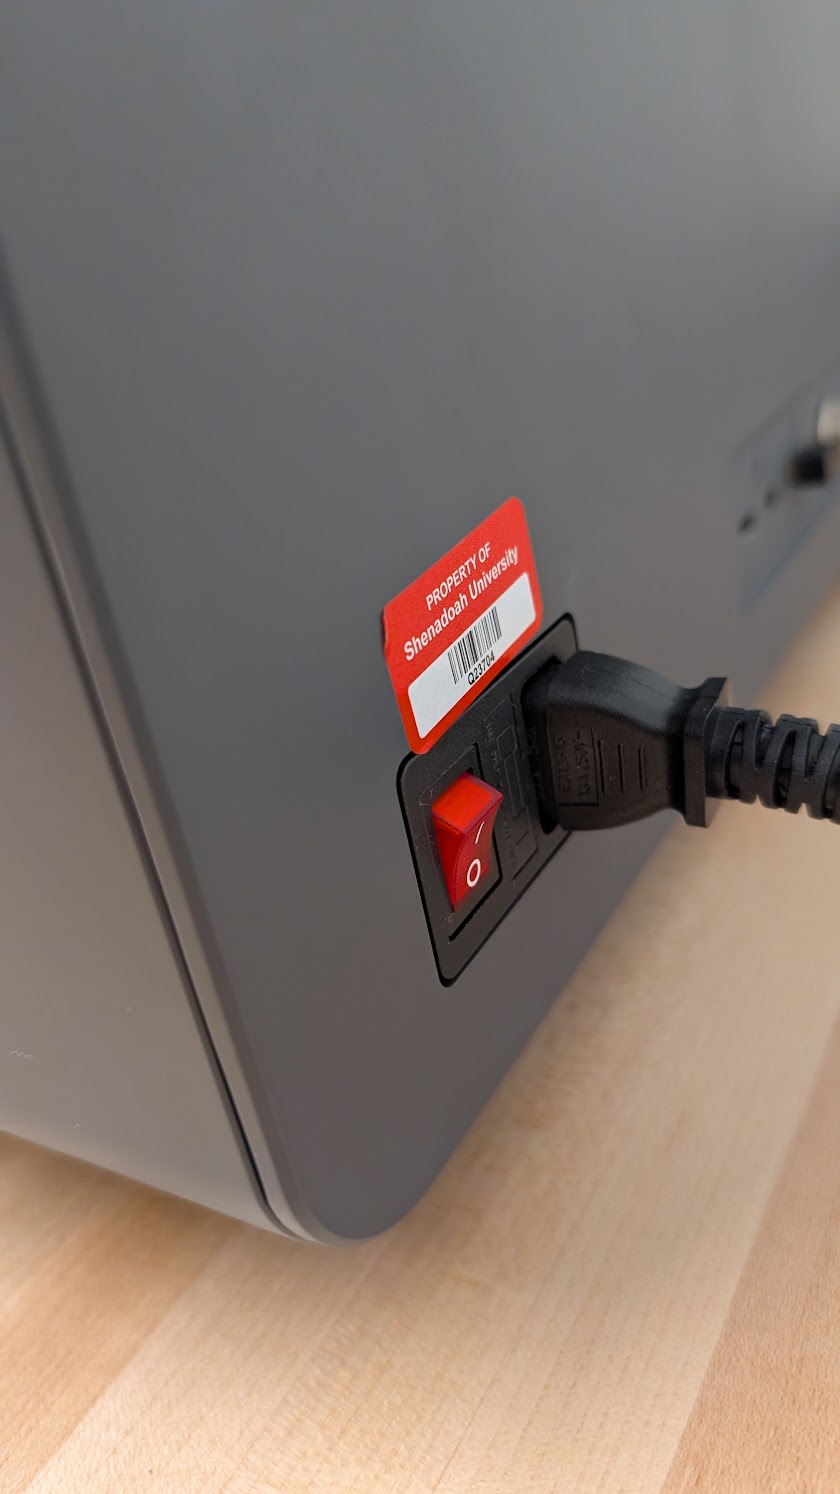
Make sure the laser cutter is on (red switch on the back)
-
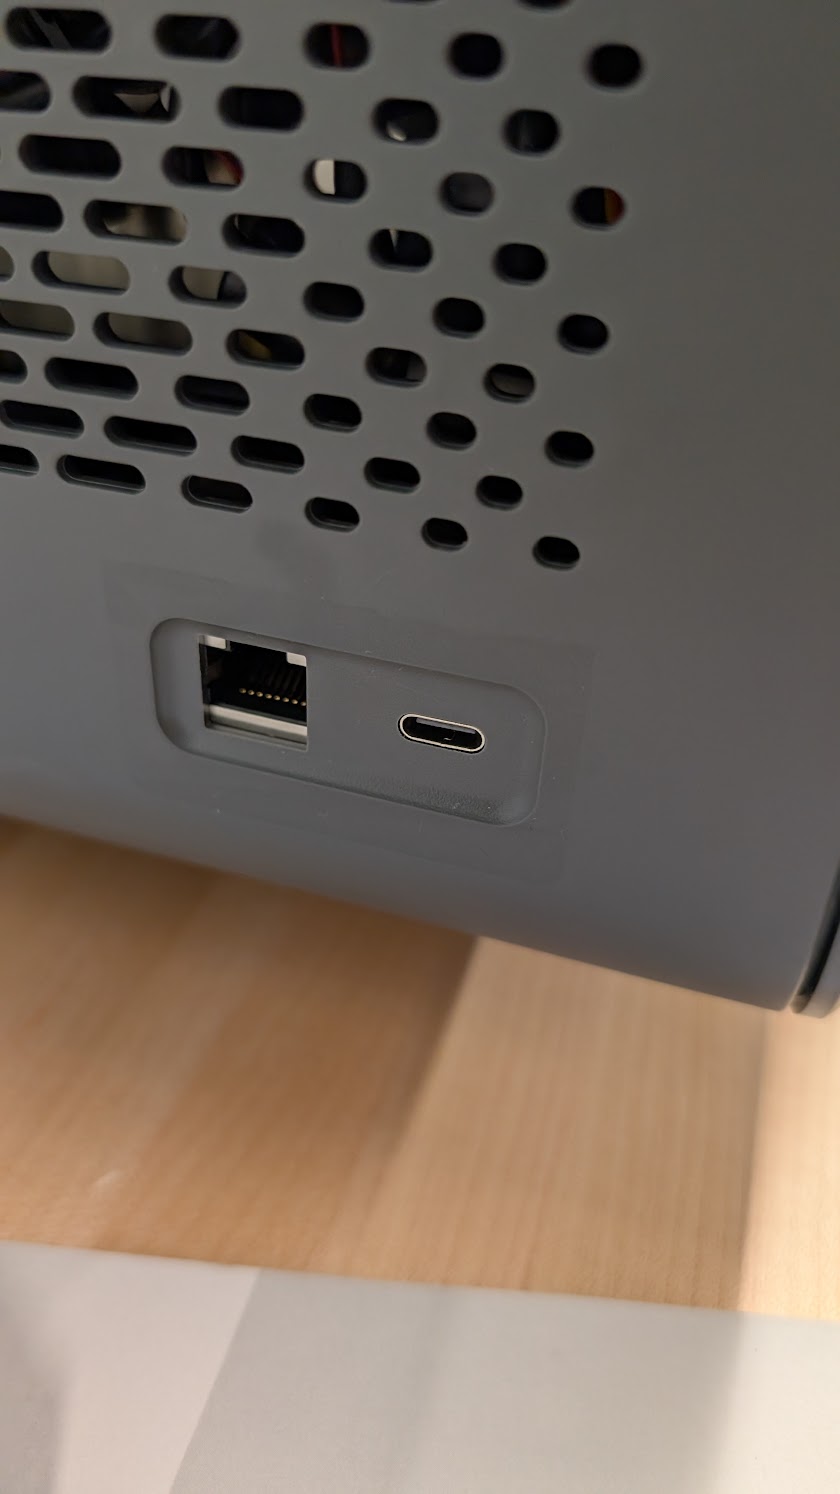
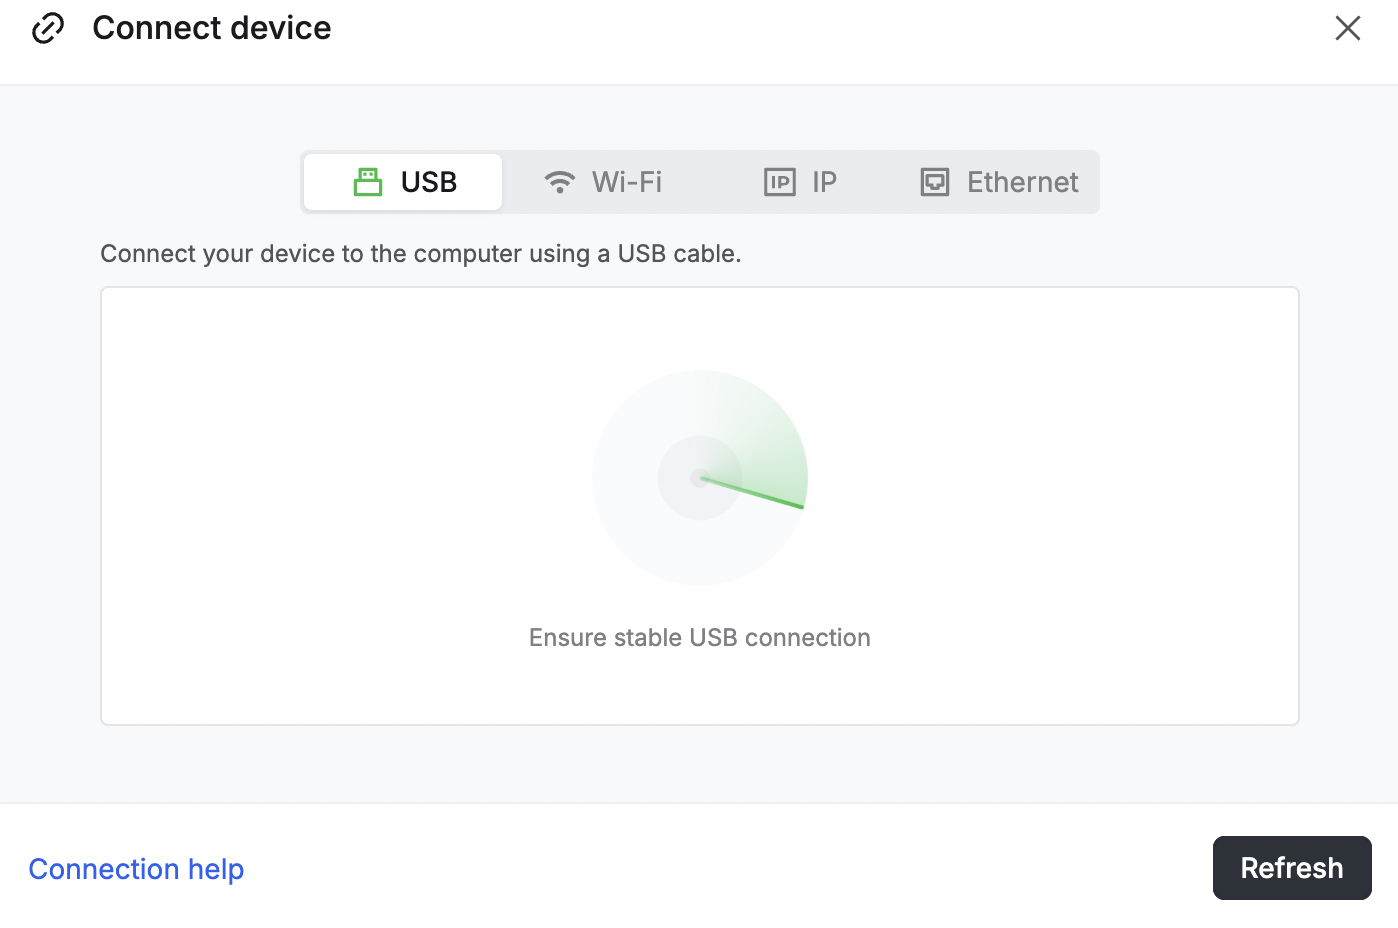
Use a USB-C to connect your laptop to the cutter using the USB-C port on the left side of the cutter.
-
You’ll want to remain on the ‘USB’ tab, as we’ll be using a cable to connect.
-
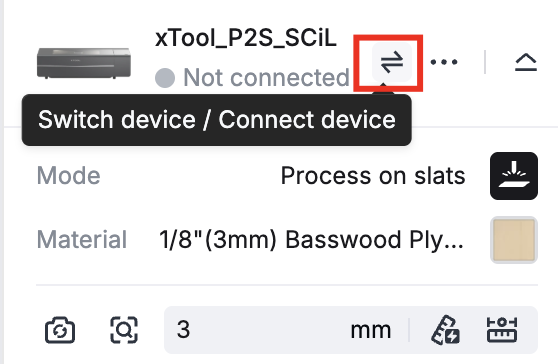
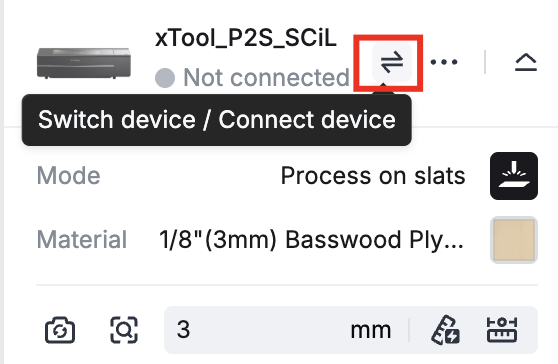
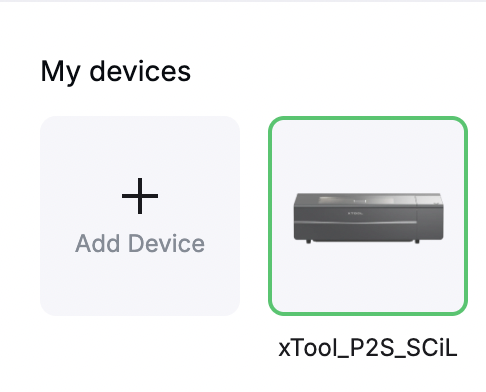
It will open a list of various xTool devices, you’ll want to either click “Add device”, or scroll down to “P2S” and add device
Step 3: Setting up the design to process
-
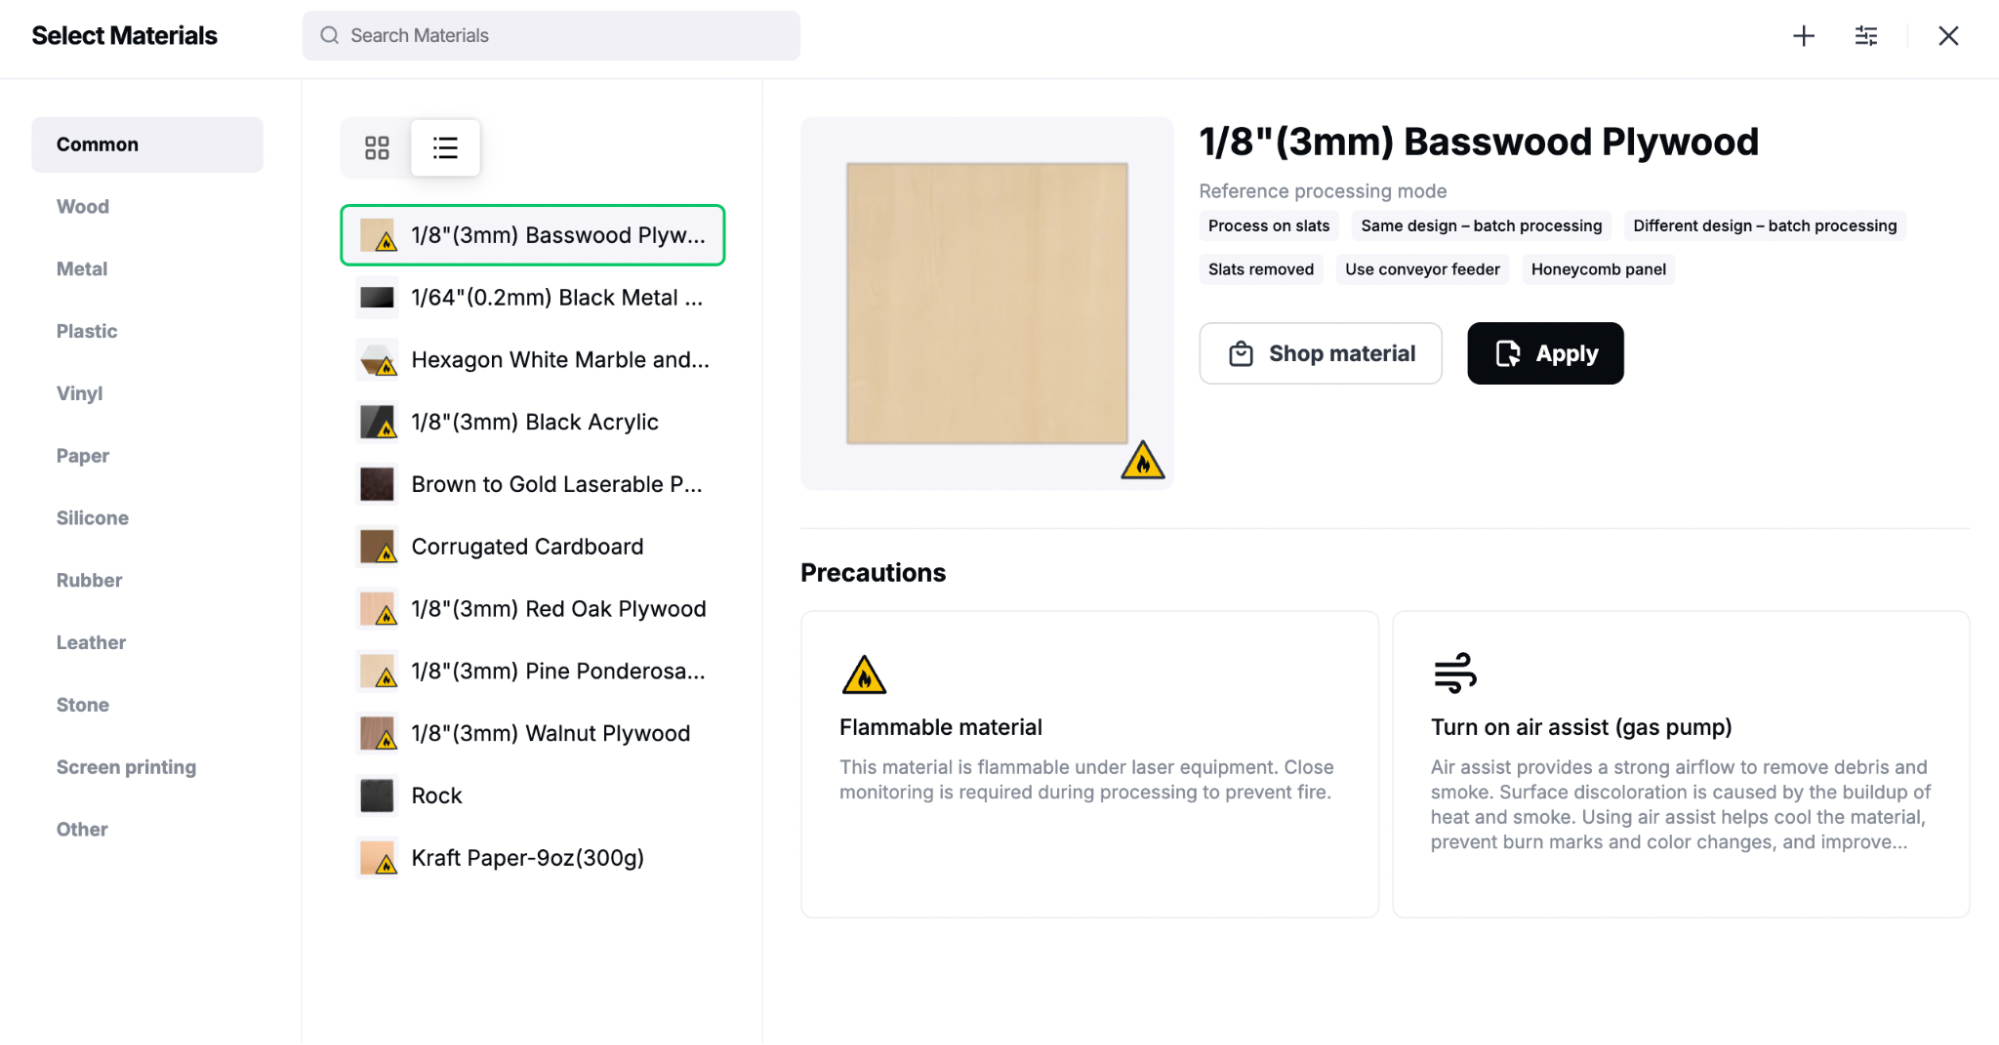
Select materials used - this will give you recommended settings for different materials.
-
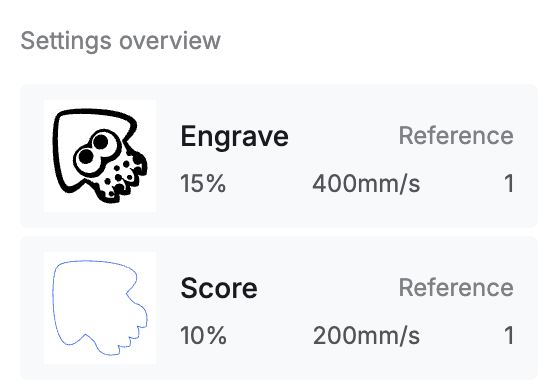
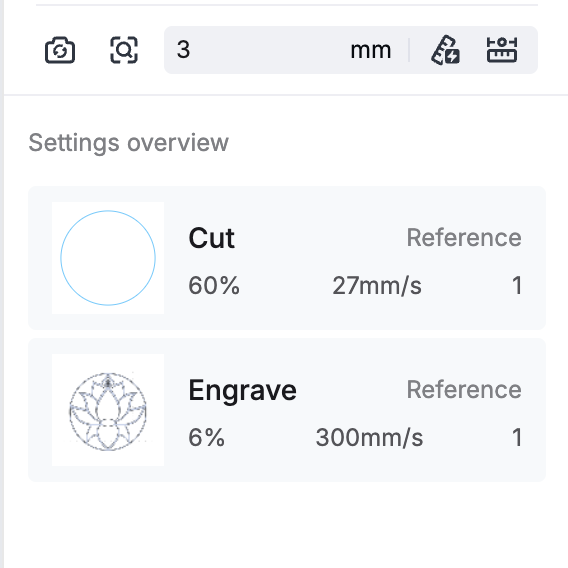
There are settings for each layer and what actions will be taken for them on the right side, example below:
-
Place your material on the slats inside the cutter and refresh the image (opening and closing the lid will prompt a pop-up asking if you want to refresh)

-
Arrange and scale the model depending on the size and placement of your material, if you don’t, the cut will go outside your material
-
IMPORTANT: If you move the material in any way, opening and closing the lid of the cutter will prompt you to refresh the image, you need to do this, or the design won’t be lined up with the material.
-
-
Click preview (if connected to a device, it will display a preview image from the camera in the device, with the model layered on top of it.)
-
You’ll also see an order of the actions the cutter will take, for example, with this lotus flower model, it will cut a circle at 60% power, and then it will engrave the shape of the lotus, at 6% power.
Step 4: Cutting/Engraving the model
-
Click the ‘Process’ button
-
Once you’ve confirmed the model with the camera preview, click ‘Start’
-
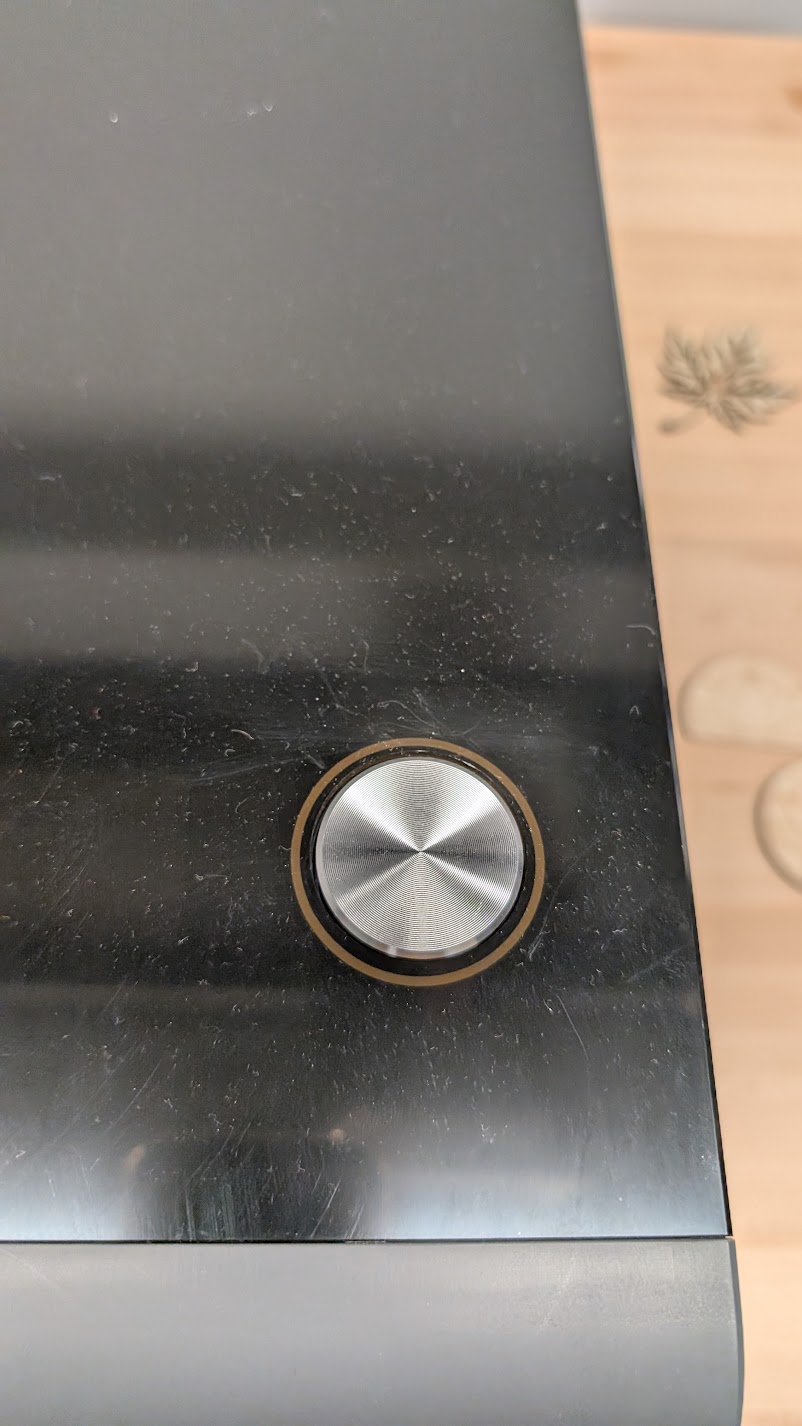
You will then be prompted to press the button on the device itself.
-
You should wear protective goggles if you look into the machine while the laser is running.
-
Do NOT leave the device unattended when it is actively cutting/engraving.
-
Materials may be hot after processing.
Be sure to clean out the bottom tray and turn the laser cutter off after use.
Materials
Using Metal Marking Spray
Steps for Using Metal Marking Spray
Step 1: Clean the metal surface to remove any residual grease.
Apply a thin, even coat of metal marking spray to the area slated for marking. To achieve a high-quality marking effect, the uniformity of the product coating is essential, which may require several tests and practice. Always use the product in a well-ventilated area or a designated spray room.
Please note: xTool doesn't provide or sell 'Metal Mark Spray'. You can purchase it from Amazon or Etsy.
Step 2: Get a stainless steel dog tag.
Step 3: Evenly spray the marking liquid on the surface using an airbrush or sprayer.
Remember to place a piece of waste cardboard beneath the metal. Also, use the marking spray in a well-ventilated area or a designated spray room for proper air circulation.
Step 4: Allow the surface to air dry for 3-5 minutes.
For optimal results, let the liquid dry naturally. It's not recommended to force it to dry using heat lamps, blowers, or fans.
Step 5: For substrates that shrink significantly, apply a second coat.
However, ensure the first coat dries for at least 30-40 seconds before applying the second one.
Step 6: Set parameters and initiate engraving.
Different metal marking sprays can produce varying sintering and engraving effects. It's recommended to conduct multiple test marks to achieve the best performance.
Recommended Parameters:

Step 7: Remove excess spray paint.
Wash with water or a damp towel or sponge. Typically, rinsing with running water for 3-5 seconds is sufficient to remove excess spray. If the engraved portion remains, a damp sponge and alcohol can be used for localized cleaning.
Material Test Grid
xTool Material Test Grids
To create a material test array in the xTool P2S:
-
Add a small basic shape from the square tab on the left menu or an imported picture from the import tab on the left menu (square with a plus) and set it to engrave on the right side on the screen to engrave
-
Select the applications tab on the left menu (3 squares and a diamond)
-
Click “Material Test Array,” set the max % to 50, max mm/s to 500, min mm/s to 150 and click done
-
Now you should have an array of shapes that says “Engrave Test-xTool P2S” at the top of it
-
Scale and align your test array as you see fit and start engraving!
Designing with xTool Studios
Creating 3D Boxes
In the applications tab on the left side column (3 squares and a diamond) there is a “box generator” option. Xtool has a few built-in box templates that you can choose from and modify to suit your needs
If the provided box templates are not what you are looking for, there are multiple websites that can generate or find different box shapes
-
boxes.hackerspace-bamberg.de/boxes.py is a good one to use since it has many different boxes to choose from and you can change the dimensions of those boxes to fit the sizes you need (Don’t make them too large or the cut outlines won’t fit in the XTool)
-
atomm.com is a design website with many other people's creations that can be used to find cool and interesting lasercut designs (results can be filtered to only show free items)
Once you have the box file you want and you have put it into the
XTool, DO NOT change the size of the shapes. If it does not fit within
a single board you can try having two boards in the machine and you
can reorganize the shapes to fit in a different configuration. The
shapes may be set as a multiselect and if they are you can ungroup
Creating Custom Cutouts
-
Find and import your shape
-
With the shape selected, click “edit” at the right side of the top bar
-
On the left menu that opened, click “Ai Cutout”
-
Click “Manual Cutout” in the top left corner
-
Using the magic wand and eraser, remove the background of the image and any inside parts of the shape that would be unnecessary and click confirm
-
Click “Trace” in the same menu as the “Ai Cutout” option
-
Leave the settings as is and click “Save”
-
A new object will be created that is the outline of the object you chose, this object has the “Score” and the “Cut” options in addition to the usual “Engrave” option
Vector Training