Wacom Tablet Setup
Remove the tablet from the packaging.
Take out the USB-C cable and plug it into the computer. Plug the other end into the tablet.
Take out the power strip and plug one end into an outlet and the other into the tablet.
The tablet will start up.
Install the latest drivers at https://www.wacom.com/en-us/support/product-support/drivers. Scroll down to the drivers section. Follow the download instructions. You may have to ask a SCiL faculty/staff member for authorization.
The computer will restart.
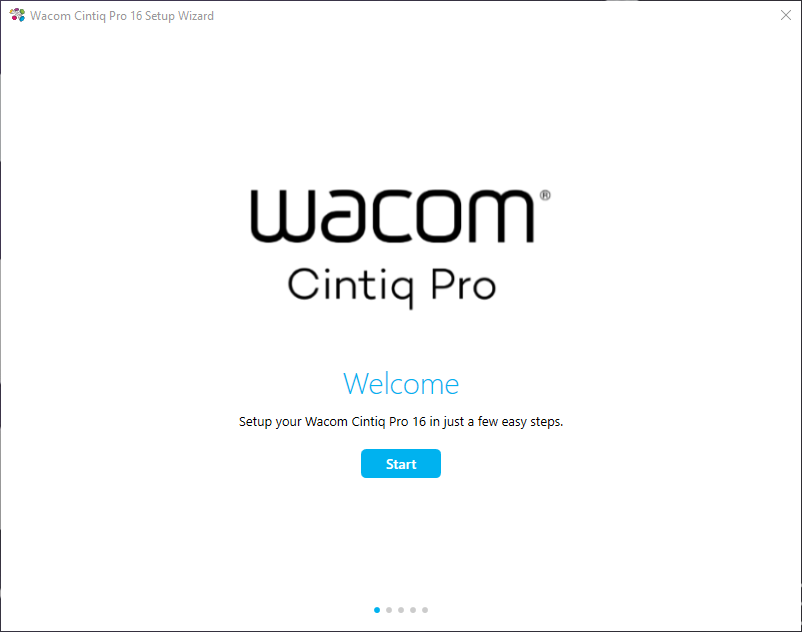
After the computer restarts, the Wacom Cintiq Pro Setup Wizard should launch at start up.
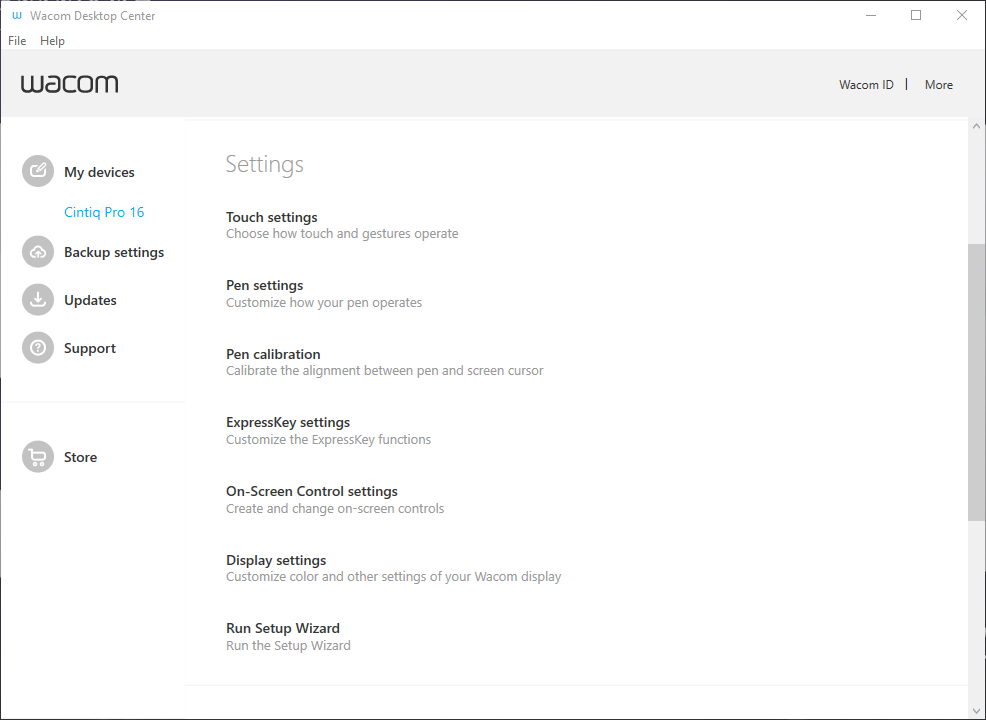
Click Start. Read through the information it gives you by click Next. When it asks you to register, click not now. The Wacom Desktop Center should now be installed- here you can adjust various settings for the tablet.
In order to have the monitor be mirrored on screen, retrieve a mini display port adapter and plug the HDMI cable into both the computer and the tablet using it.
If you'd like to change how the display is connected (either duplicated or extended) search "display" in the Windows search bar and select "duplicate or extend to a connected display" and scroll to Multiple displays. Selecting duplicate displays on 1 and 3 will make it so the tablet mirrors the first monitor. Selecting extend will make the tablet act as it's own monitor.


