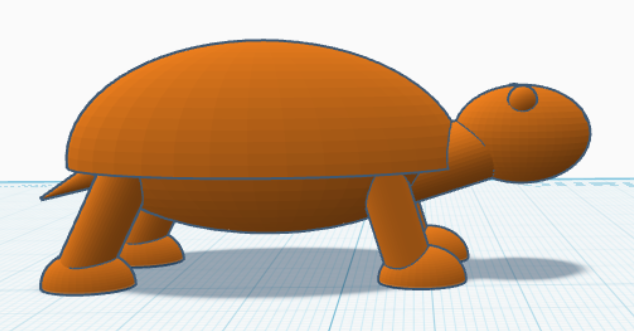
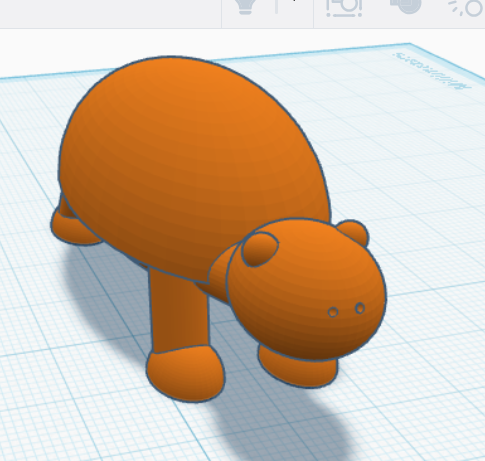
3D Modeling for Printing Workshop: Tinkercad
Open Tinkercad and select the +Create button in the top right corner.
The Main Body
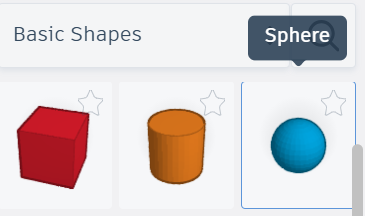
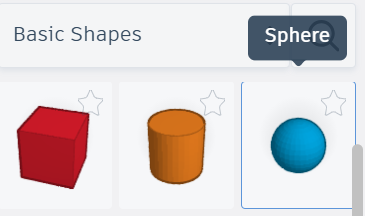
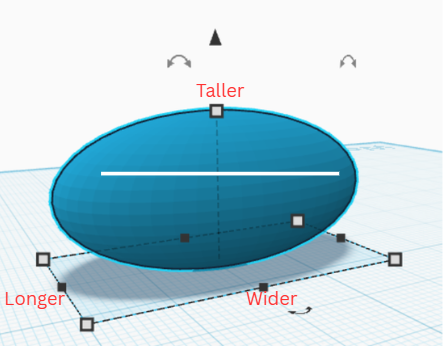
- Select a sphere from the Basic Shapes menu on the right and adjust the shape using the scale handles (square boxes). This will be the body of your turtle.
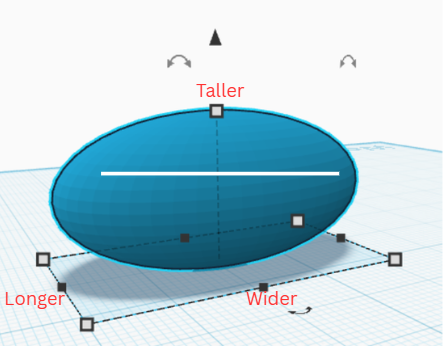
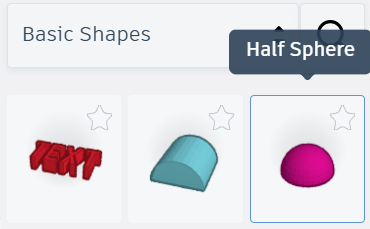
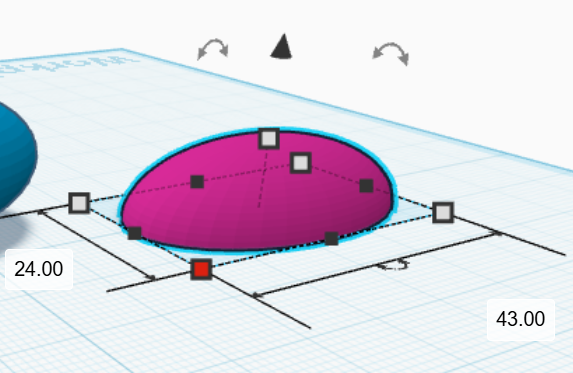
2. Select a half sphere the Basic Shapes menu on the right and adjust the shape using the scale handles. This will be the turtle's shell. The shell should be just a little bigger than the size of the turtle body.
Note: You can get precise measurements by hovering over the corner scale handles.
3. Move the shell up using the z-axis arrow (the triangle above the model) and align it with the top of the body so it overlaps. You may need to adjust the size of your shell to match the body. Be sure to check the body at all angles to be sure the shell is positioned the way you want.
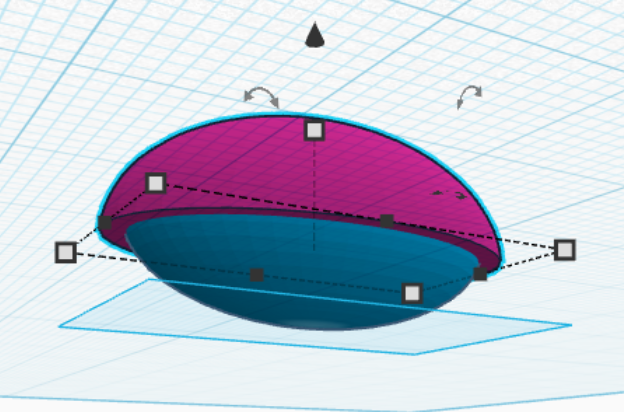
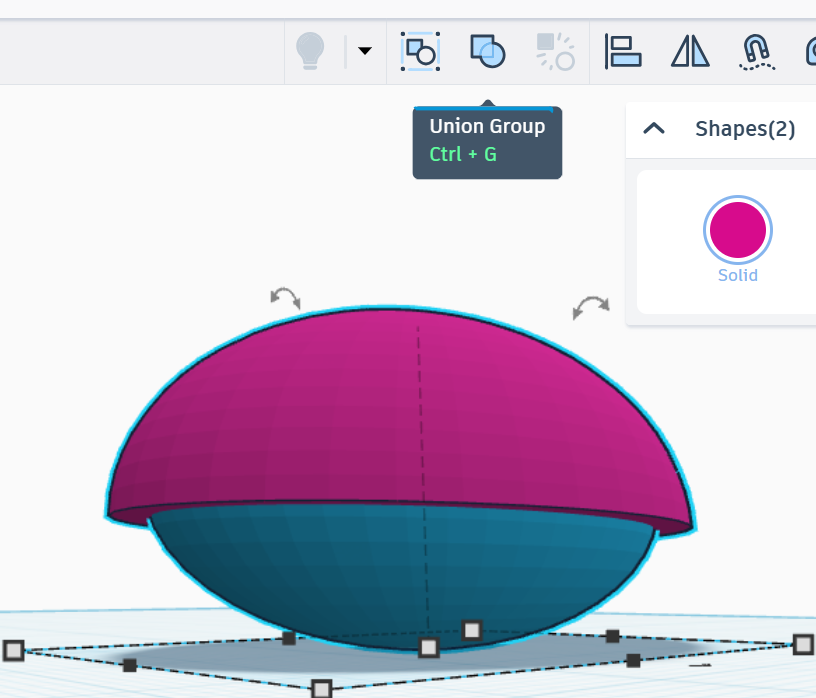
4. Select both the shell and the body and combine them into one object using the "Union Group" option in the top tool bar. Now the body is in one piece!
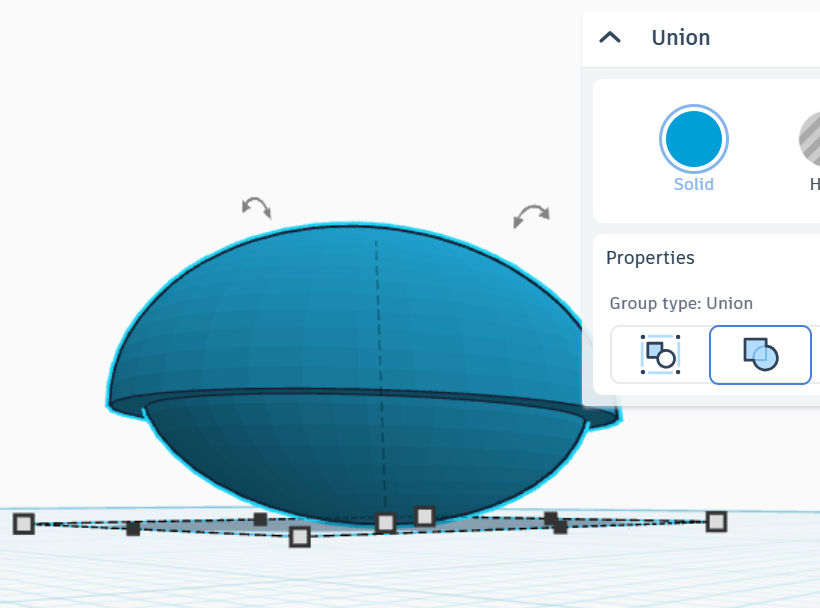
5. Add a cone to the grid. This will be the tail. Adjust the length, diameter, and angle (using rotation arrows above the tail) to the shape you want.
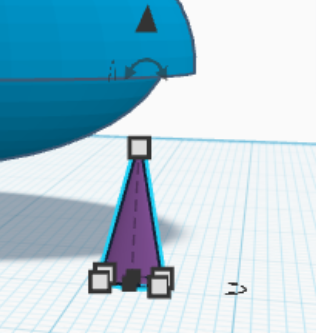
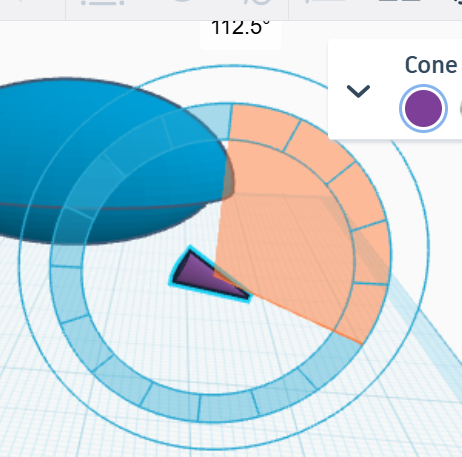
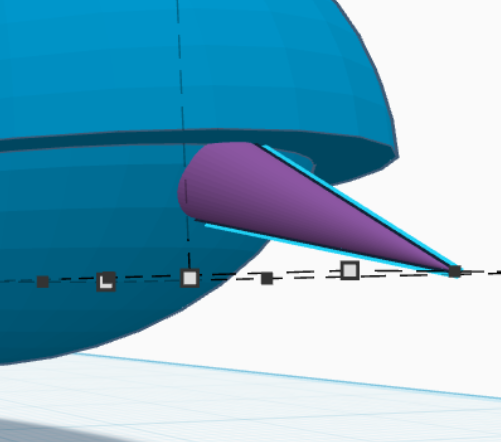
6. Move the tail to the back of the body underneath the shell. Combine the tail and the body into one object using the "Union Group."
The Head
1. Add a cylinder to the grid. This will be the neck. Adjust the length, diameter, and angle (using rotation arrows above the cylinder) to the shape you want.
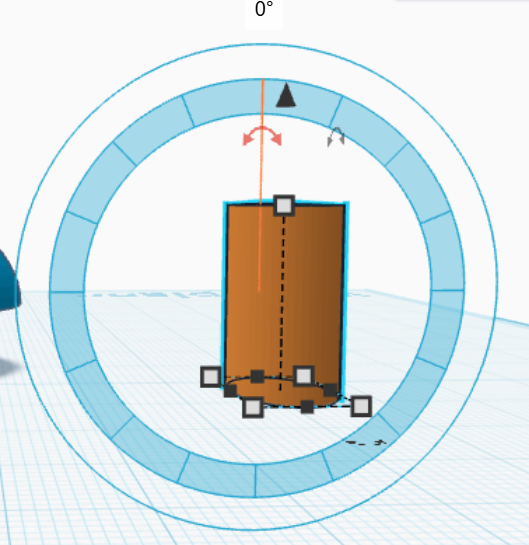
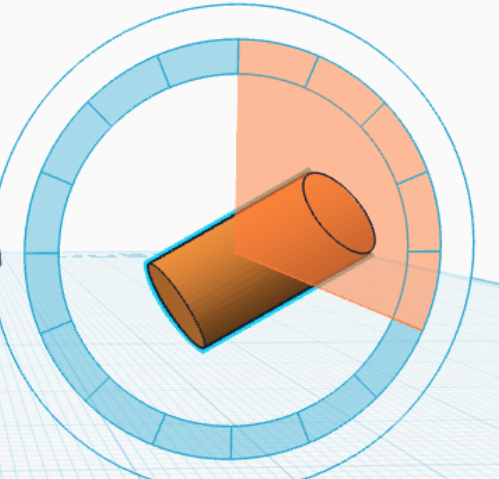
2. Add a circle to the grid and attach it to one end of the cylinder. This is the head. Tinkercad gives you the option to auto-connect it to a plane on the cylinder, or you can move the sphere the same way you did the shell. Adjust the head to the shape and size you want and align it with the neck so it overlaps with the entire top of the neck. Be sure to check from all angles to be sure the head and neck are positioned the way you want.
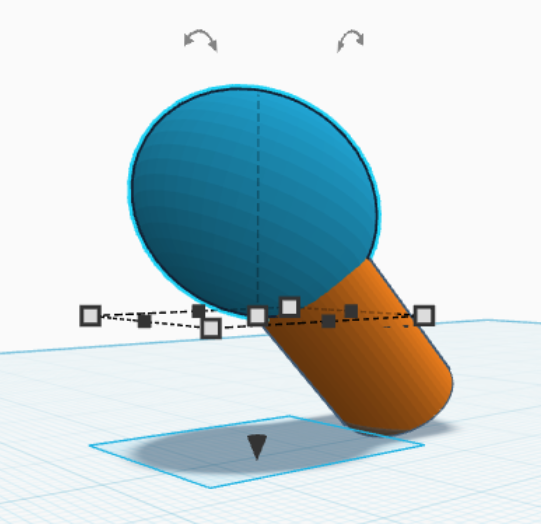
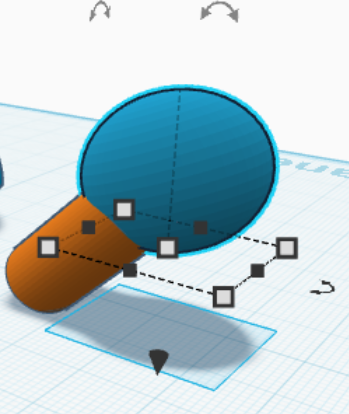
3. Combine the two shapes using "Union Group."
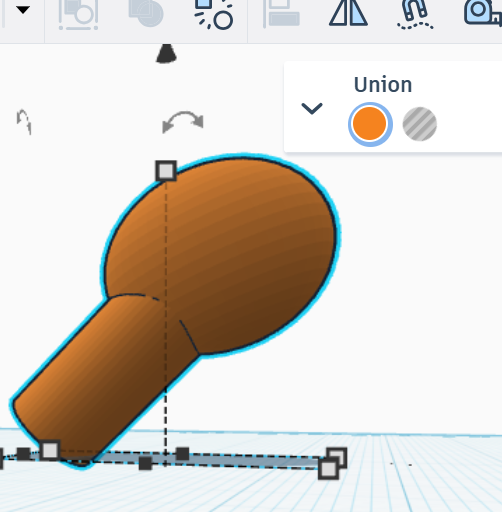
4. Move the neck of the turtle to align with the front of the body with the end of the neck hidden inside the body of the turtle. Adjust the size and angle to fit the turtle's body. Be sure to check from all angles to be sure the head and body are positioned the way you want.
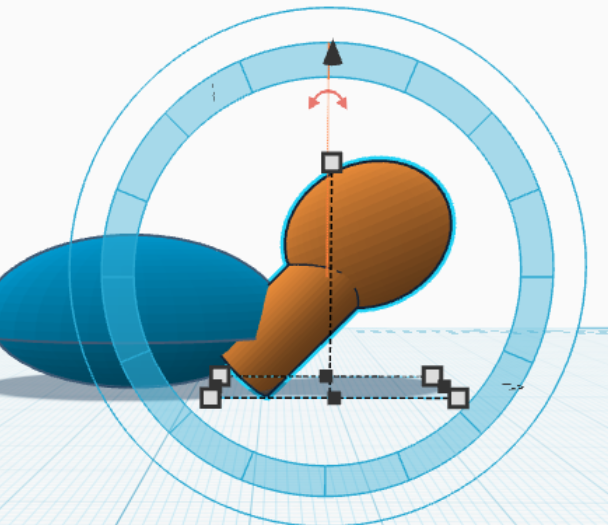
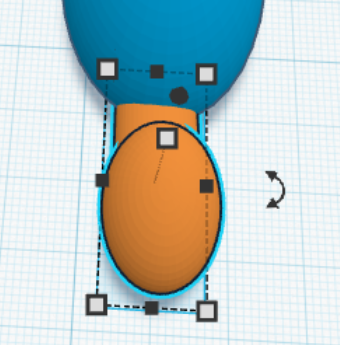
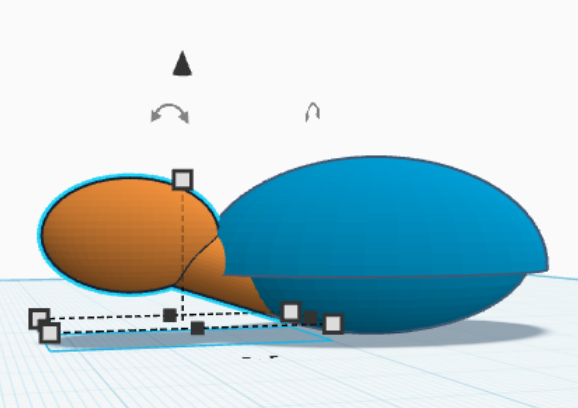
Note: You are able to adjust the size and shape of any of your individual objects by double clicking on them.
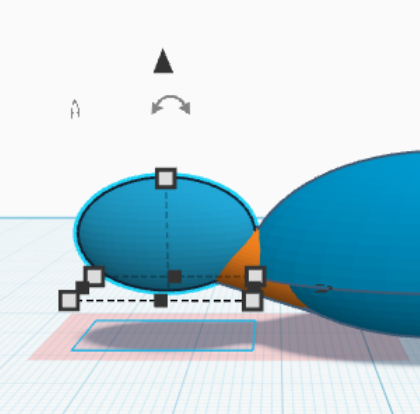
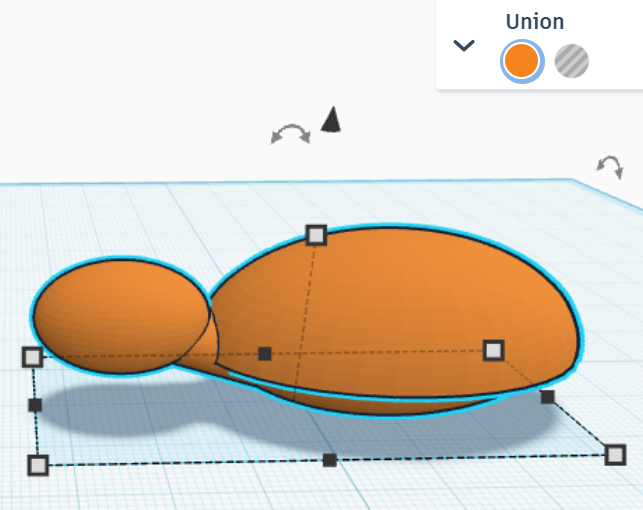
5. Combine the head and body using "Union Group."
The Legs
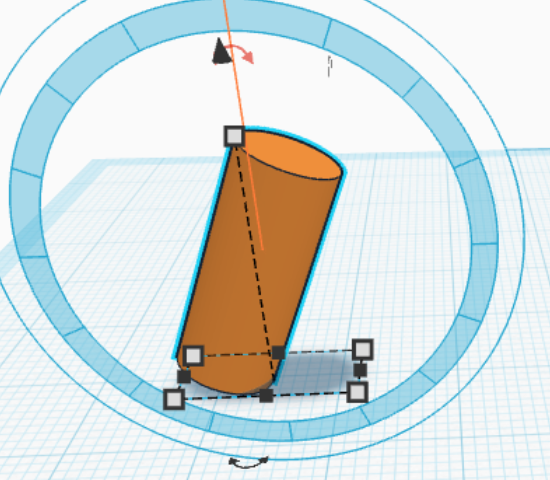
- Add a cylinder to the grid. This is a leg. Adjust the cylinder to the size, shape, and angle you want.
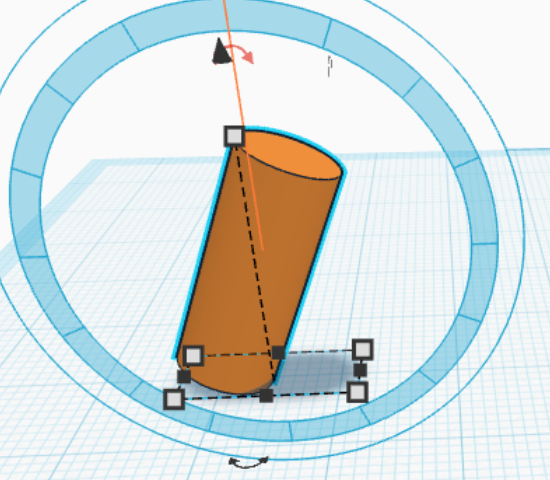
- Move the body of the turtle up using the z-axis arrow and position the leg so the top is hidden in the body, underneath the shell. You may need to adjust the size and angle of the leg or height of the body. Be sure to check from all angles to be sure the top of the leg is entirely hidden in the body of the turtle.
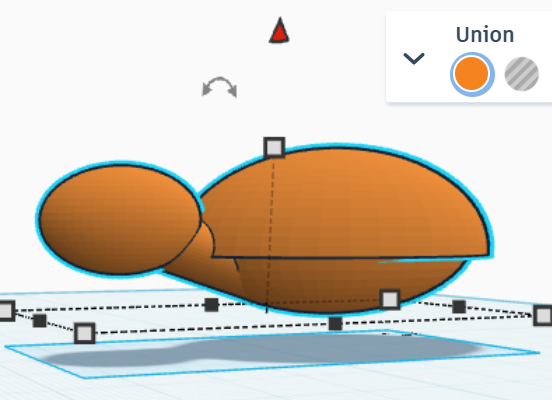
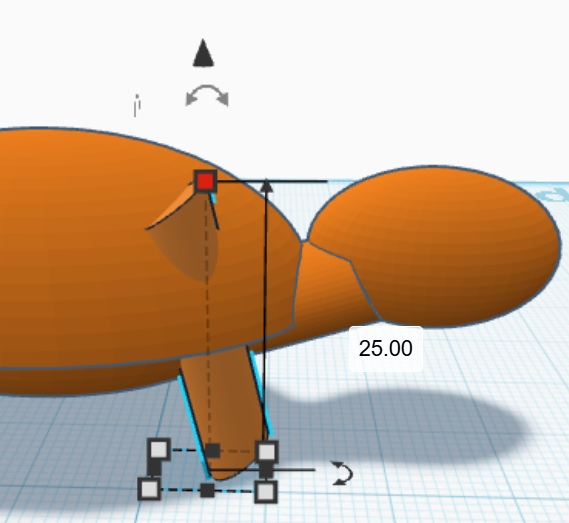
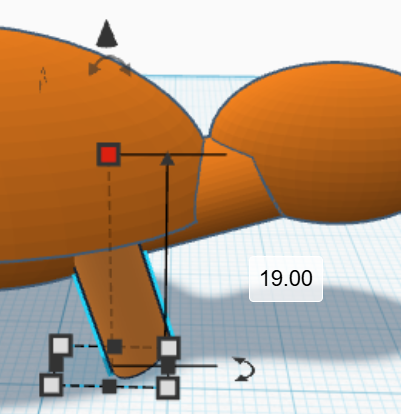
Note: Make sure the turtle's leg does not go below the grid. If this happens, adjust the height using the z-axis arrows.
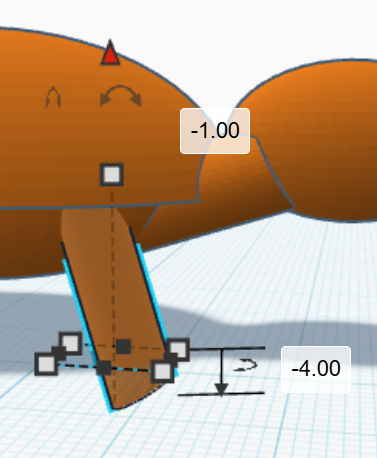
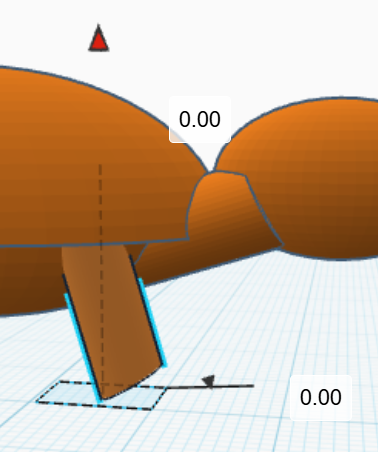
3. Select the leg and copy it using Ctrl+C. Paste the copy using Ctrl+V. The copied leg will appear next to the first one. Move the leg to the other side of the turtle.
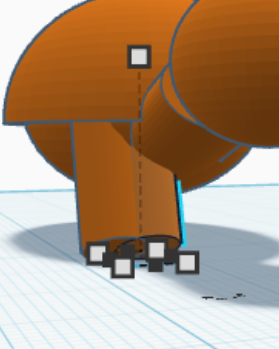
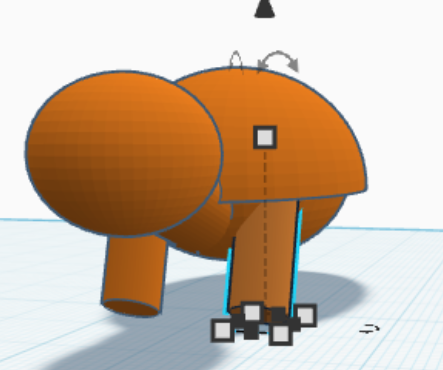
4. Repeat the process of copying (Ctrl+C) and pasting (Ctrl+V) for the back legs of the turtle. You may have to adjust the angle.
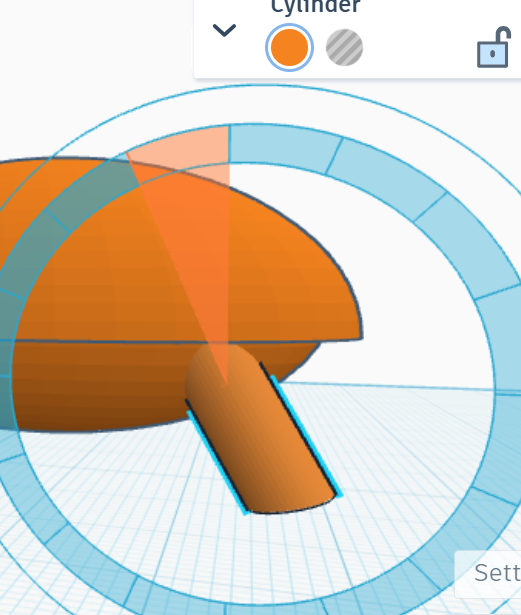
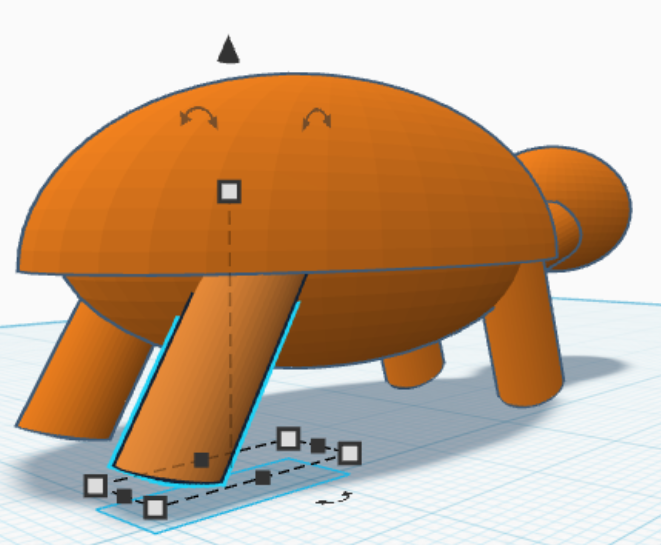
5. Add a half sphere to the grid. This is a foot. Adjust the size and shape of the foot and align it with the bottom of the leg. Be sure the end of the leg is entirely hidden within the shape of the foot. You many need to adjust size or angle of the leg. Be sure to check from all angles to be sure the feet are positioned the way you want.
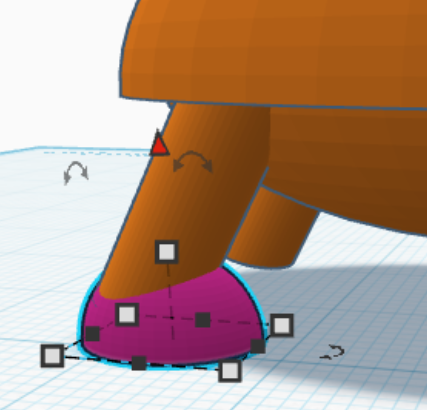
6. Copy (Ctrl+C) and paste (Ctrl+V) the foot for the other three legs. Be sure to check from all angles to be sure the feet are positioned the way you want.
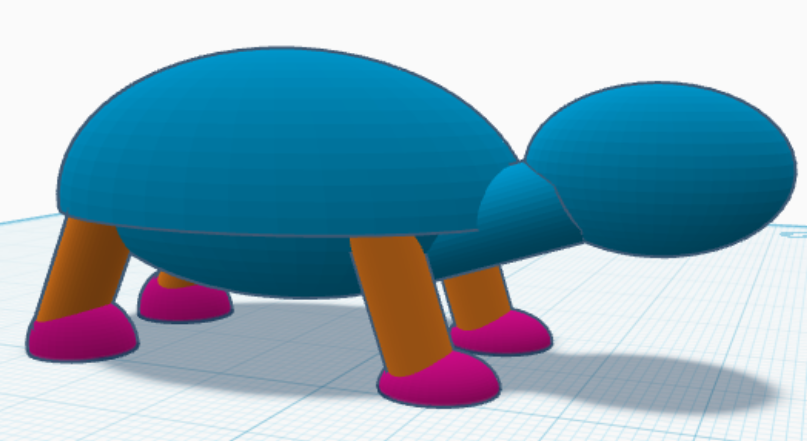
7. Select all the parts and group them using "Union Group".
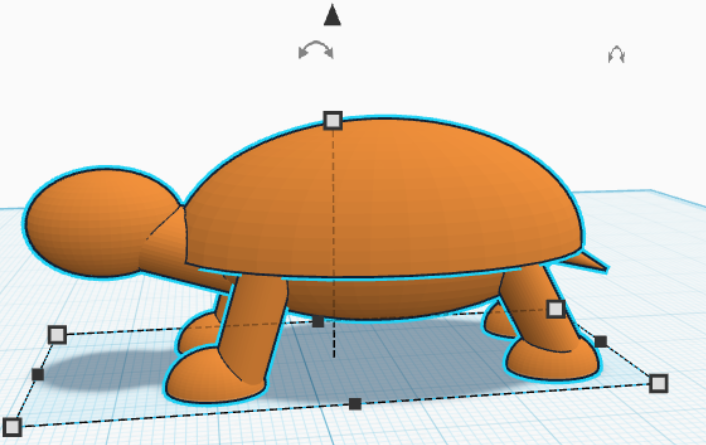
The Face
1.
- Add a sphere to the grid. This will be an
eye.eye. Resize the eye and position it on the head of your turtle. Be sure the eye overlaps.
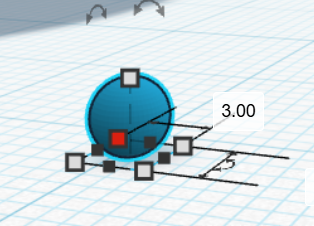
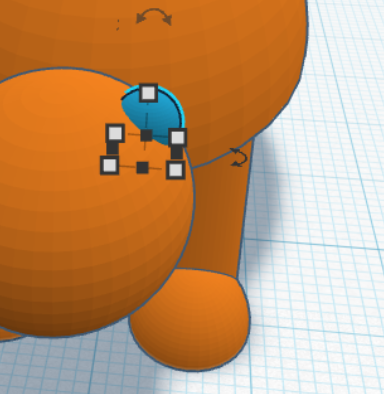
2. Copy (Ctrl+C) and paste (Ctrl+V) the second eye and position it.
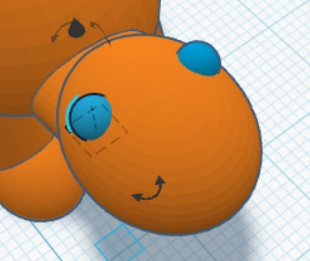
3. Add another sphere to the grid. This will be the turtle's nostril. Resize the nostril so it's very small and position it on the end of the head. Copy (Ctrl+C) and paste (Ctrl+V) a second nostril and position it next to the first. Be sure the nostrils overlap with the head. Check at all angles to be sure they are positioned correctly.
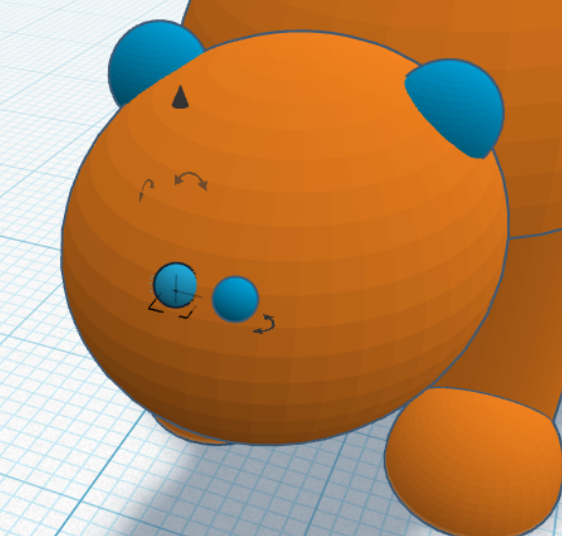
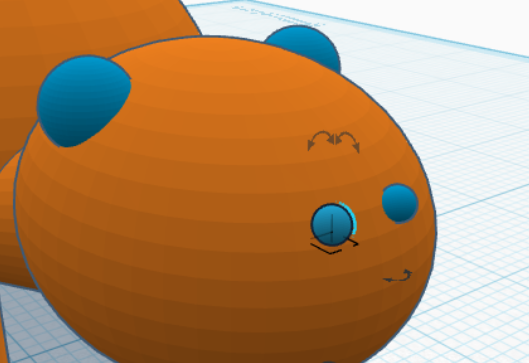
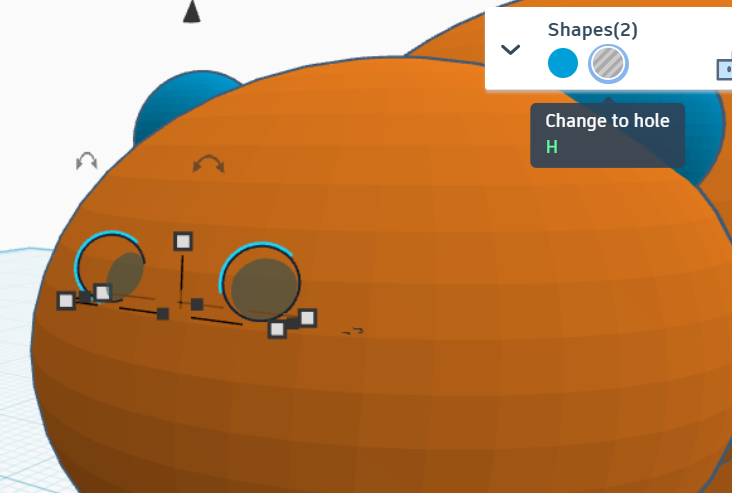
4. Select both nostrils (select one, hold shift and select the second) and select "Change to hole" under Shapes. This will subtract the shape of the nostrils from the head. Now you have nostril holes!
5. Select all the parts and group them using "Union Group". Congratulations! You've made a turtle! Download your project as an .stl file and you are ready to print!