Prusa MK4S
Prusa Slicer: Preparing Model
Article - Beginner's Walkthrough
Youtube - PrusaSlicer Beginner Tutorial: Learn the basics
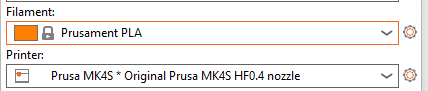
Connect the printer and select filament type
Navigation
Rotate plate - hold left mouse button
Zoom in/out - mouse scroll button
Move plate - hold right mouse button
Model import
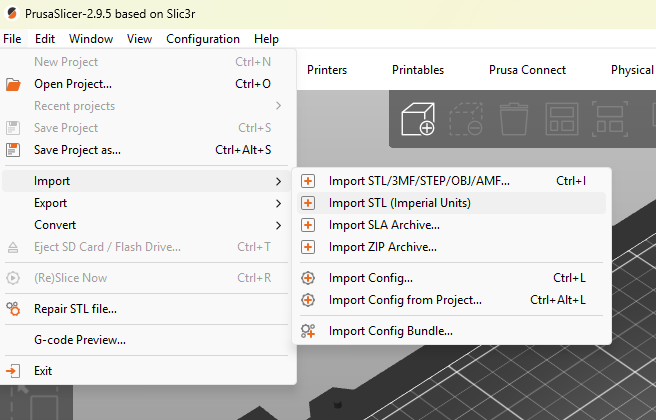
First, you have to import your model. You can either drag and drop it directly to the PrusaSlicer window, use the Add button in the top toolbar, or choose File - Import.
Supported 3D formats are STL, STEP, 3MF, OBJ, and AMF.
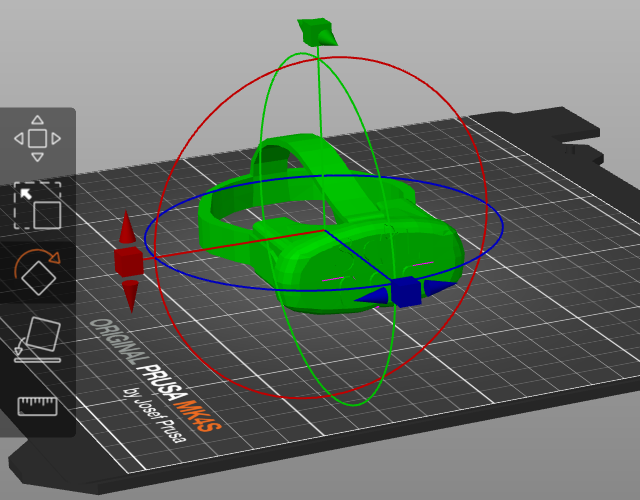
Preparing the Model
Your model may need to be reoriented after import to optimize the print. Icons in the left toolbar will allow you to rotate, resize, and move your model. The place-on-face tool will auto align your model with the print bed.
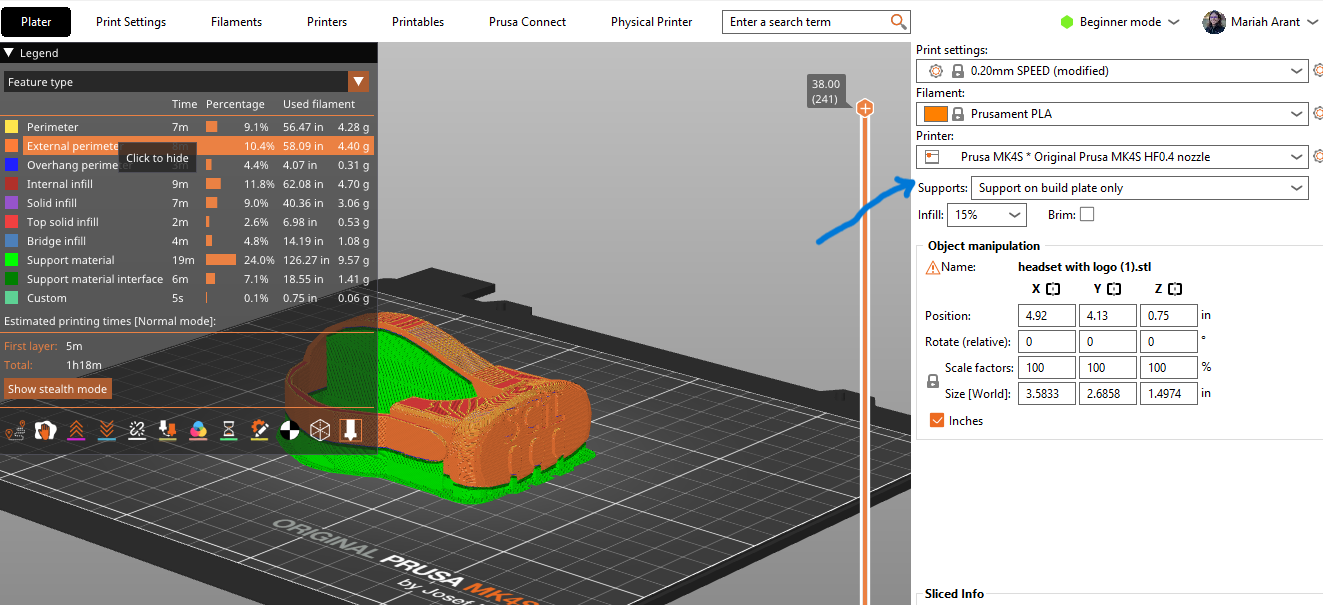
Adding Supports
Models with an overhang over 45 degrees will require supports to print properly. To turn supports on pick either Supports: Everywhere or Supports: On build plate only from the drop-down menu in the right panel.
Firmware updates: https://help.prusa3d.com/downloads
Exporting the G-code
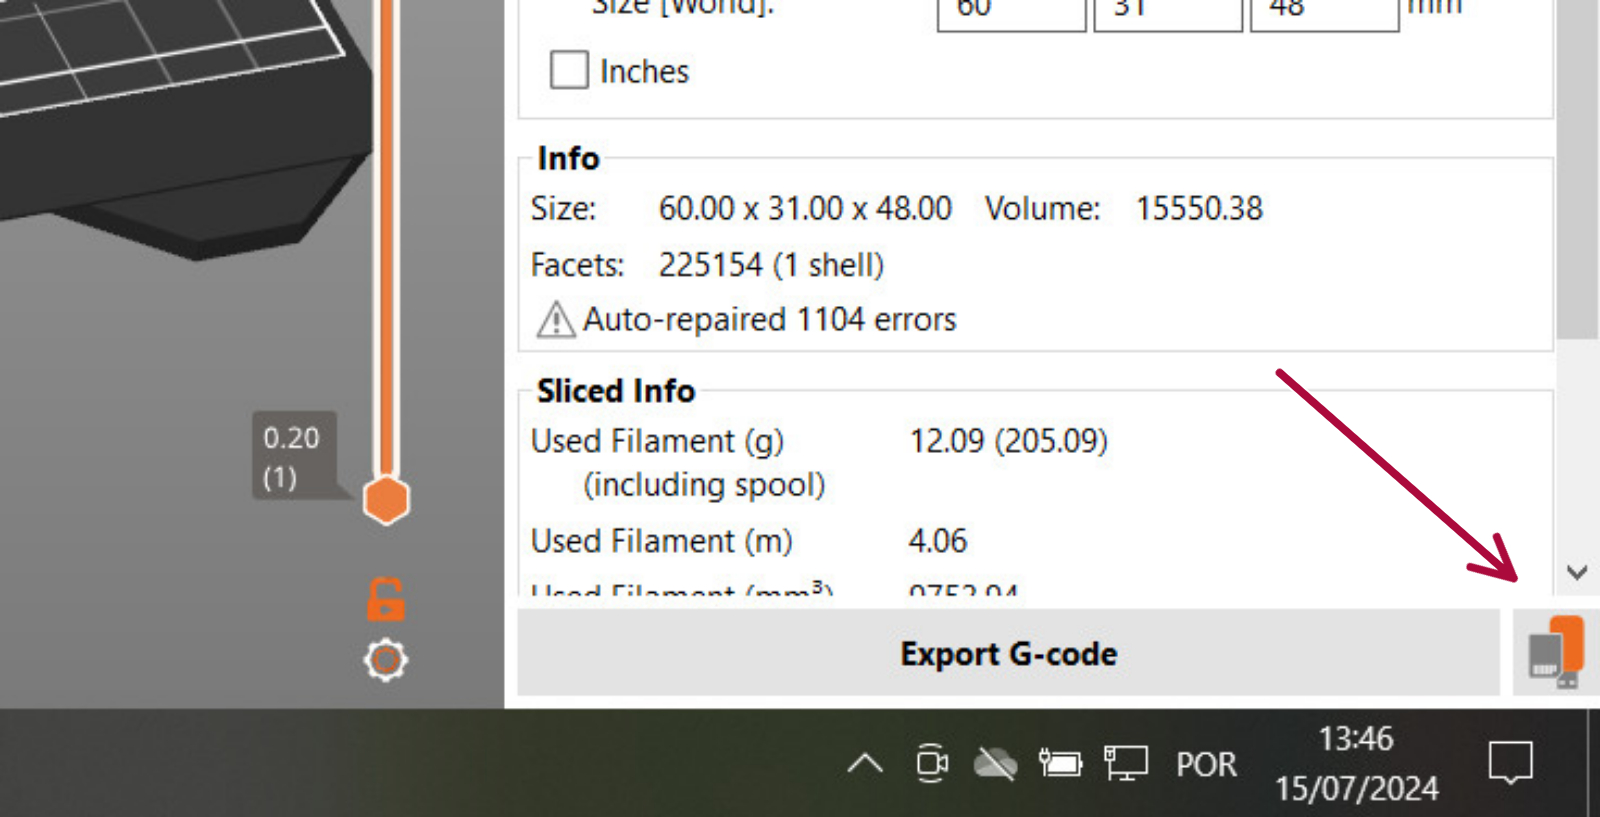
PrusaSlicer automatically detects if you insert an SD card, USB flash drive, or other removable media.
When detected, a new Export to SD/USB drive button will appear next to the Export G-code button (bottom right corner). Clicking it will open the file save dialog with the path initialized to the SD card or USB flash drive.
If multiple SD cards or USB flash drives are detected, the file dialog is opened at the last visited removable media.
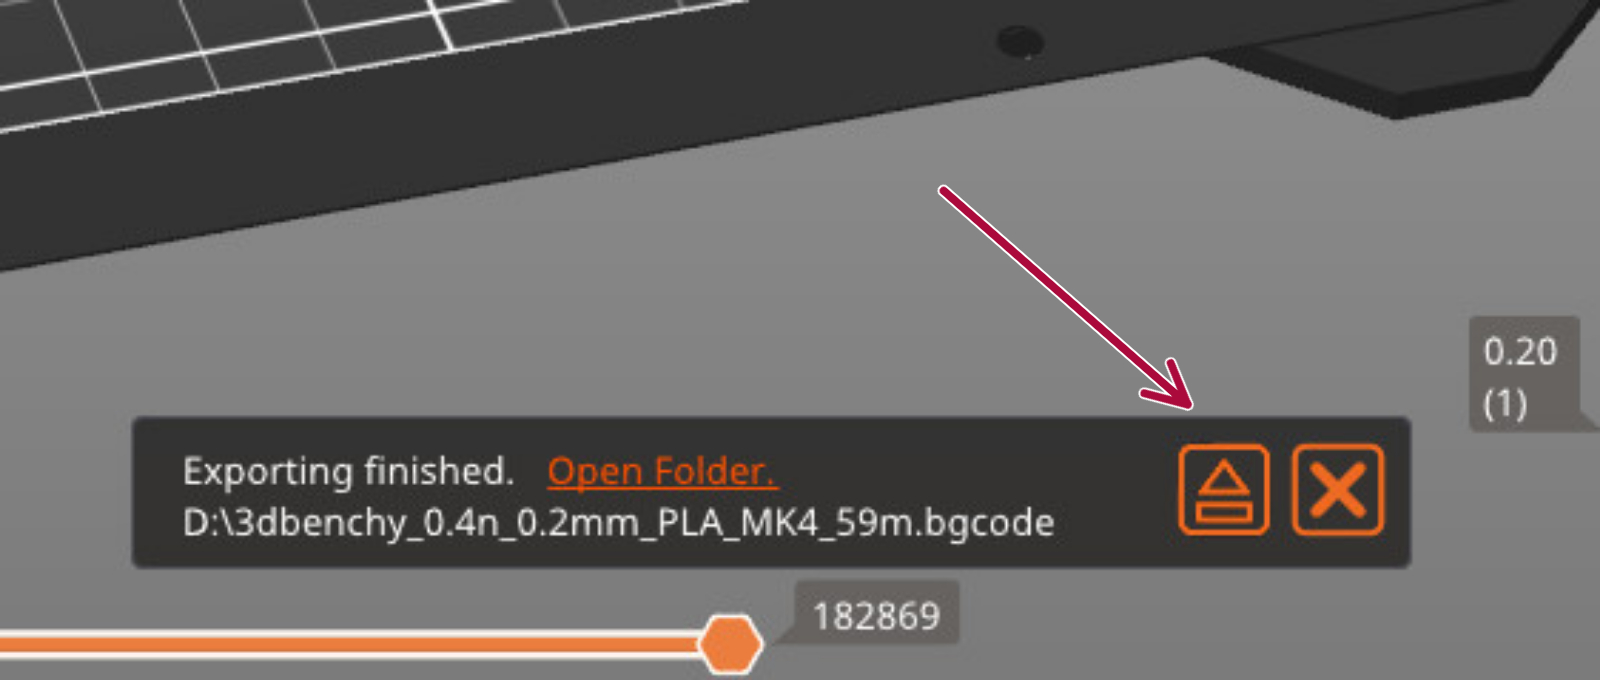
Once a G-code is exported to a removable media, an Eject button is shown on the bottom right of the plater, which will safely disconnect your device.
Insert the USB flash drive into the printer and select your file.
 |
 |
Using PrusaLink
PrusaLink allows monitoring, file uploads, and print control without internet access. The PrusaLink web interface is accessible only on your local network. Enter your printer's IP address (Printer's menu>Settings>Network>Prusa Link) into your browser to access it. This is a useful tool, but not needed for the printing process.