
Vinyl Stickers
Prepping and Cutting Vinyl Tutorial
Preparing and Cutting
-
DependingAttachonyour vinyl to thecut,matputorthefeed your vinyl sheet into theCricut,cricketmakingif large enough. Be sure sure that the ends line up with the whitepieceswheels meant to holditit.
If your cut involves anything except a basic cut, you need to put your vinyl on a mat, then put the mat in the Cricut instead (or if the vinyl is too small to fit into the white pieces on its own)
Reference “Designing Things & Printing” in the "Cricut Basics" chapter for instructions on how to print; it is the same for the vinyl as it is for anything else
After the Cricut cuts outAdjust your design andspace to match the size of your material.
Upload your image to the design isspace small,and cutalign the vinyl into a square,it with your designmaterial. in(Note: arrange your image close to the middle
Tryyou to use as little of the vinyl as you can to save materialmaterial).
UseHit the weeder"Make" (whitebutton “pen body” with silver hook) to rip offin the excessupper vinylright (anythingcorner.
Transfering Design
1.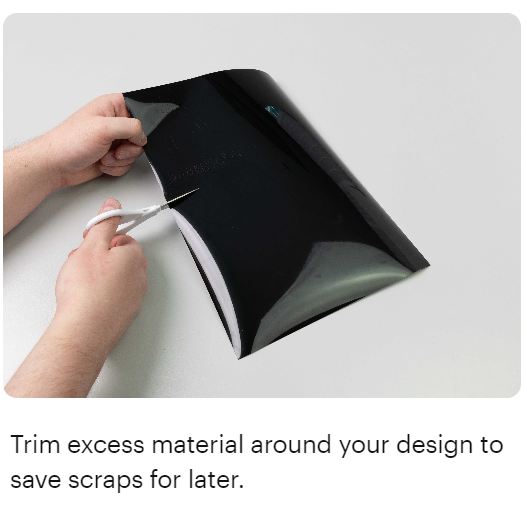 2.
2.
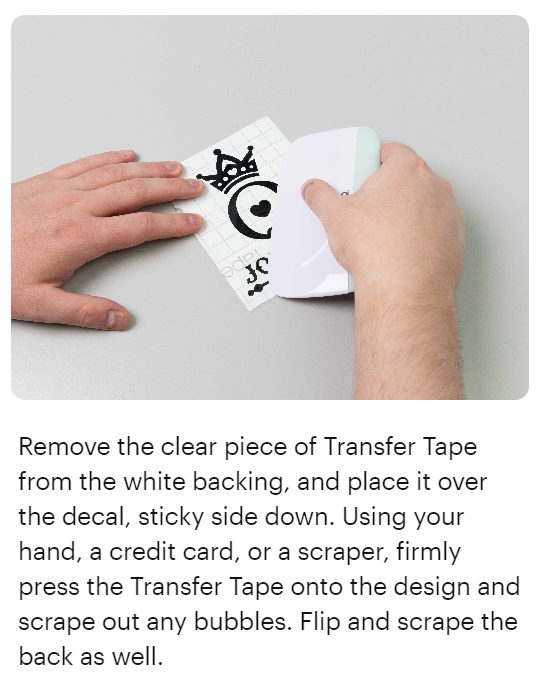
3. Cut out a piece of transfer tape (large enough to go on top of your vinyl design) and peel off the white part. Stick the clear, sticky part of the transfer tape onto your vinyl design, then use the scraper (rectangular equipment in the same location as the pens and weeder in the Cricut that’s flat but then “bulges” up) to press the tape against the design to make sure it stickssticks.
4.
Stick5. the vinyl onto what you’re trying to transfer it to, and use the scraper to stick the vinyl on well
Peel off the transfer tape, and you’re done!
(Note:If the vinyl keeps sticking to the transfer tape instead of your item, even after using the scraper, use your finger to hold the vinyl onto the item as you peel off the transfer tapetape.)