GVM Light Kit
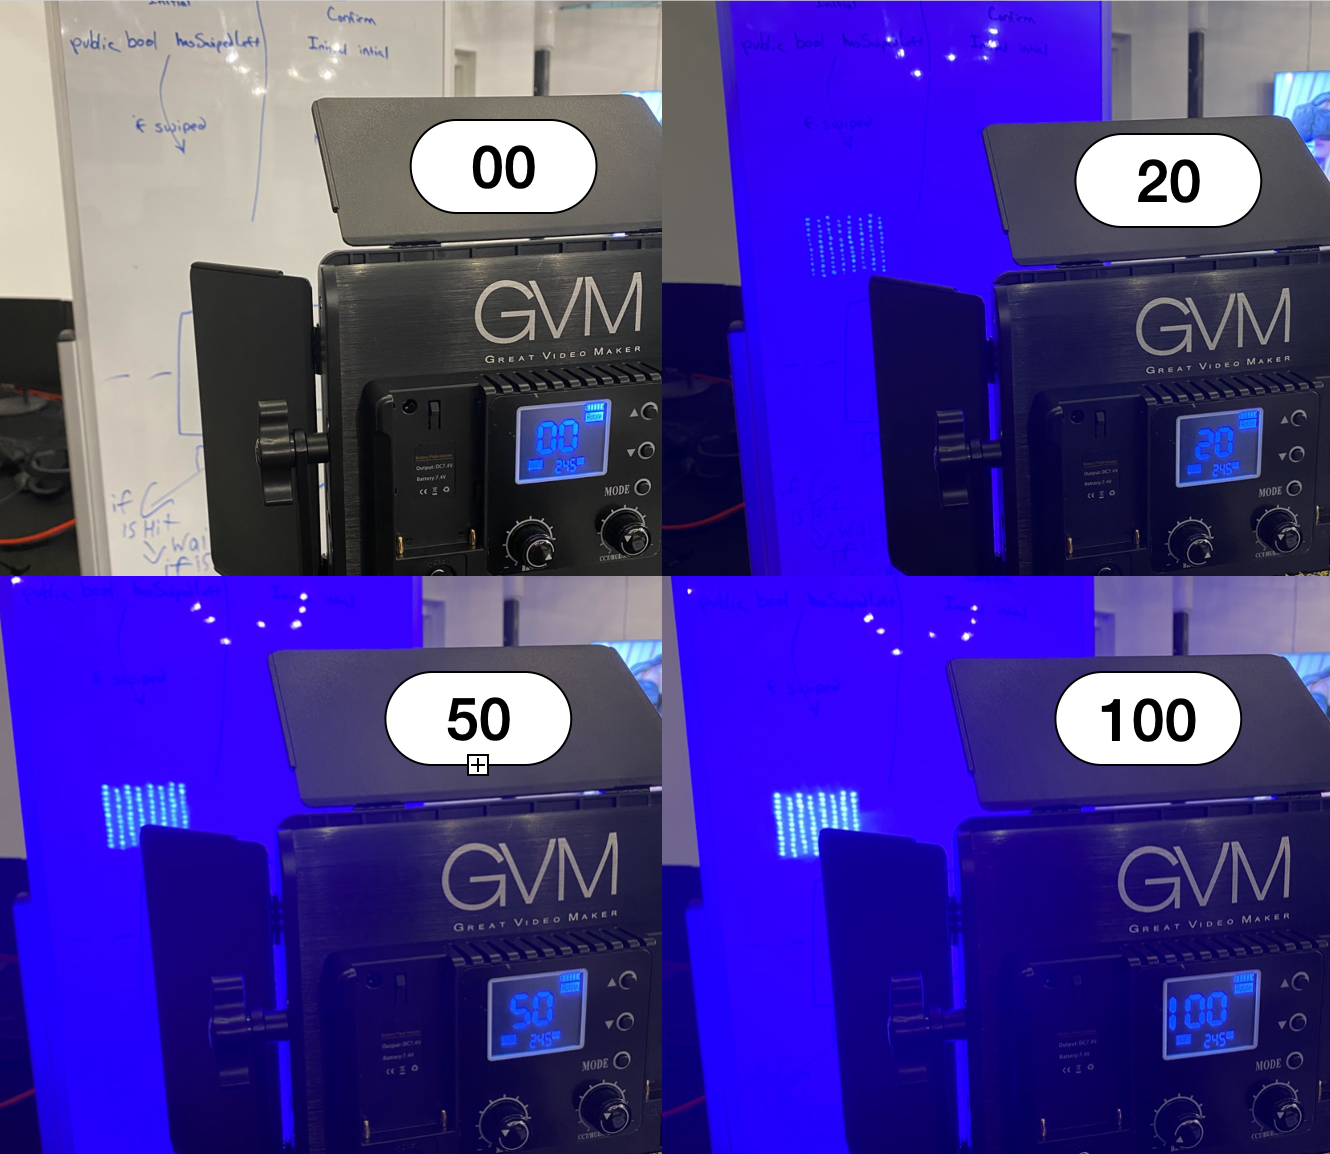
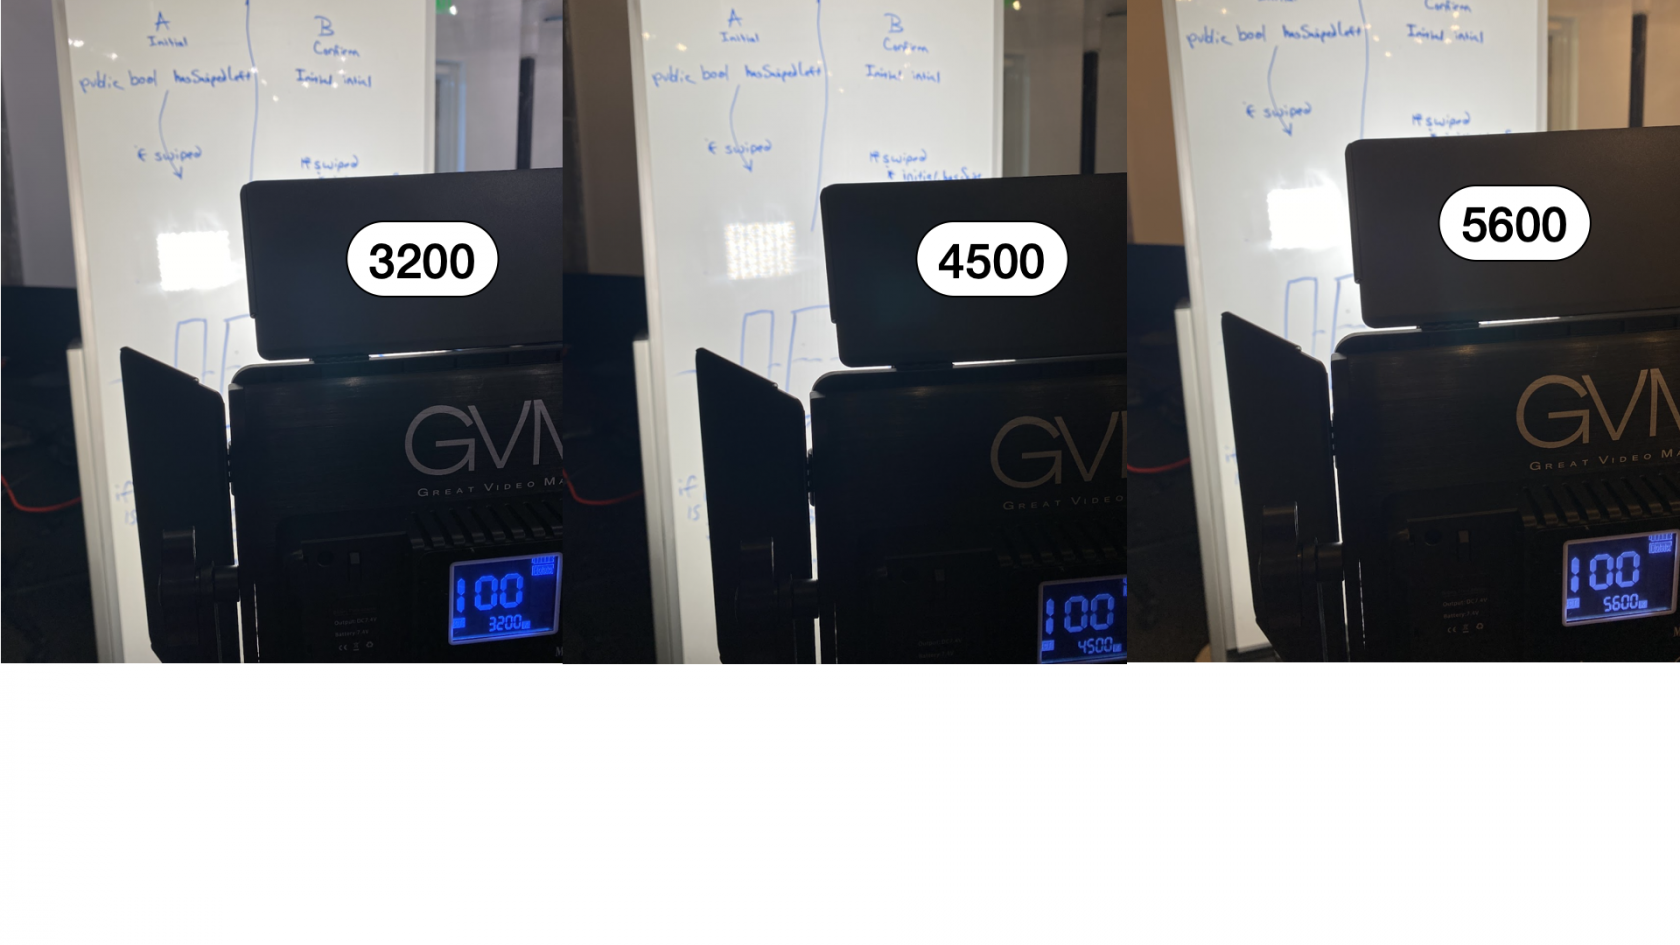
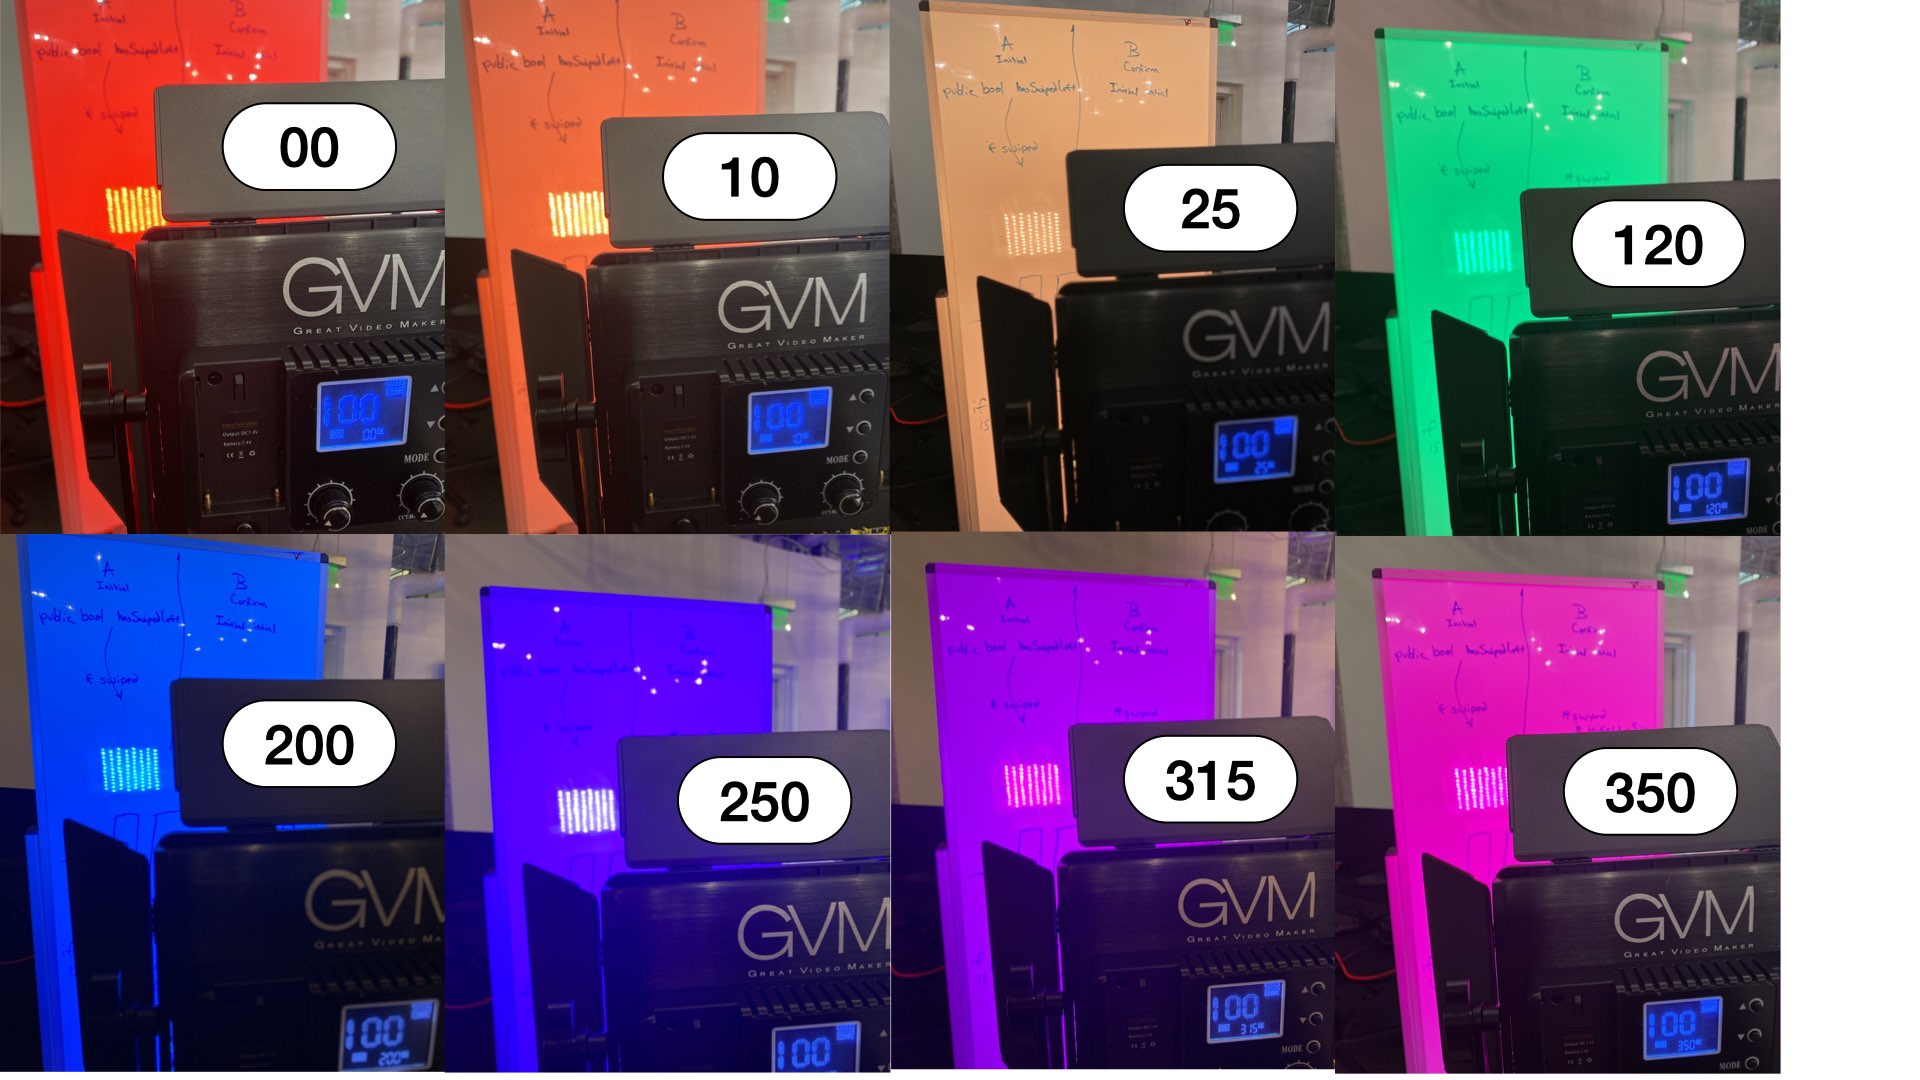
The GVM, Great Video Maker, light kit provides adjustable lighting for photography and videography purposes. Adjustable settings include brightness, warmth, hue, and saturation.
Parts:
- Light panels (3)
- Stands (3)
- Power adapters (2)
Stand setup:
Loosen and tighten the knobs to open and adjust the stand. Keep the light panel closed while attaching to the stand. Use the knob at the top to attach the light panel, tighten to hold in place.
Light panel setup:
Open the barn doors on the front of the light panel. Plug in the power adapter to power the light panel. You can also use batteries. If you are using the power adapter, turn on by switching the on/off button to the right (I). If you are using batteries, switch the on/off button to the left (II).
Adjustments for lighting settings:
Make sure the panel is on 'ROTATE' mode. If it isn't, use the 'MODE' button to change the mode. There is also an app to adjust the light, although it is recommended to use the buttons on the panel. The following directions are for 'ROTATE' mode only.
Brightness: Use the left dial to adjust.
Warmth: Use the right dial to adjust. The screen should display 'CCT' to adjust the warmth of the light using a value of Kelvin (K). If not, press the right dial until it displays 'CCT'.
Hue: Use the right dial to adjust. The screen should display 'HUE' to adjust the color of the light. If not, press the right dial until it displays 'HUE'.
Saturation: Use the right dial to adjust. The screen should display 'SAT' to adjust the color of the light. If not, press the right dial until it displays 'SAT'.
Light panel and stand pack-up:
Turn off by switching the on/off button to the middle (O). Unplug the power adapter to power the light panel. Close the barn doors on the front of the light panel. Detach the light panel from the stand by loosening the knob at the top of the stand. Use the knobs to adjust the stand back to its initial state.


