
How to use Smart Masks in Substance Painter
Open your substance project
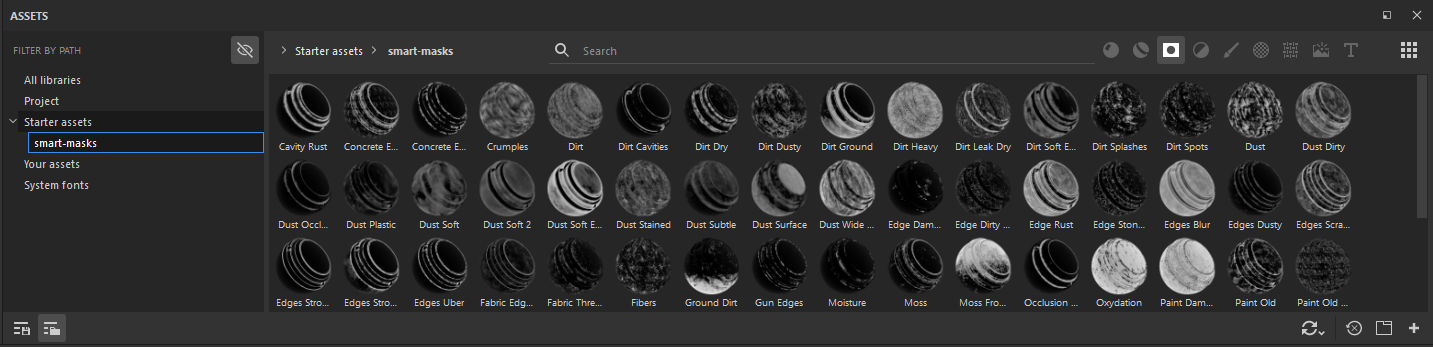
You can find the smart masks in the assets folder. It's a “rectangle with a hole” icon next to smart materials.

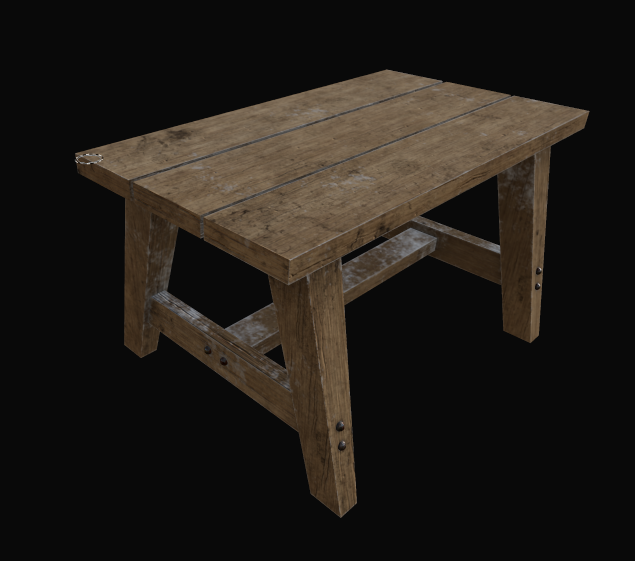
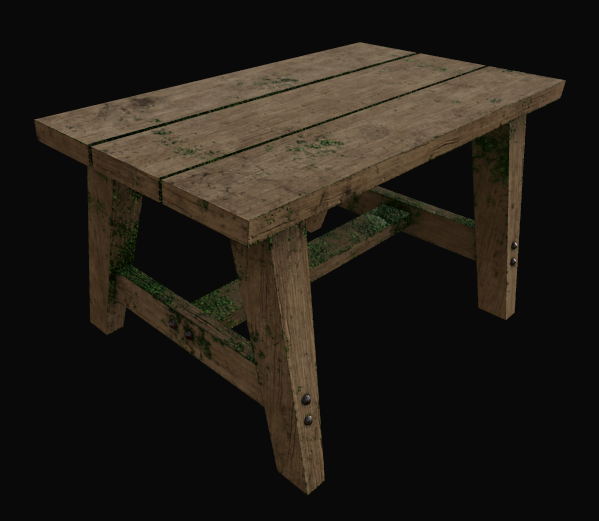
To show how to use the smart masks I will use this table as an example
This is how it looks before any smart mask applied

First select your smart mask drag and drop it in the layers tab
I choose moss for the table
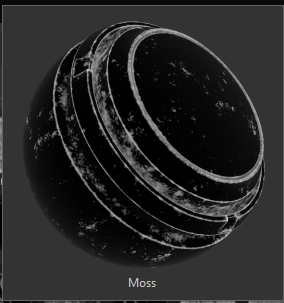
The mask is already applied once dropped in the layers tab
If you click on "Mask Builder - Legacy" in the layers tab you can adjust the settings of the mask


For example, if you change level it would look like this
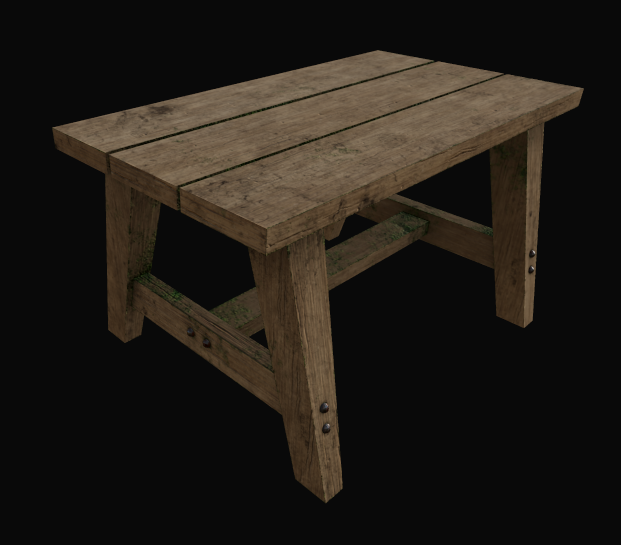

Before After
To add textures, click on the white ball next to mask.

Scroll down in the properties tab. Now you can add your textures in the material section.
Try not to choose materials that have spaces in between.
For example,
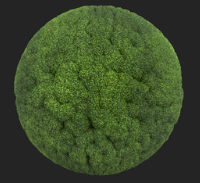
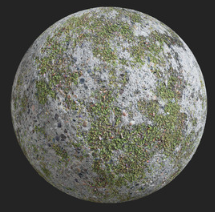
Choose the first one instead of the second one for better visuals
Or if you're going for metal rust.
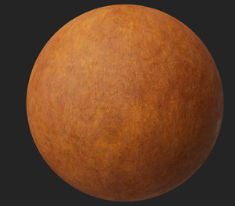

Go for the first one for better visuals.
Now add your textures in the properties window.
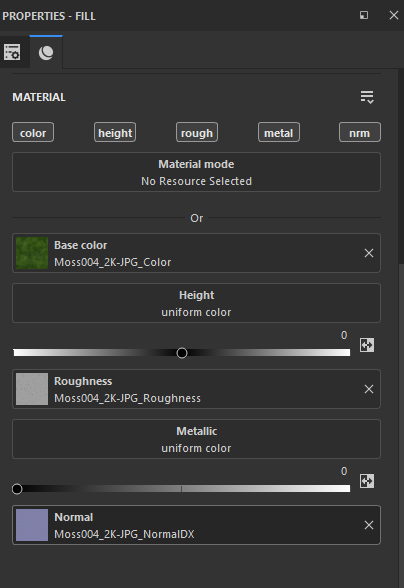
After adding your textures, it should look like this.
The End.