Technical Walkthrough
|
IMPORTANT! Only Authorized Users may operate the laser cutter. |
Step 1: Creating the project
-
Open the ‘xTool Studio’ program (previously known as ‘xTool Creative Space’.) The program is available on the SCiL MacBook, or you can download it onto a personal laptop.

-
Create a New Project or Open a project (must be a .xcs file) from the computer via the home page
-
Once you’ve created the project, you can select or create your design using the buttons on the sidebar:
-
Import a Vector compatible file (.svg, .jpeg)
-
Create your own design
-
Premade shapes (free)
-
Templates (requires xTool account)
Step 2: Connecting to the device
-
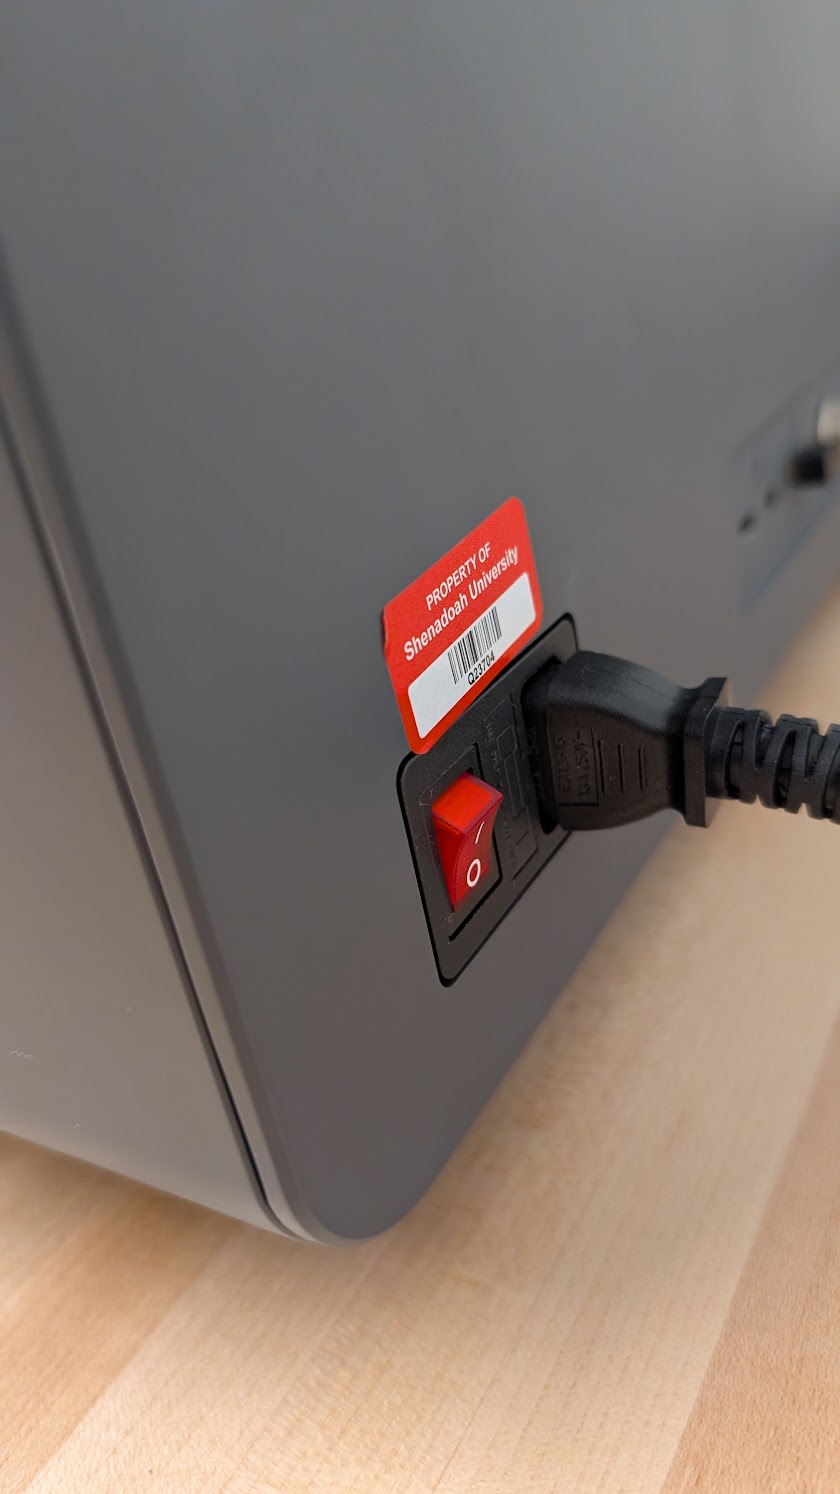
Make sure the laser cutter is on (red switch on the back)
-
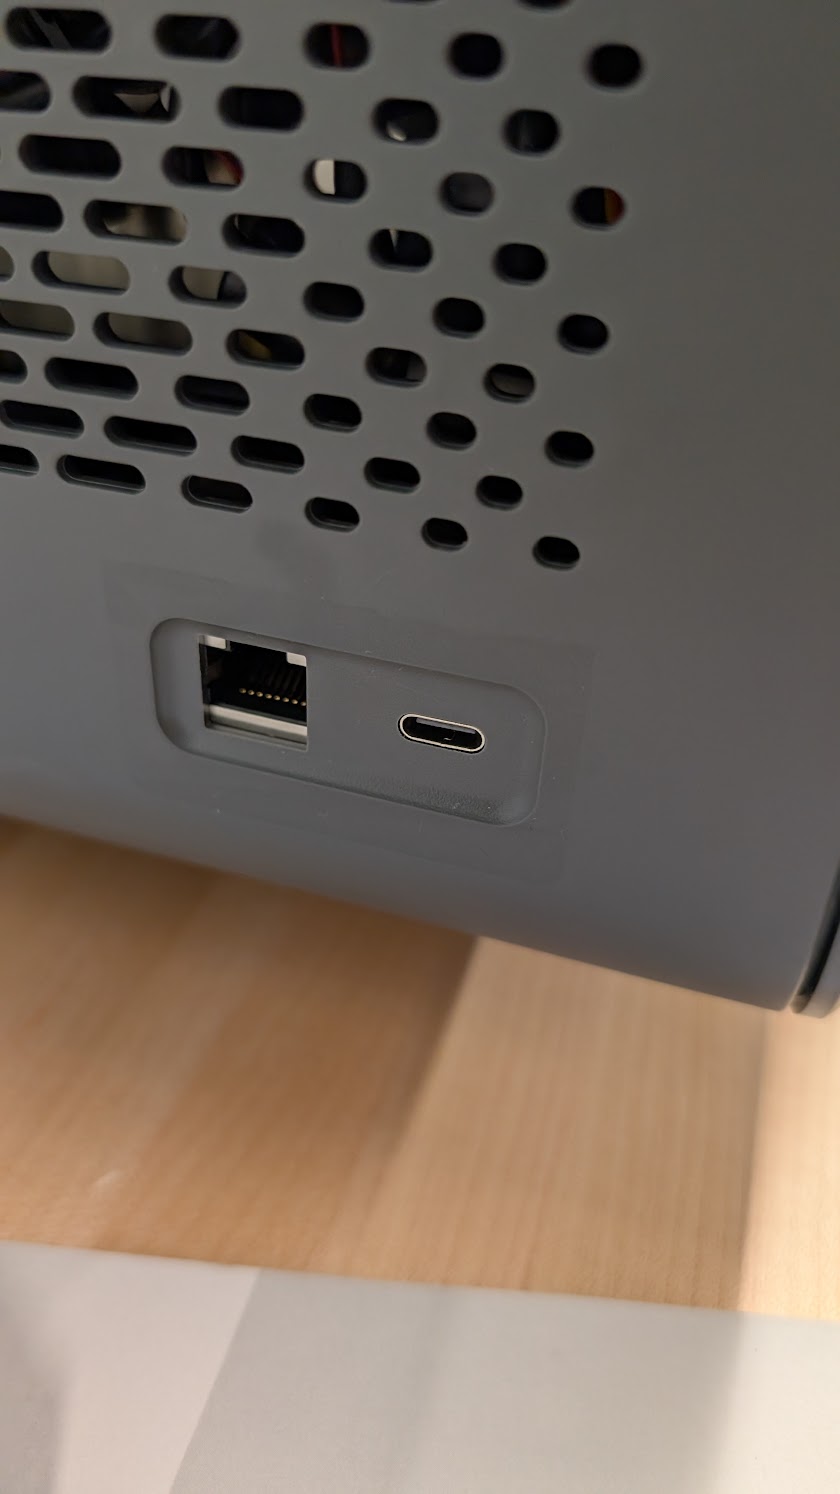
Use a USB-C to connect your laptop to the cutter using the USB-C port on the left side of the cutter.
-
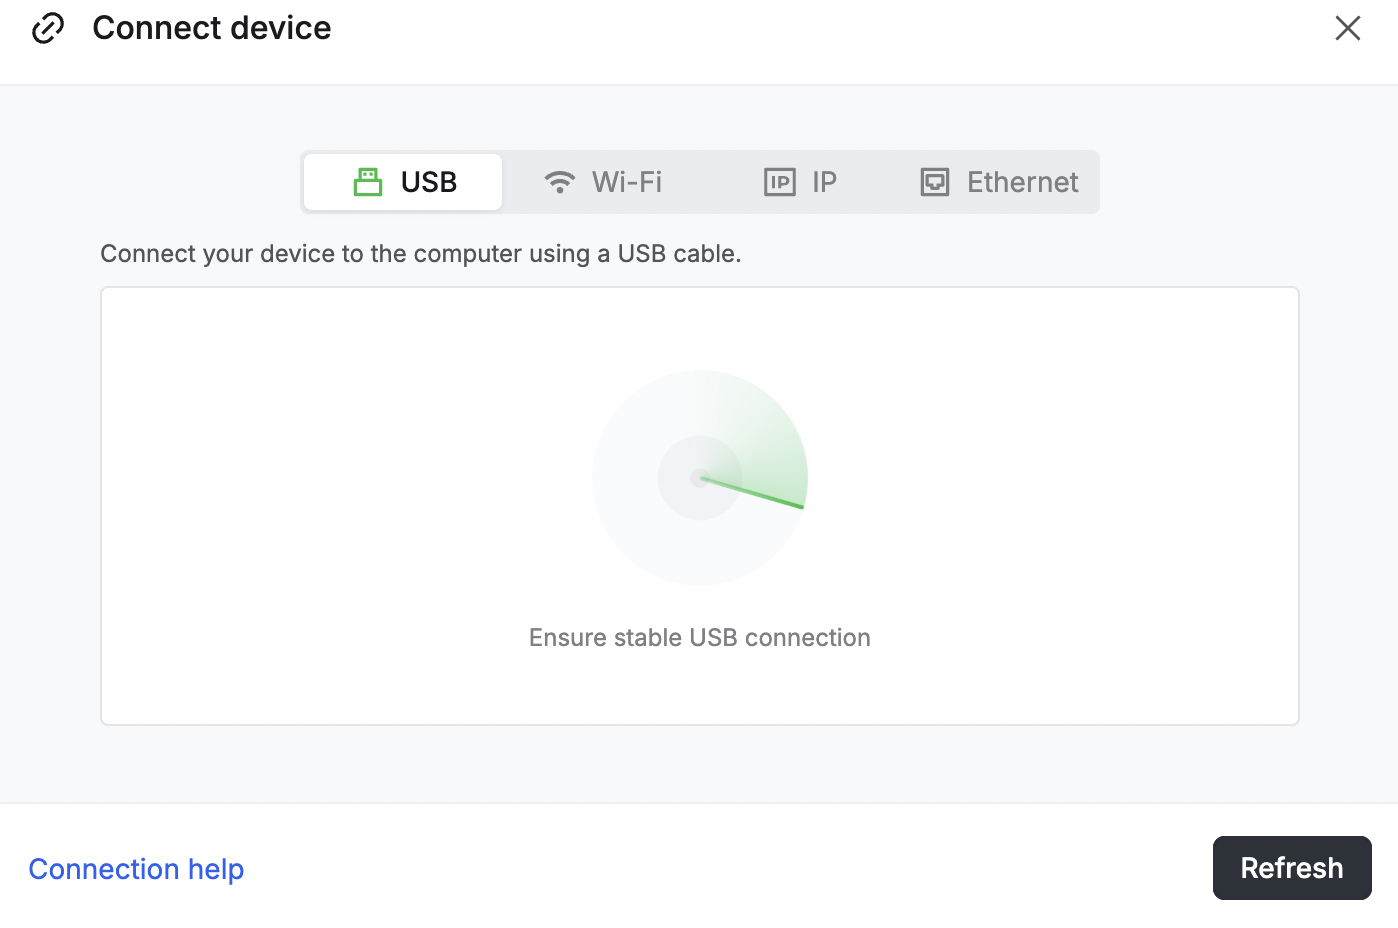
You’ll want to remain on the ‘USB’ tab, as we’ll be using a cable to connect.
-
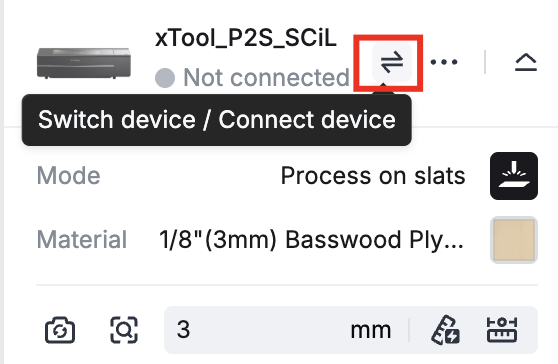
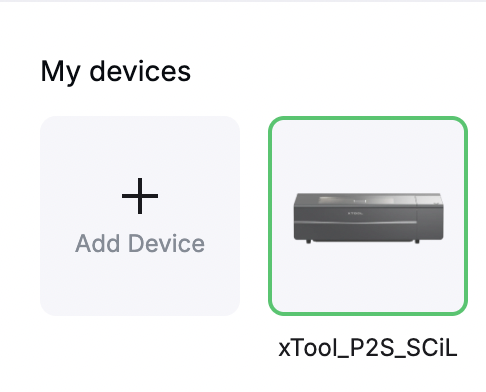
It will open a list of various xTool devices, you’ll want to either click “Add device”, or scroll down to “P2S” and add device
Step 3: Setting up the design to process
-
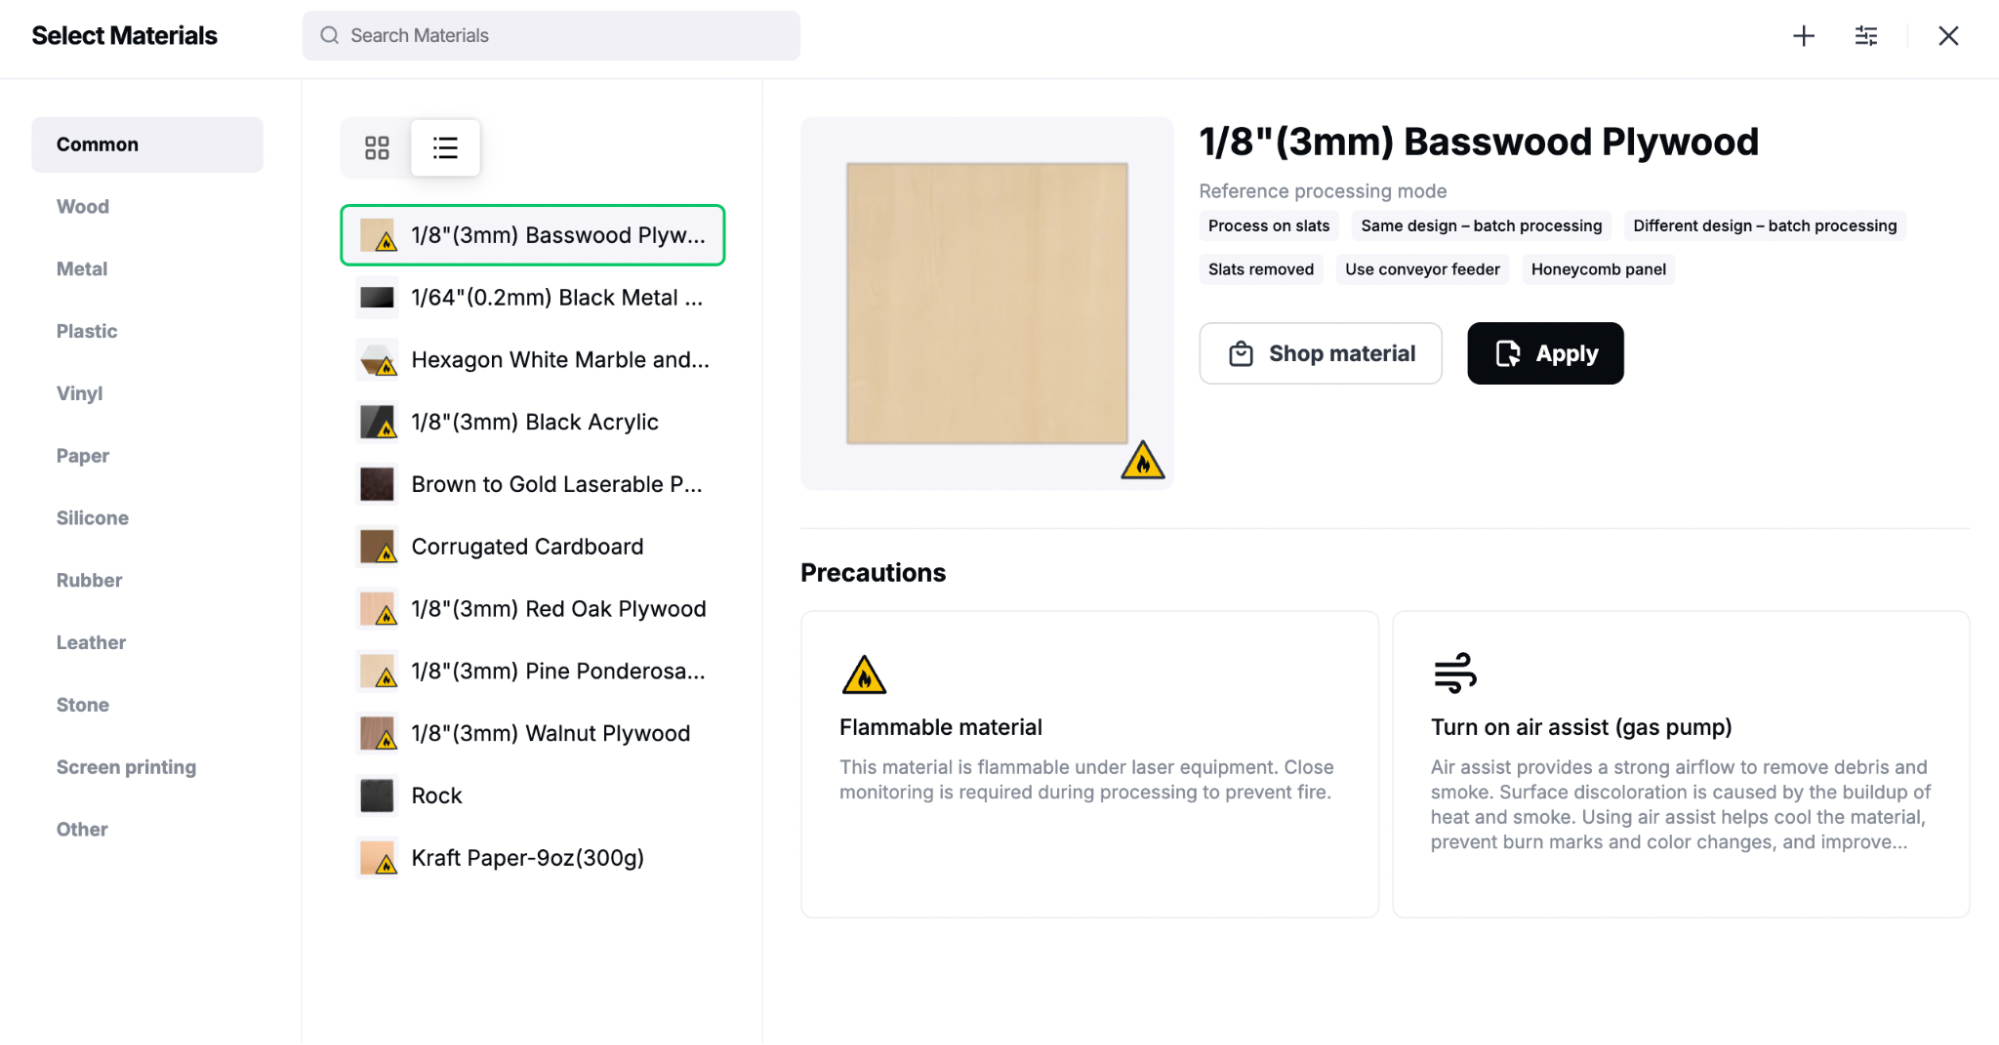
Select materials used - this will give you recommended settings for different materials.
-
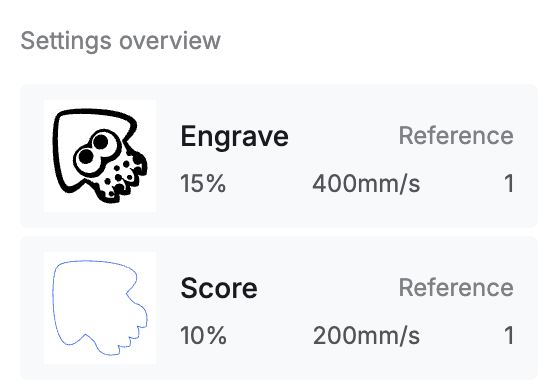
There are settings for each layer and what actions will be taken for them on the right side, example below:
-
Place your material on the slats inside the cutter and refresh the image (opening and closing the lid will prompt a pop-up asking if you want to refresh)

-
Arrange and scale the model depending on the size and placement of your material, if you don’t, the cut will go outside your material
-
IMPORTANT: If you move the material in any way, opening and closing the lid of the cutter will prompt you to refresh the image, you need to do this, or the design won’t be lined up with the material.
-
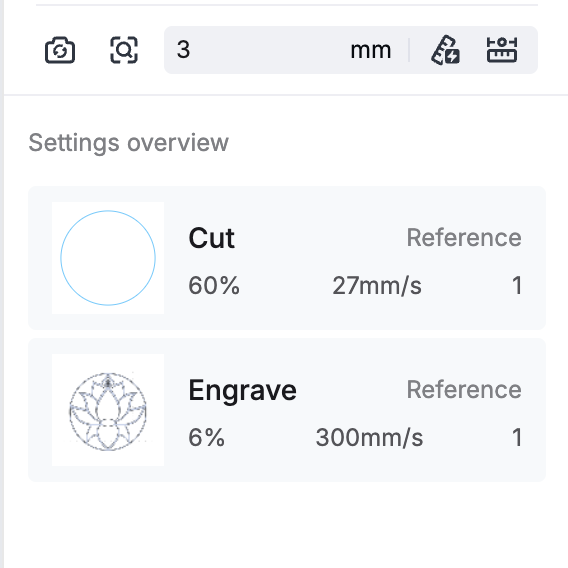
Click preview (if connected to a device, it will display a preview image from the camera in the device, with the model layered on top of it.)
-
You’ll also see an order of the actions the cutter will take, for example, with this lotus flower model, it will cut a circle at 60% power, and then it will engrave the shape of the lotus, at 6% power.
Step 4: Cutting/Engraving the model
-
Click the ‘Process’ button
-
Once you’ve confirmed the model with the camera preview, click ‘Start’
-
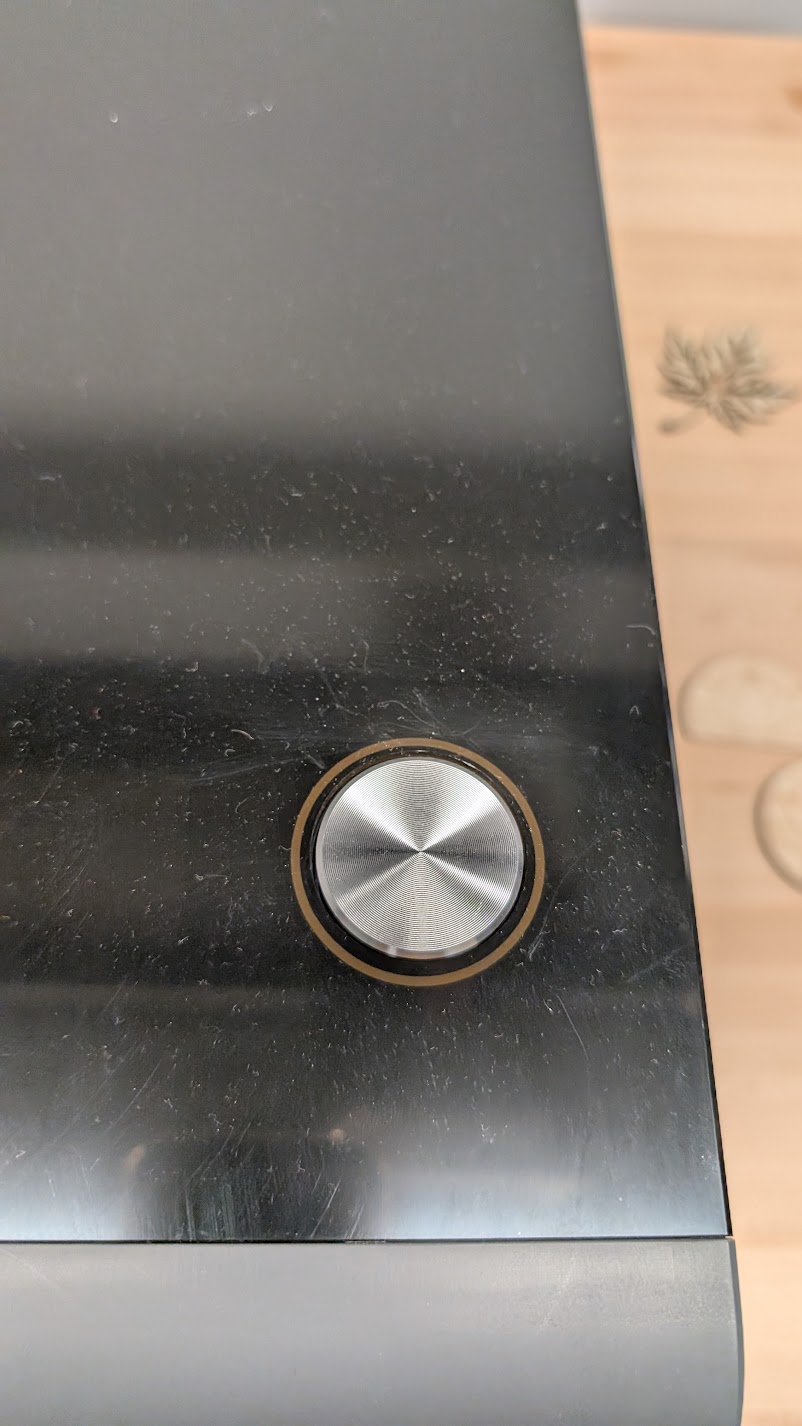
You will then be prompted to press the button on the device itself.
-
You should wear protective goggles if you look into the machine while the laser is running.
-
Do NOT leave the device unattended when it is actively cutting/engraving.
-
Materials may be hot after processing.
Be sure to clean out the bottom tray and turn the laser cutter off after use.