Attribute Editor
The Attribute editor has a couple of tabs when you click on an mesh.
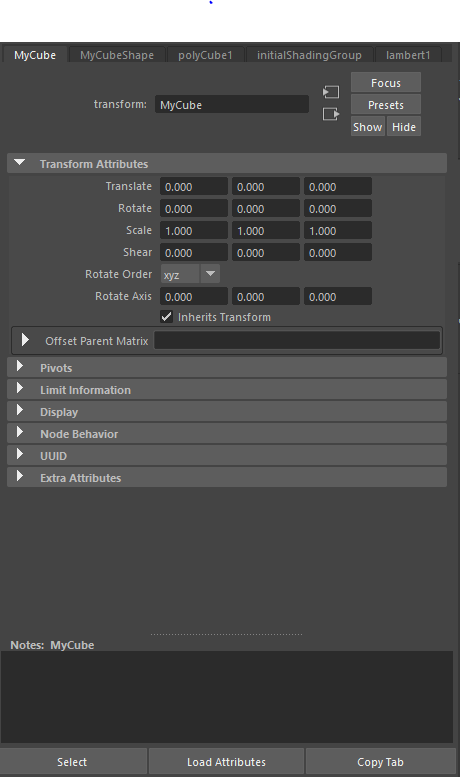
The first is the transformations of the mesh. Translate, Rotate, Scale.
Translate is the position in the scene. X Y and Z are what is used to note the position of the mesh. Z being the first number and corresponding to left and right , Y being the second and corresponding to up and down, Z being the last and being forward and back.
Rotate is edited in the same way you translate. Rotate is what it sounds like. It turns the mesh from its pivot (which is usually in the middle).
Scale is also edited the same way you translate. Scale will edit the size of an object in the direction picked.
(You can do a short cut for each by clicked the mesh and then hitting W for Translate, E for Rotate, or R for Scale.)
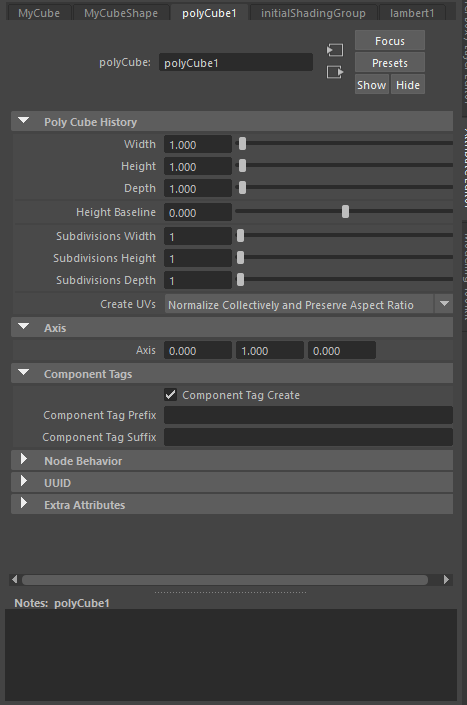
The poly tab is another way to edit your mesh.
Width, Height, and Depth can be used similarly to the scale tool. The more important part of this tab is the subdivisions. Subdivisions are used to split the object into more faces. This allows you to edit more of the mesh as you have more vertexes, edges, and faces.
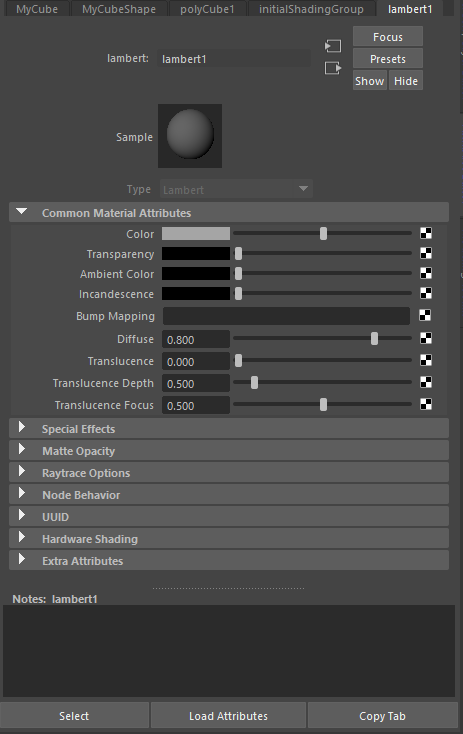
The lambert1 tab is a default tab. It is the material that is assigned to every mesh by default. In this part of the editor you can add a different material if you do not want the flat look of lambert.
(Hold Right Click the Mash ~ Assign New Material ~ Click Desired Material.)
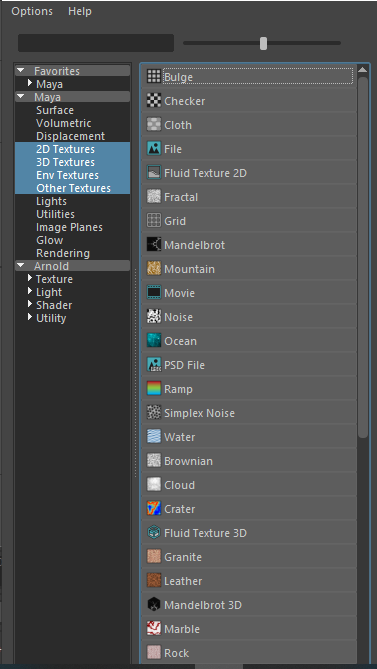
Once you have the material, You can edit the color, Transparency, Ambient Color, Incandescence, and other small settings of the material. Clicking the Black and white checkered will pullup a screen that allows you to assign a pre existing texture or one you have made yourself.