Teleport Part 1
Prequisites
- Completed Getting Started with VR for Godot and have a working world.
- Completed VR Controller Input for Godot
Setup
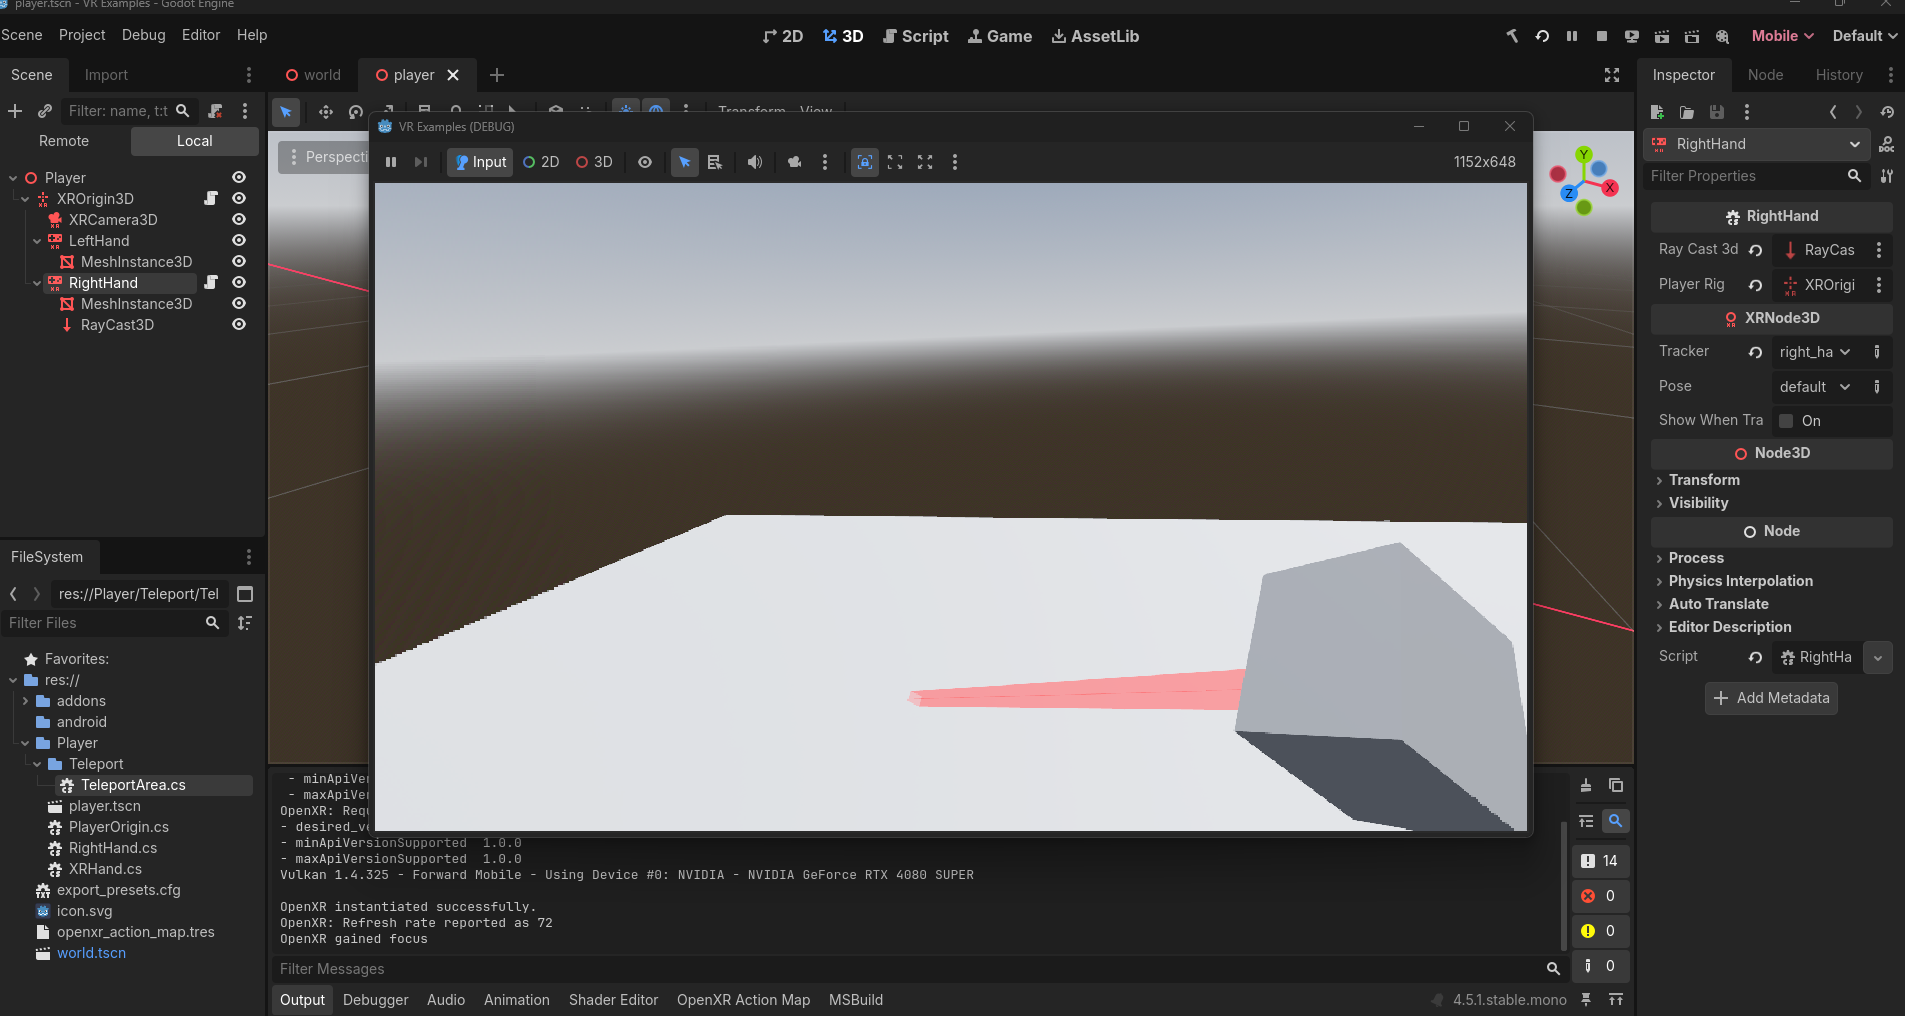
Let's make sure we are on the same page with our player. I like to use a general Node3D as my root node and place my VR rig inside it, this way I can add other nodes as components and nothing will be dependent on VR. If your player root is an XROrigin, you can open the scene, right-click and choose Change Type... and rearrange your nodes as needed (or rebuild your player entirely is you wish).
Here is my layout:
You also must have completed the page for VR Controller Input. For this guide, we will focus on the right hand. You may have more code, but here is the bare-bones for my Right Hand:
C#
using Godot;
using System;

public partial class RightHand : XRHand
{
    public override void OnTriggerPressed()
    {
        GD.Print("Right Trigger pressed...");
    }

    public override void OnTriggerReleased()
    {
        GD.Print("Right Trigger released...");
    }

}
GDScript
extends XRHand

func on_trigger_pressed():
	print("Right Trigger pressed...")

func on_trigger_released():
	print("Right Trigger released...")
Please TEST IN VR and make sure we are on the same page before proceeding!
Raycasting
Our goal will be to teleport our entire object by pressing a button on our right controller (trigger in this case), aim an area in our level, and if that area is found to be a teleport area, releasing that button will move our player to that position.
First, create a new script in your FileSystem window, thechoose languageyour willlanguage, be C#, inheritsinherit from Node3D, leave Template unchecked, and set the path in an appropriate place, named TeleportArea.csTeleportArea (or teleport_area for GDScript). If you are using C#, a class will be created for the script. If you are using GDScript, be sure to add class_name TeleportArea at the top:
class_name TeleportArea

extends Node3D
This class can be left empty for now, it will be useful later as any object in the level that holds this script will make the area a valid teleport area.
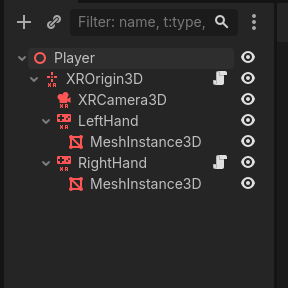
Select your RightHand (XRController3D) and add a new child node called Raycast3D. You may rename it if you wish, but for now edit the following properties:
- Target Position: x: 0.0, y:
-100.0,0.00, z:0.0-100 (note theyZ is in the NEGATIVE. This is the distance your teleport area will emit) Transform/Rotation: x: 90.0, y: 0.0, 0.0 (this will rotate the Raycast3D to point out from the aim of you controller)
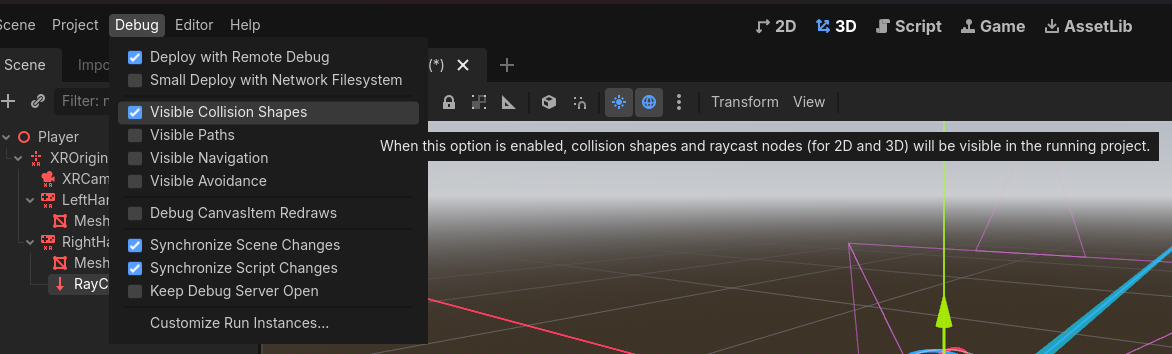
Finally, in the Debug menu at the top of the editor, go to Debug and check Visible Collision Shapes. This allows you to see active collision shapes and raycasts during play. This is for TESTING purposes only! Uncheck this feature after you are satisfied.
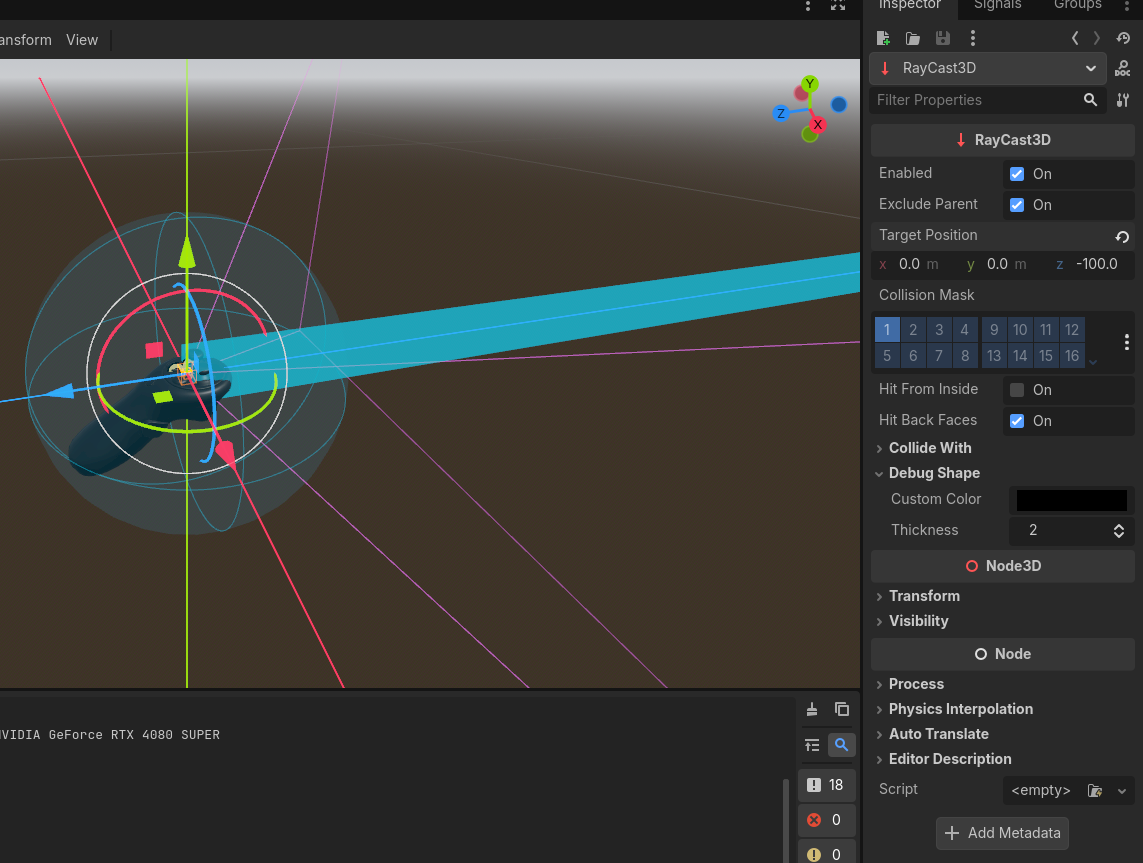
If you hit play now, you should be able to see your Raycast3D emitting from your controller. I would suggest here placing a CSGBox3D, check Use Collision, set the Size to something meaningful, like x: 5.0, y: 0.01, z: 5.0, and assign the script TeleportArea.csTeleportArea to the Script entry.

The inspector has Script set to TeleportArea.cs / teleport_area.gd which was beyond the scrollbar.
Now we can start editing RightHand.csour RightHand script.
Raycasting Code
For our Right Hand class, we need some properties:
[Export] Raycast3D raycast3D;

[Export] Node3D playerRig;

TeleportArea validTeleportArea;

bool teleportButtonPressed;

Vector3 teleportLocation;
@export var raycast3D: RayCast3D
@export var player_rig: Node3D
var valid_teleport_area: TeleportArea
var teleport_button_pressed: bool
var teleport_location: Vector3The first two properties will allow us to assign these nodes in the editor's inspector. Raycast3D is the node attached to our hand and what we will use to access the hit data, and the other is the Player Rig. I typically will assign this to the root of my Player scene.
The property validTeleportArea is what will be cached when our raycast detects an object that is the correct type. The other two properties will help us execute the teleport.
Create a new Process method
public override void _Process(double delta) {} func _process(delta: float) -> void:
passand in here add the following code:
if (!teleportButtonPressed) { return; }

var target = rayCast3D.GetCollider();

if (target is TeleportArea area)
{
  validTeleportArea = area;
  teleportLocation = rayCast3D.GetCollisionPoint();
}
else
{
  validTeleportArea = null;
  teleportLocation = Vector3.Zero;
}
if !teleport_button_pressed:
return
var target = raycast3D.get_collider()
if target is TeleportArea:
valid_teleport_area = target
teleport_location = raycast3D.get_collision_point()
else:
valid_teleport_area = null
teleport_location = Vector3.ZERO- Line 1: let's ignore everything if we are not pressing our teleport button
- Line 3: Create a variable called target that is collecting the collider that the raycast is hitting
- Line 5: If our target is the type TeleportArea and not a regular collision, let's set our valid teleport area to what we are hitting and set the teleport location to the current POINT our raycast is hitting (the point on the collision).
- Line 10: Reset everything if nothing is valid.
Next, let's make our boolean teleportButtonPressed meaningful. Our process method will only run if our button is pressed (which saves performance) so let's design our teleport execution to activate when pressed (and held) and on releasing the button will commit the teleport execution. Add
teleportButtonPressed = true;teleport_button_pressed = trueto our OnTriggerPressed() method.
For OnTriggerReleased() method, add the following code:
public override void OnTriggerReleased()
{
        teleportButtonPressed = false;

        if (validTeleportArea != null)
        {
            playerRig.GlobalPosition = teleportLocation;
        }
}
func on_trigger_released():
teleport_button_pressed = false
if valid_teleport_area != null:
player_rig.global_position = teleport_locationEssentially, if our valid teleport area is, well, valid we will set our player's global position to be the teleport location point we cached earlier. Finally, on line 3, we always set our button pressed back to false to prevent the code above to continue running.
Test!
Save all your code. Return to the editor and click the build button. Be sure to assign Raycast3D and PlayerRig in the editor!!
From here you should be able to teleport around. Our big issue currently is that we are using a Debug layer in our editor to show our raycast and without this debug there is no way to indicate to our player where they are looking to go. We will fix this in Part 2 along with the final code.