Teleport Part 2
Setup
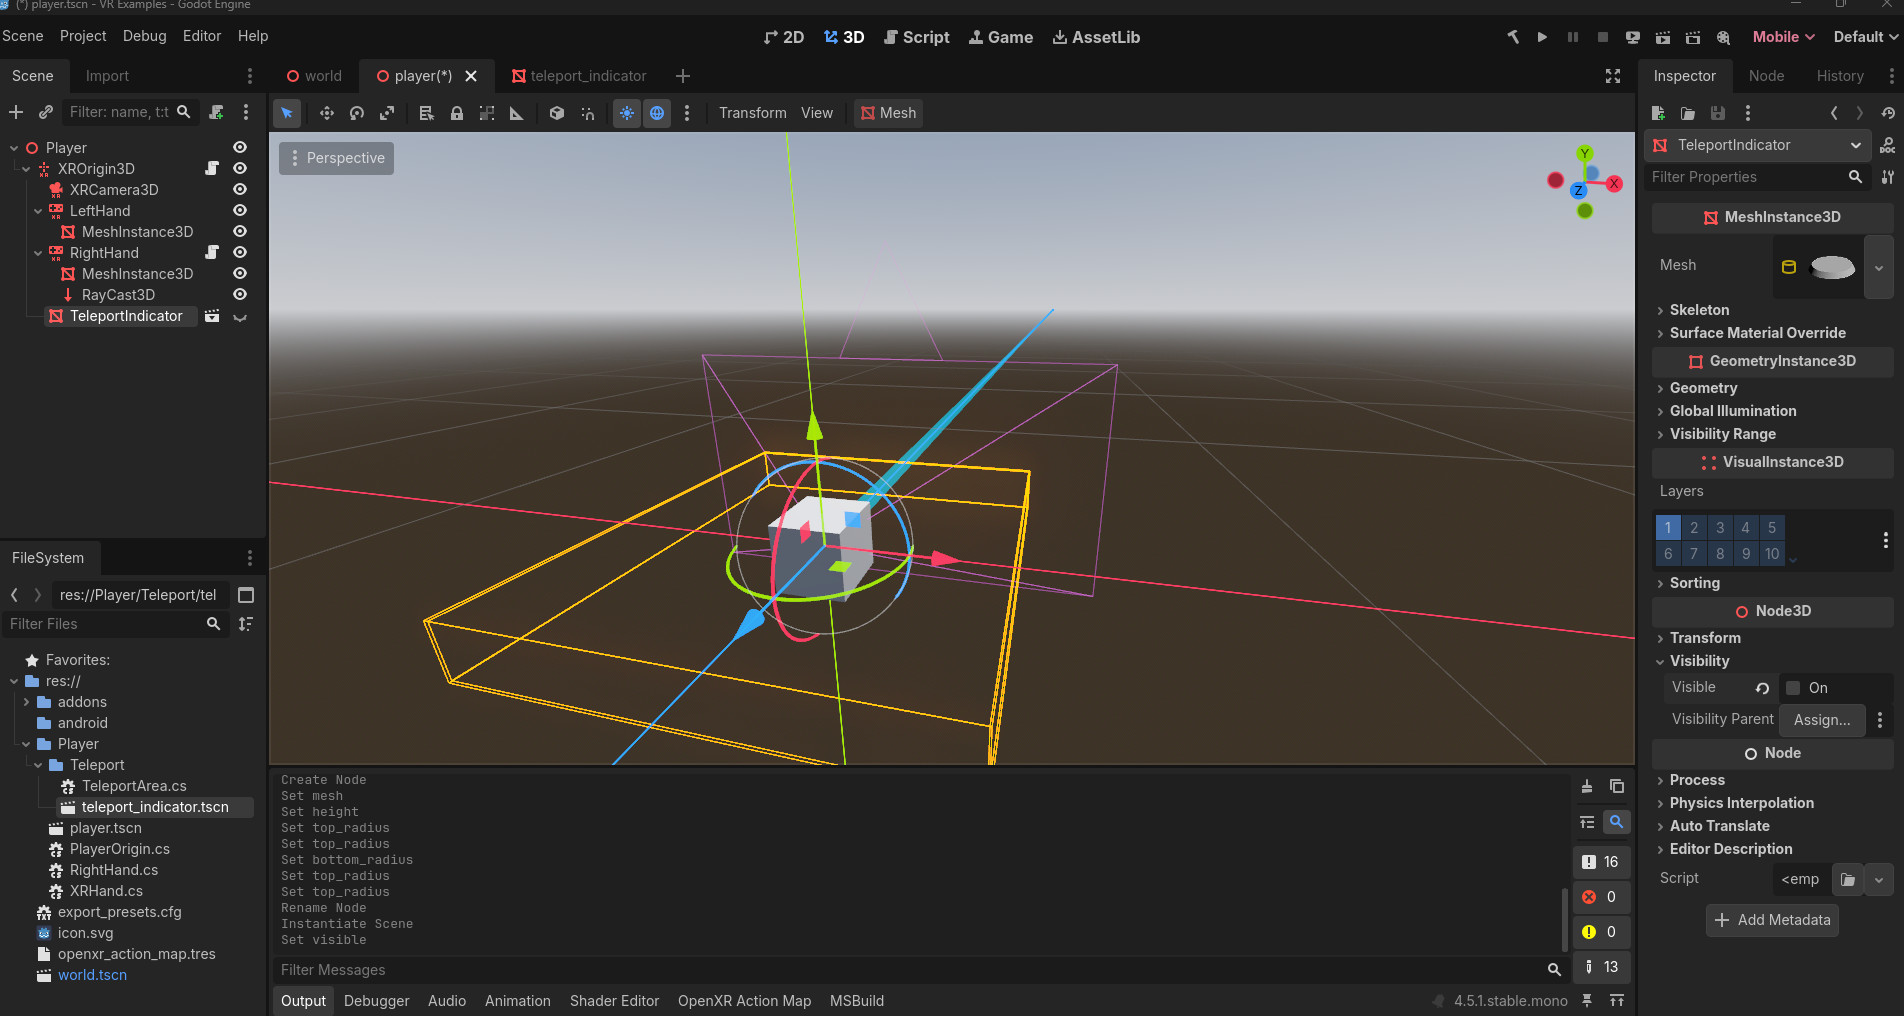
Let's start part 2 with creating an indicator for the player to see when they activate teleporting with the controller button. Along the tabs near the top of the editor in the middle, click the (+) button to Add a new scene. Choose Other Node, choose MeshInstance3D, and press Create. For this tutorial, select a new Mesh by clicking the drop down arrow and choose CylinderMesh. Click on the actual Mesh image to load the mesh properties and use the following:
- Top Radius: 0.35
- Bottom Radius: 0.4
- Height: 0.1
Rename MeshInstance3D to TeleportIndicator. Save the scene with your player scenes as TeleportIndicator.

Back in your Player scene, add TeleportIndicator as a child of your XROrigin3D node. Because we don't want this visible on load, in the Inspector, uncheck On for Visible.
We are now ready to implement the functionality with code.
Coding the Teleport Indicator
Open up RightHand.cs if it not already opened. Begin by adding a new Export property:
C#
[Export] Node3D teleportDestIndicator;GDScript
@export var teleport_dest_indicator: Node3DNow move to your _Process method. Inside the if statement where you are checking if the target is the type TeleportArea is true, add the following lines underneath where you set teleportLocation:
C#
teleportDestIndicator.Visible = true;
teleportDestIndicator.GlobalPosition = teleportLocation;
GDScript
teleport_dest_indicator.visible = true
teleport_dest_indicator.global_position = teleport_location
Since we have found a valid teleportArea as before, the teleportIndicator will become visible for the player and its position will be updated.
Now add the following in the else statement, below where we set the teleportLocation to Vector3.Zero:
C#
teleportDestIndicator.Visible = false;
teleportDestIndicator.GlobalPosition = Vector3.Zero;
GDScript
teleport_dest_indicator.visible = false
teleport_dest_indicator.global_position = Vector3.ZERO
As before, we reset our teleportIndicator to not be visible because our location was invalid and for good measure we will reset its position to be all zeroes.
The last thing to do is to make sure when we execute our teleport, the teleportIndicator node becomes not visible as well. Copy the following and paste inside your OnTriggerReleased() method, inside the if statement:
C#
teleportDestIndicator.Visible = false;GDScript
teleport_dest_indicator.visible = falseTesting
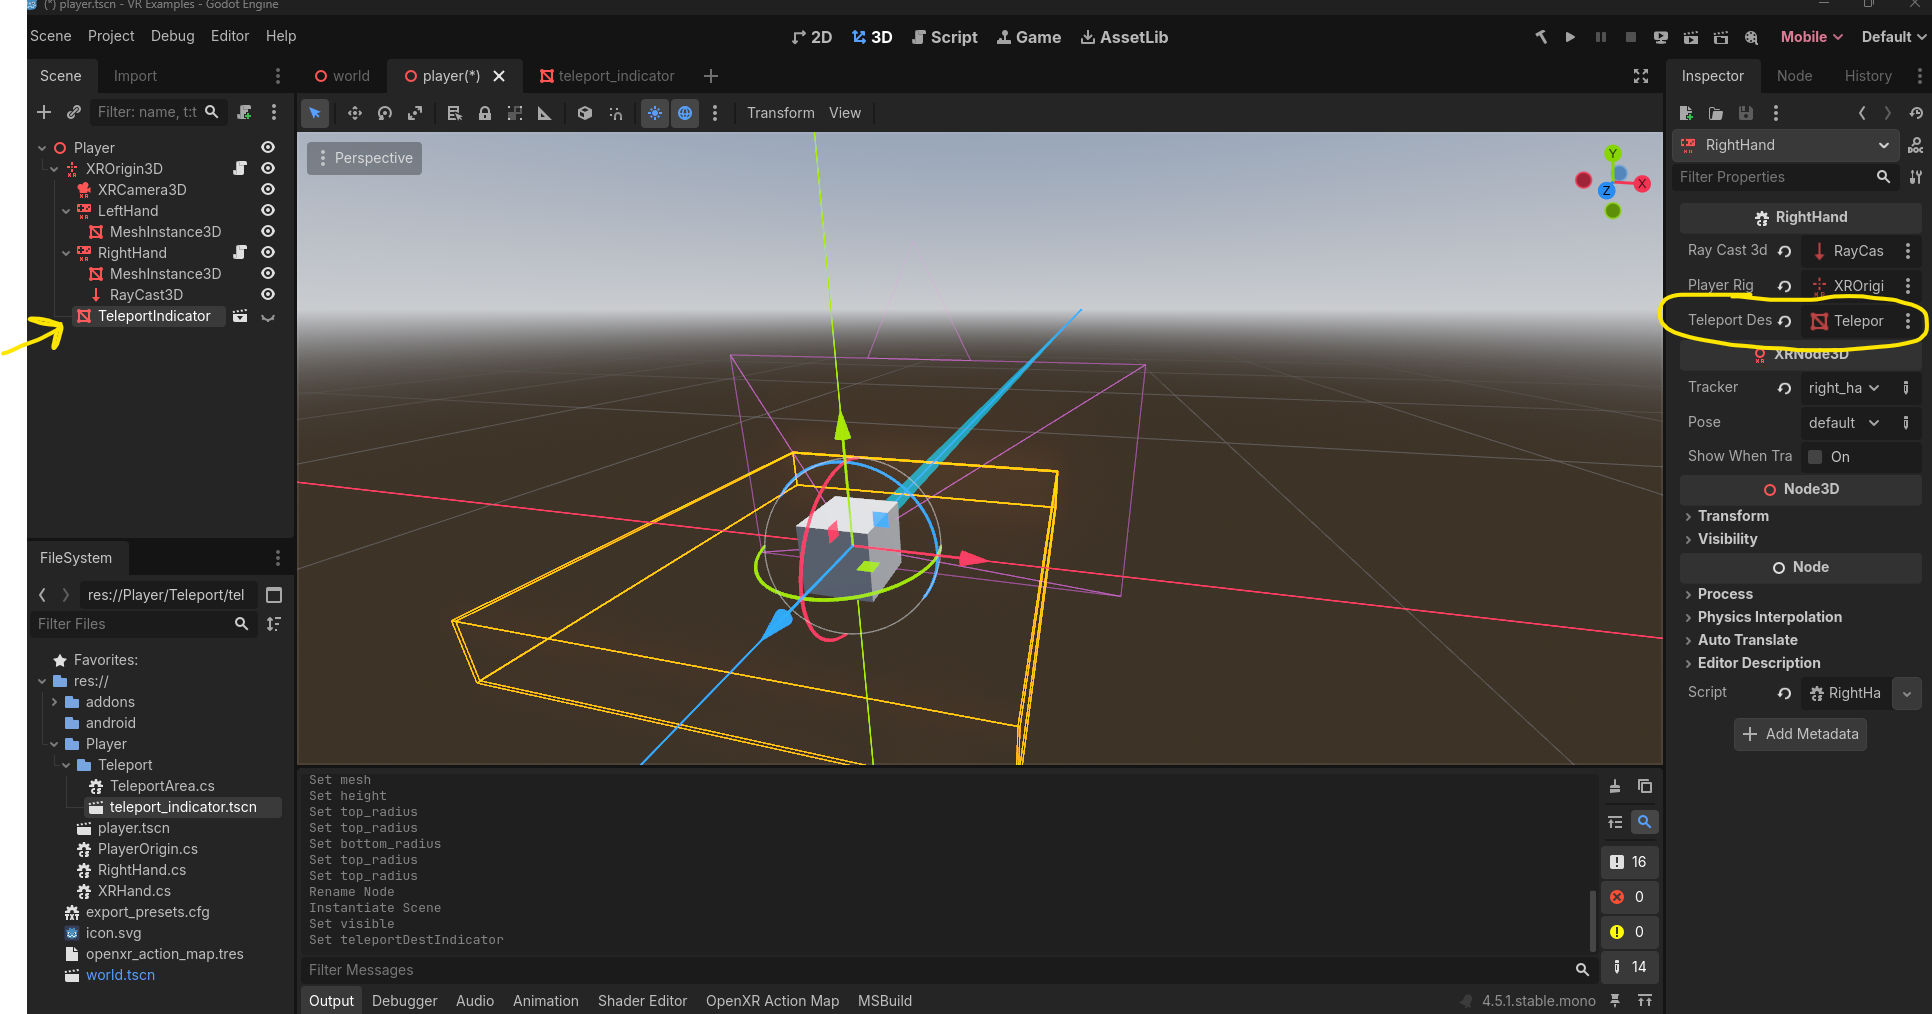
Save all your code. Save all your scenes. Click the build icon at the top as before if you are using C#. Be sure to UNCHECK Visible Collision Shapes in the Debug menu at the top. Remember to assign the TeleportIndicator node to your RightHand in your VR rig:
Hit play and test out your scene!
Where to go from here
From here, you may wish to change the material of the teleport indicator or even use a different mesh entirely. Since you have a class called TeleportArea, you can also send it events like OnTeleportAreaFound or OnTeleportExecuted if you want to make your project more event driven. Finally, adding audio effects are a nice touch.
Final Code for RightHand.cs
using Godot;
using System;

public partial class RightHand : XRHand
{
    [Export] RayCast3D rayCast3D;
    [Export] Node3D playerRig;
    [Export] Node3D teleportDestIndicator;

    TeleportArea validTeleportArea;

    bool teleportButtonPressed;
    Vector3 teleportLocation;

    public override void OnTriggerPressed()
    {
        teleportButtonPressed = true;
    }

    public override void OnTriggerReleased()
    {
        teleportButtonPressed = false;

        if (validTeleportArea != null)
        {
            playerRig.GlobalPosition = teleportLocation;
            teleportDestIndicator.Visible = false;
        }
    }

    public override void _Process(double delta)
    {
        if (!teleportButtonPressed) { return; }

        var target = rayCast3D.GetCollider();

        if (target is TeleportArea area)
        {
            validTeleportArea = area;
            teleportLocation = rayCast3D.GetCollisionPoint();

            teleportDestIndicator.Visible = true;
            teleportDestIndicator.GlobalPosition = teleportLocation;
        }
        else
        {
            validTeleportArea = null;
            teleportLocation = Vector3.Zero;

            teleportDestIndicator.Visible = false;
            teleportDestIndicator.GlobalPosition = Vector3.Zero;
        }

    }
}
Final Code for right_hand.gd
extends XRHand

@export var raycast3D: RayCast3D
@export var player_rig: Node3D
@export var teleport_dest_indicator: Node3D

var valid_teleport_area: TeleportArea
var teleport_button_pressed: bool
var teleport_location: Vector3

func _process(delta: float) -> void:
	if !teleport_button_pressed:
		return

	var target = raycast3D.get_collider()

	if target is TeleportArea:
		valid_teleport_area = target
		teleport_location = raycast3D.get_collision_point()

		teleport_dest_indicator.visible = true
		teleport_dest_indicator.global_position = teleport_location
	else:
		valid_teleport_area = null
		teleport_location = Vector3.ZERO

		teleport_dest_indicator.visible = false
		teleport_dest_indicator.global_position = Vector3.ZERO

func on_trigger_pressed():
	teleport_button_pressed = true

func on_trigger_released():
	teleport_button_pressed = false

	if valid_teleport_area != null:
		player_rig.global_position = teleport_location
		teleport_dest_indicator.visible = false
Again, you may have additional code to in your RIghtHand script to support things like grabbing!