
Blender Basics

Blender is simple to learn, hard to master. I am a beginner in the engine, so here's the basics as I understand them:

LgPscreenshot-3.png

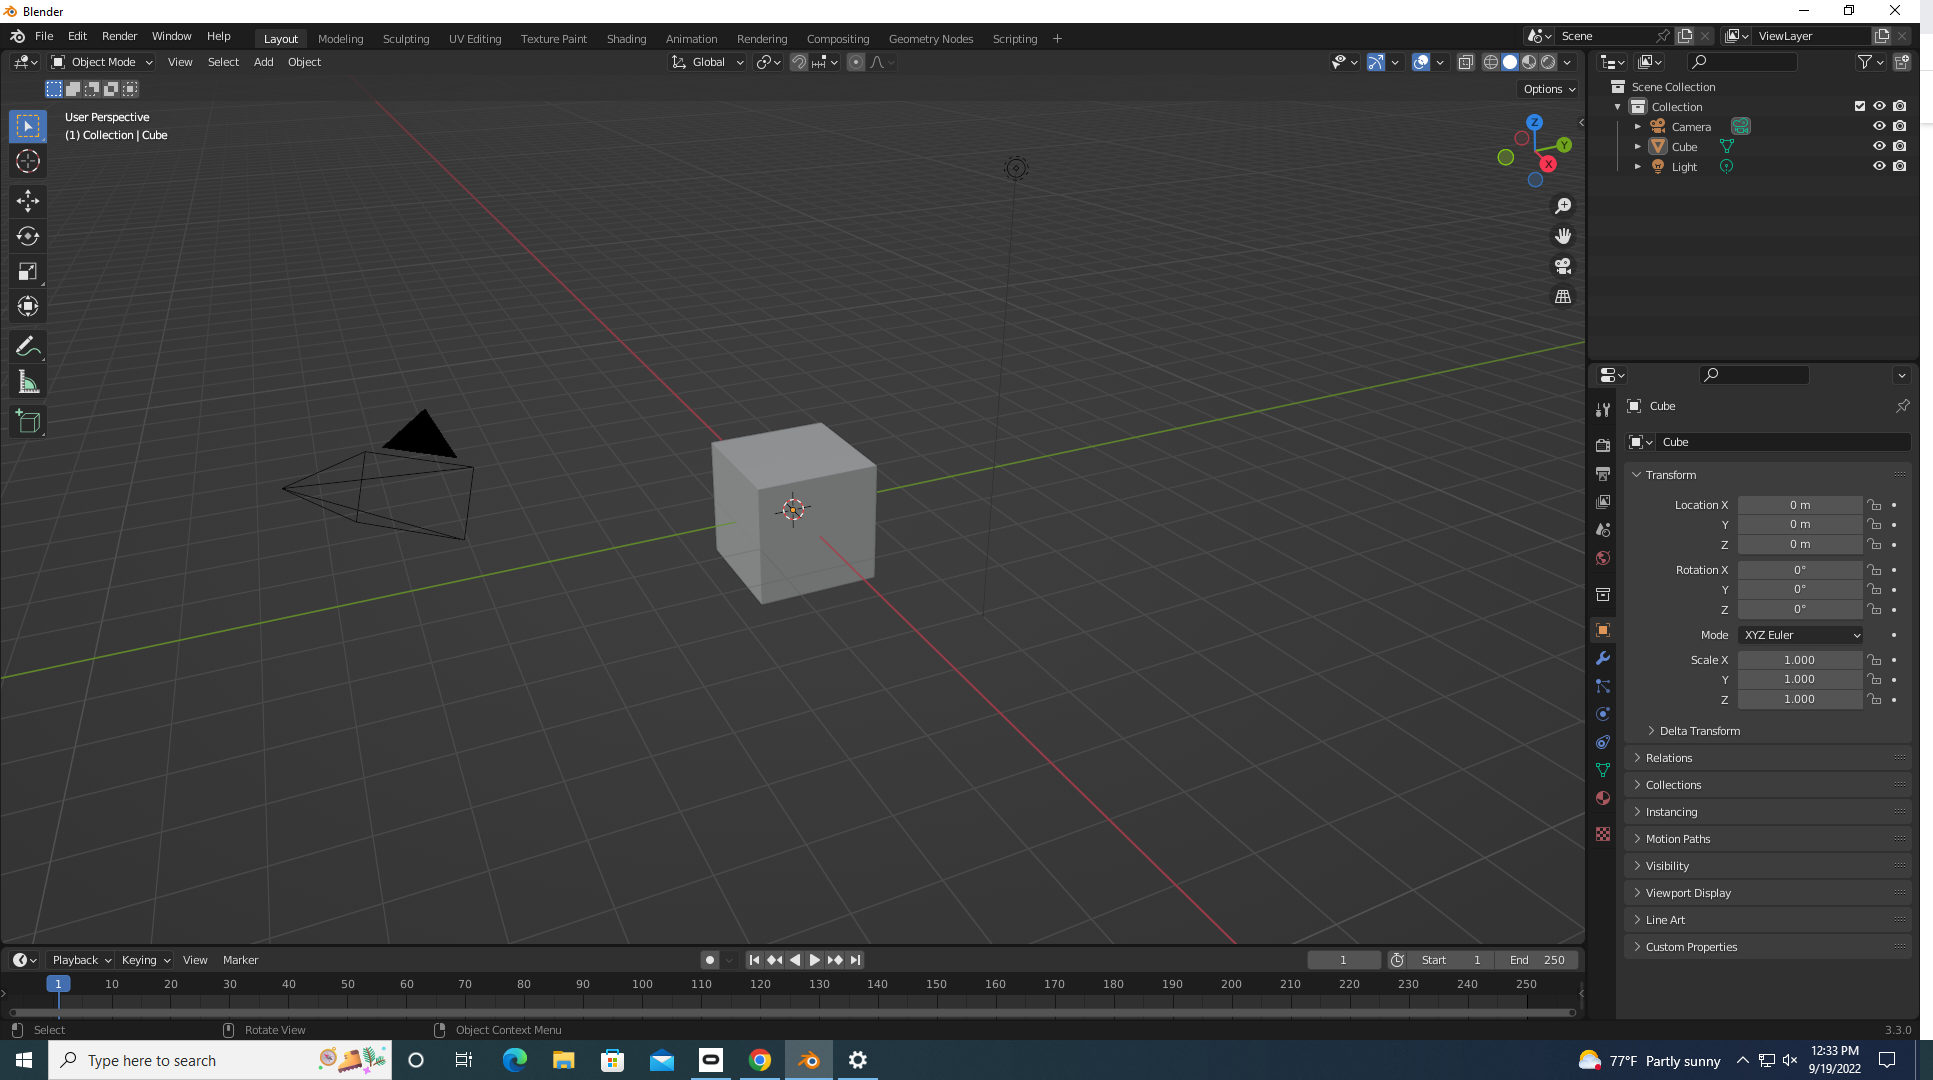
The Layout Screen (A.K.A. The default screen)

This is the place where it all begins. here, you can spawn simple objects via the Add menu in the top-left corner. You can also translate, rotate, and scale your newly spawned objects with the toolbar on the left. It's the simplest of the menu's, and the beginning of any project.

by the way, to navigate, hold the middle mouse button to rotate, and hold shift+ middle mouse to pan. scrolling zooms your perspective


screenshot-5.png

The Modeling Menu

The Modeling Menu is more complicated than the Layout Menu, and deserves a more in-depth description. first off, look back to the top-left corner. you should notice a set of three boxes, with one highlighted. these boxes determine if you are interacting with the vertexes (point), edges (line), or faces (square). when you select one of these, it will turn orange. shift click if you want to add to a grouping

Insert about sidebar

The Sculpting Menu

The sculpting menu is a much more finicky way of creating models. you need a high polygon count to make it work well, to the level where the modeling view is bright orange. it's very hard to get what you want out of your models, so I would suggest looking at a professional's description. I mostly use this for its smoothing and flattening tool.