Soldering 101
Warning: Always wearing safety glasses to protect your eyes from sputtering solder.
Warning: Soldering involves extreme heat. The soldering tip can reach over 700°F. Alway secure the iron in it's holder when not in use. Never touch the tip or place the iron directly on the table or work bench. Remove all flammables from work area.
Warning: Melting solder creates visible smoke. Breathing fumes from soldering can cause eye, throat, and lung irritation. Always work in a well-ventilated area or use a benchtop solder fume extractor.
Warning: Some solder contains lead, which can be harmful if ingested. Lead particles can be transferred from hands to your mouth if eating, drinking, or touching your face. Never eat or drink while handling solder and always wash your hands with soap when done.
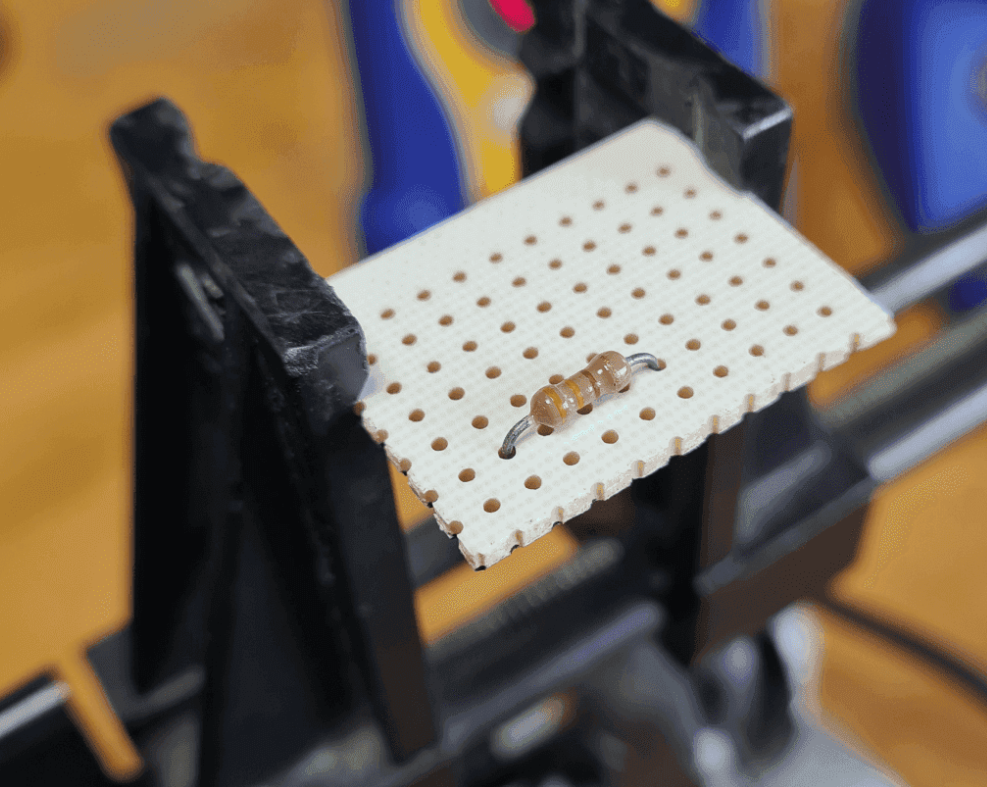
Prepare your circuit boards (example)
- Use helping hands/clamps to secure your circuit board.
- Mount your resistor to the circuit board.
Prepare your soldering iron: Tinning
Tinning improves heat transfer from the iron to the electrical part and helps protect against oxidation.
- Heat the soldering iron to 400° C (or 752° F).
- Clean the soldering tip by wiping it agains a conventional wet sponge or a brass sponge. After cleaning the soldering tip, we should wait a few seconds to let the soldering tip heat up again.
- Touch the solder with the soldering iron tip, apply a small amount of solder on the soldering tip making sure the solder flows evenly around it.
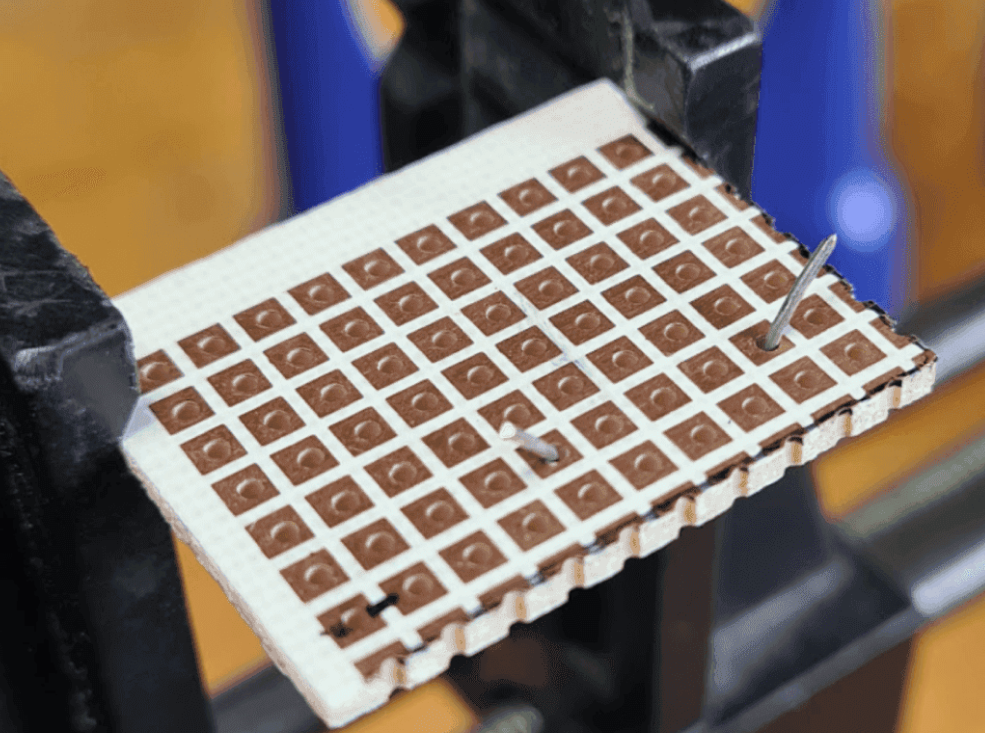
4. Flip the circuit board and bend it's leads outward 45°.
5. Touch the copper pad and one of the resistors leads simultaneously, hold the soldering iron in place to heat the joint formed by the pad and the resistor lead for three to four seconds.
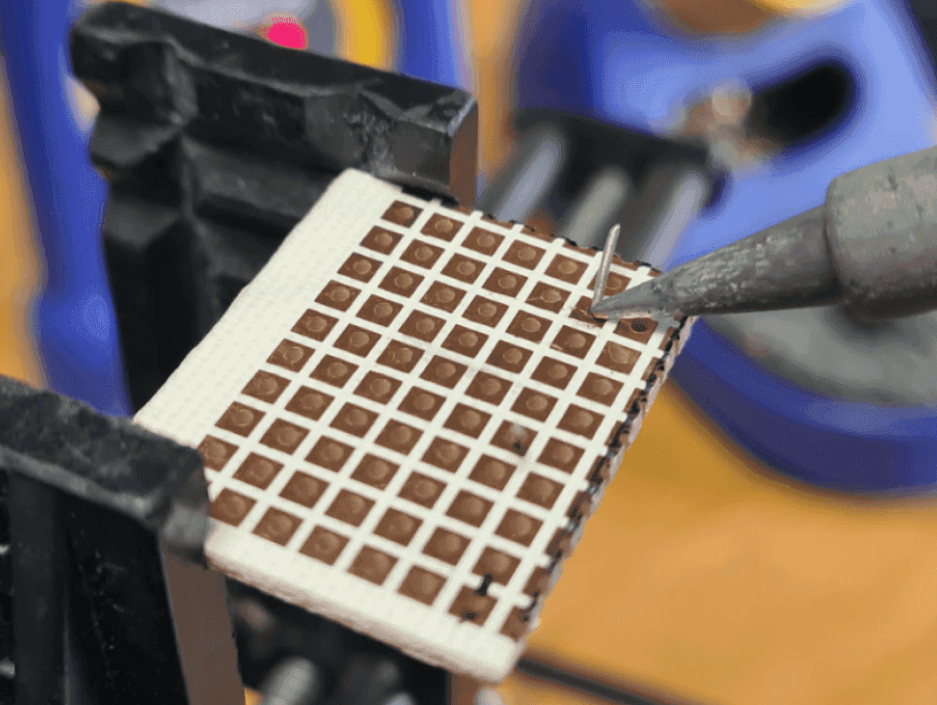
6. Apply solder to the joint while holding the soldering iron on the copper pad and the resistor lead. Avoid applying solder directly to the soldering tip; the joint should be hot enough to melt the solder.
7. When there is enough solder in the joint, remove the soldering iron and let it cool down naturally. Once cool, snip the extra wire from the resistor lead. Do not blow on the joints to cool it down. Good solder joints are smooth, shiny, and have a volcano-like shape. Good solder joints also have enough solder to cover the entire joint but not too much to spill it.
Desoldering
To desolder a joint, we will need desoldering braid, also known as solder wick.
Using desoldering braid is simple:
- Place the desoldering braid on the top of the solder joint to remove.
- Heat the soldering braid and the solder joint with the tip of a soldering iron. Start removing the soldering braid; you will see that solder has been extracted and removed.
If you have a lot of solder, using desoldering braid may not be the best option. In this case, a device called solder sucker is a better option. A solder sucker is a handheld mechanical vacuum that sucks up hot solder, usually by pressing a button.
Using a solder sucker is also simple:
- Press the solder sucker plunger down.
- Heat the solder joint with the tip of a soldering iron, then place the tip of the solder sucker on top of the hot solder joint.
- Press the button of the solder sucker to suck solder.