MANUS Core Calibration
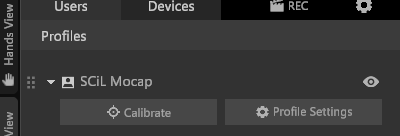
1. To initiate calibration, click on the 'Calibrate' button located in the 'Users' tab on the right-hand side of the page.
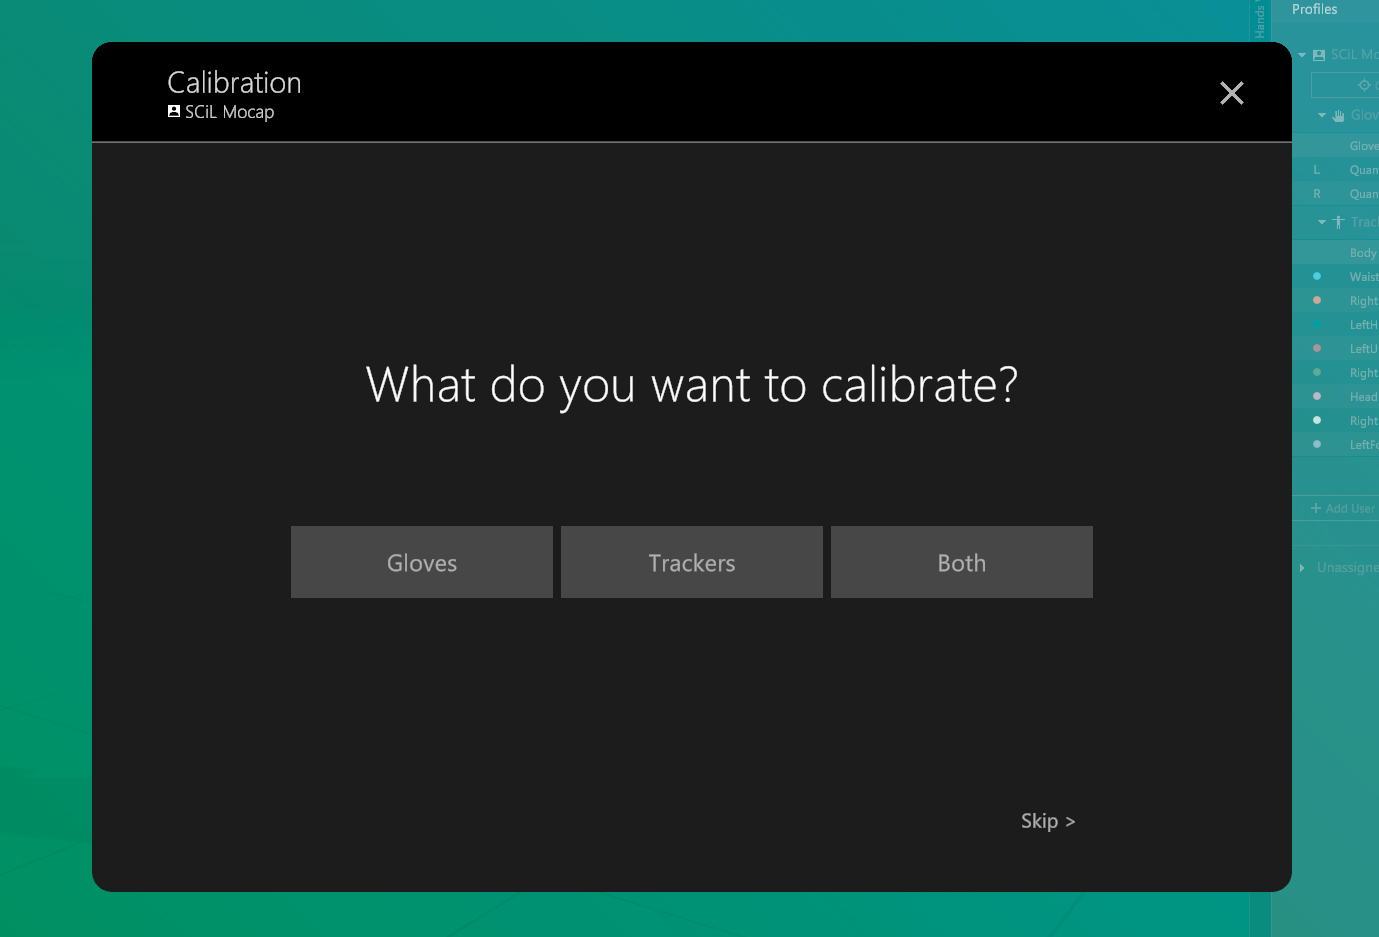
2. Upon selection, you will encounter three options, the first of which is 'Gloves'. Choose this option to proceed.
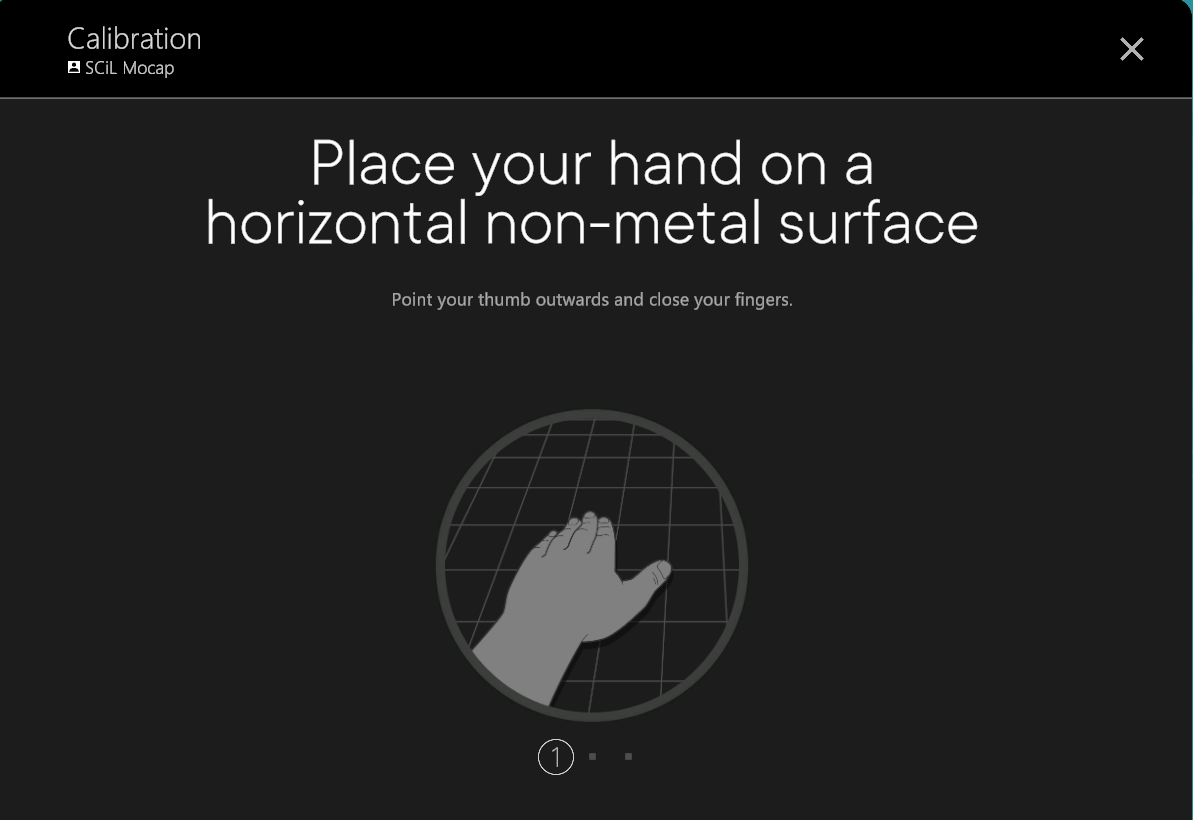
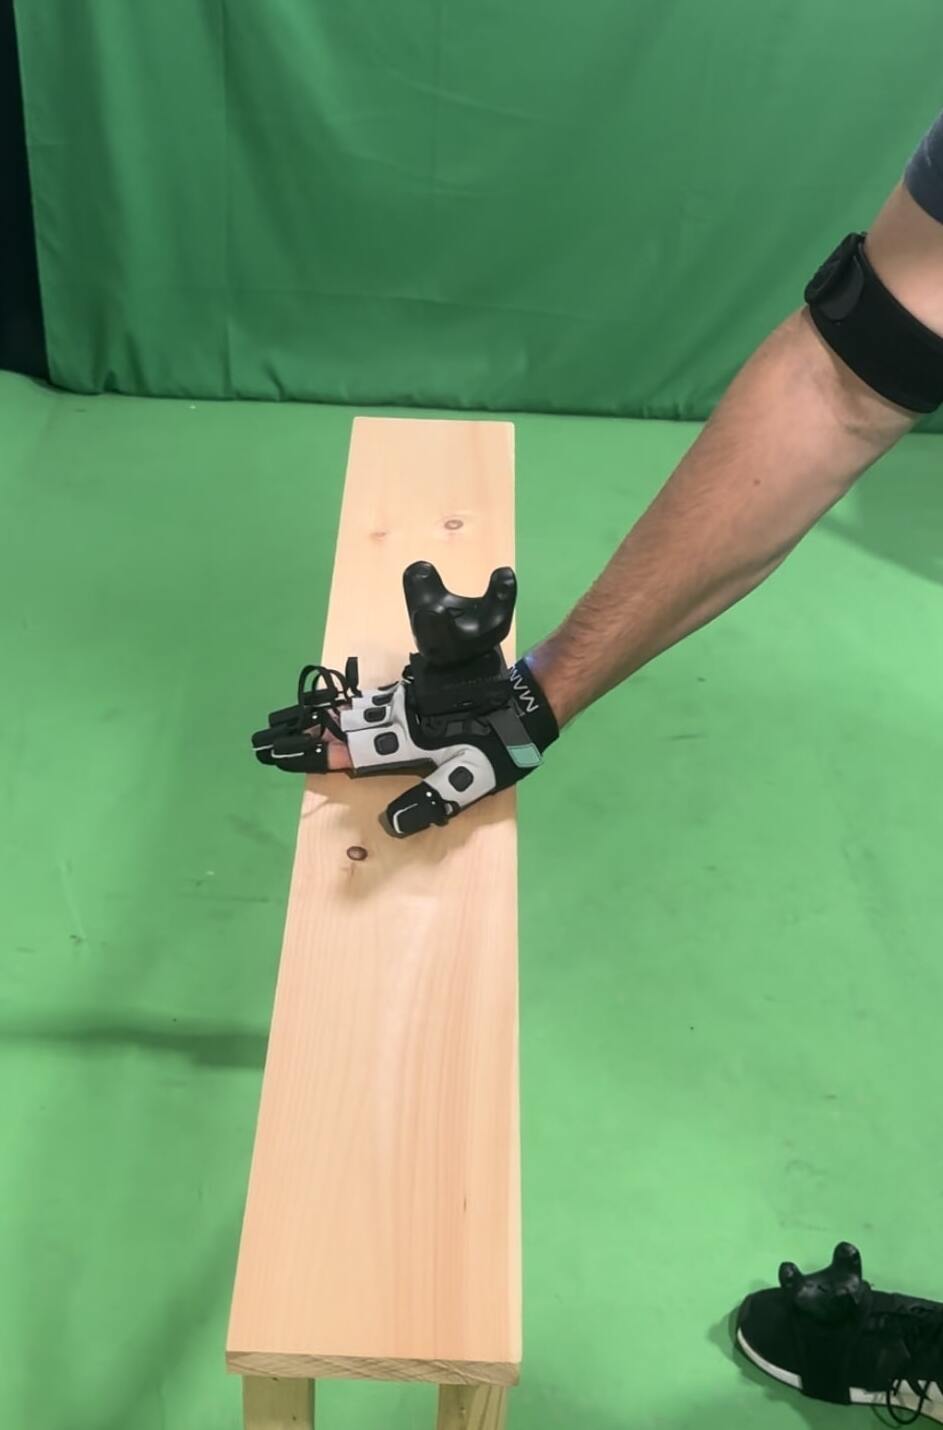
3. A prompt requesting confirmation to begin the process will appear. Instruct the actor to prepare their hands and follow the on-screen directions.
Note: At the time of writing this guide, a third monitor, capable of being angled towards the actor in the studio, is located on the right-hand side of the desk. This monitor mirrors the second monitor, so displaying the Manus software on this screen is crucial for the actor to follow along.
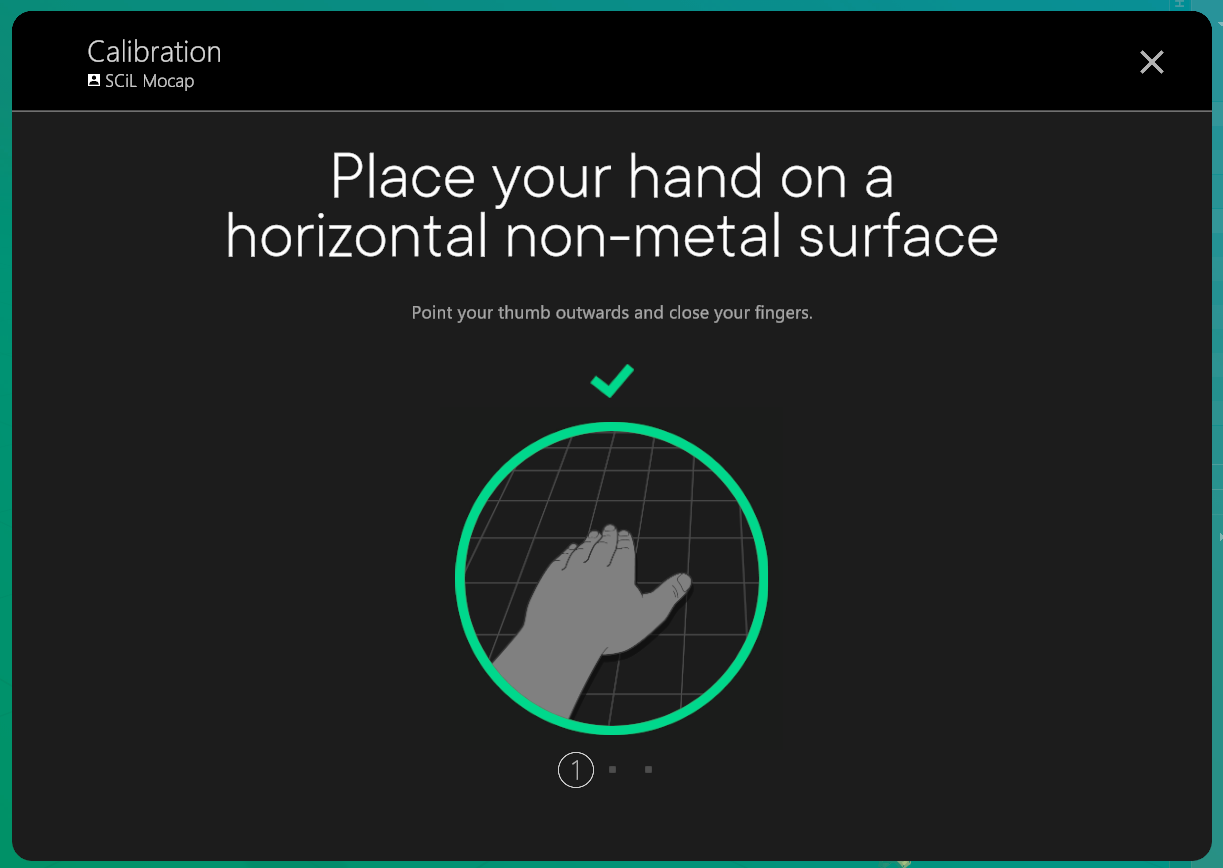
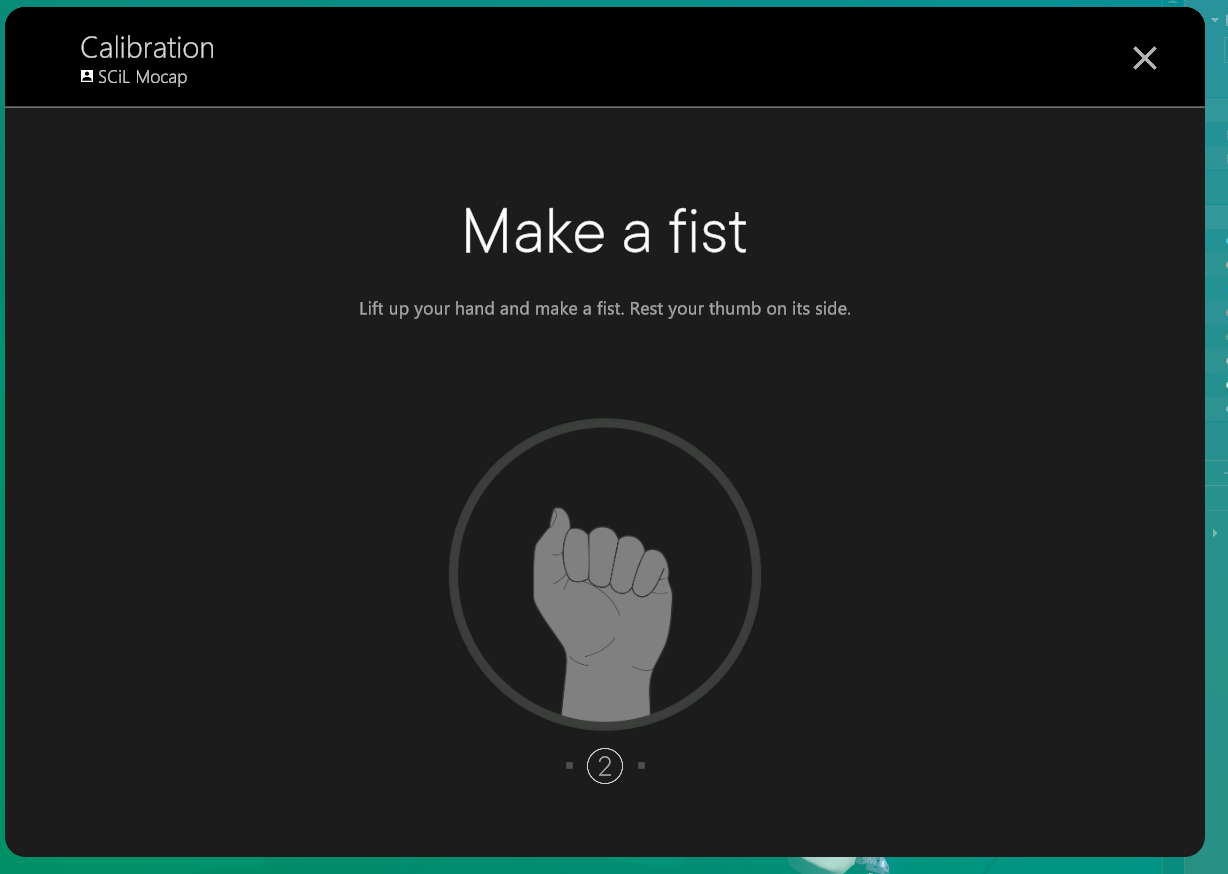
Upon completion of the calibration for each pose, a green checkmark should appear. If a red 'X' mark materializes with a message stating 'Calibration Failed', simply repeat the step. Should calibration for a specific pose persistently fail, consult the troubleshooting page for assistance.
Continue with the calibration sequence, referring to the images on this page for guidance in assisting the actor. After calibrating the left hand, the process will transition to the right hand (the steps remain the same).


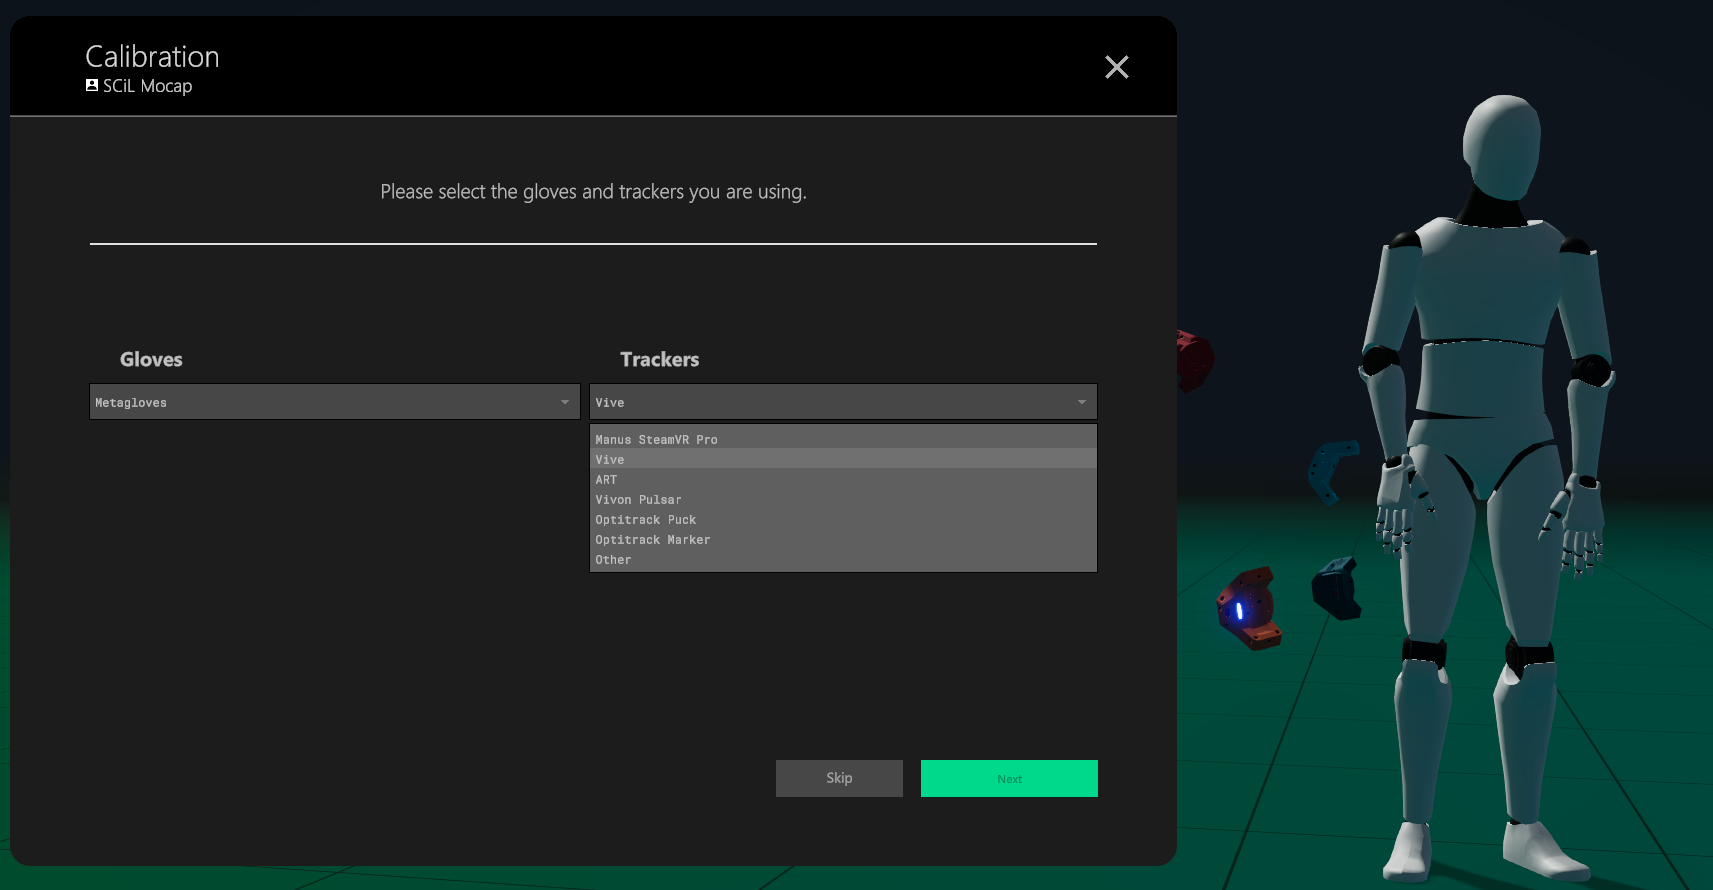
4. Once calibration for both hands is complete, the subsequent step involves calibrating the trackers. Select 'Trackers' from the calibration menu. Proceed by clicking 'Next' until you're asked to choose the gloves and trackers you're using.
For Gloves, select 'Metagloves', and for Trackers, choose 'Vive'. After making your selections, click 'Next' to continue.
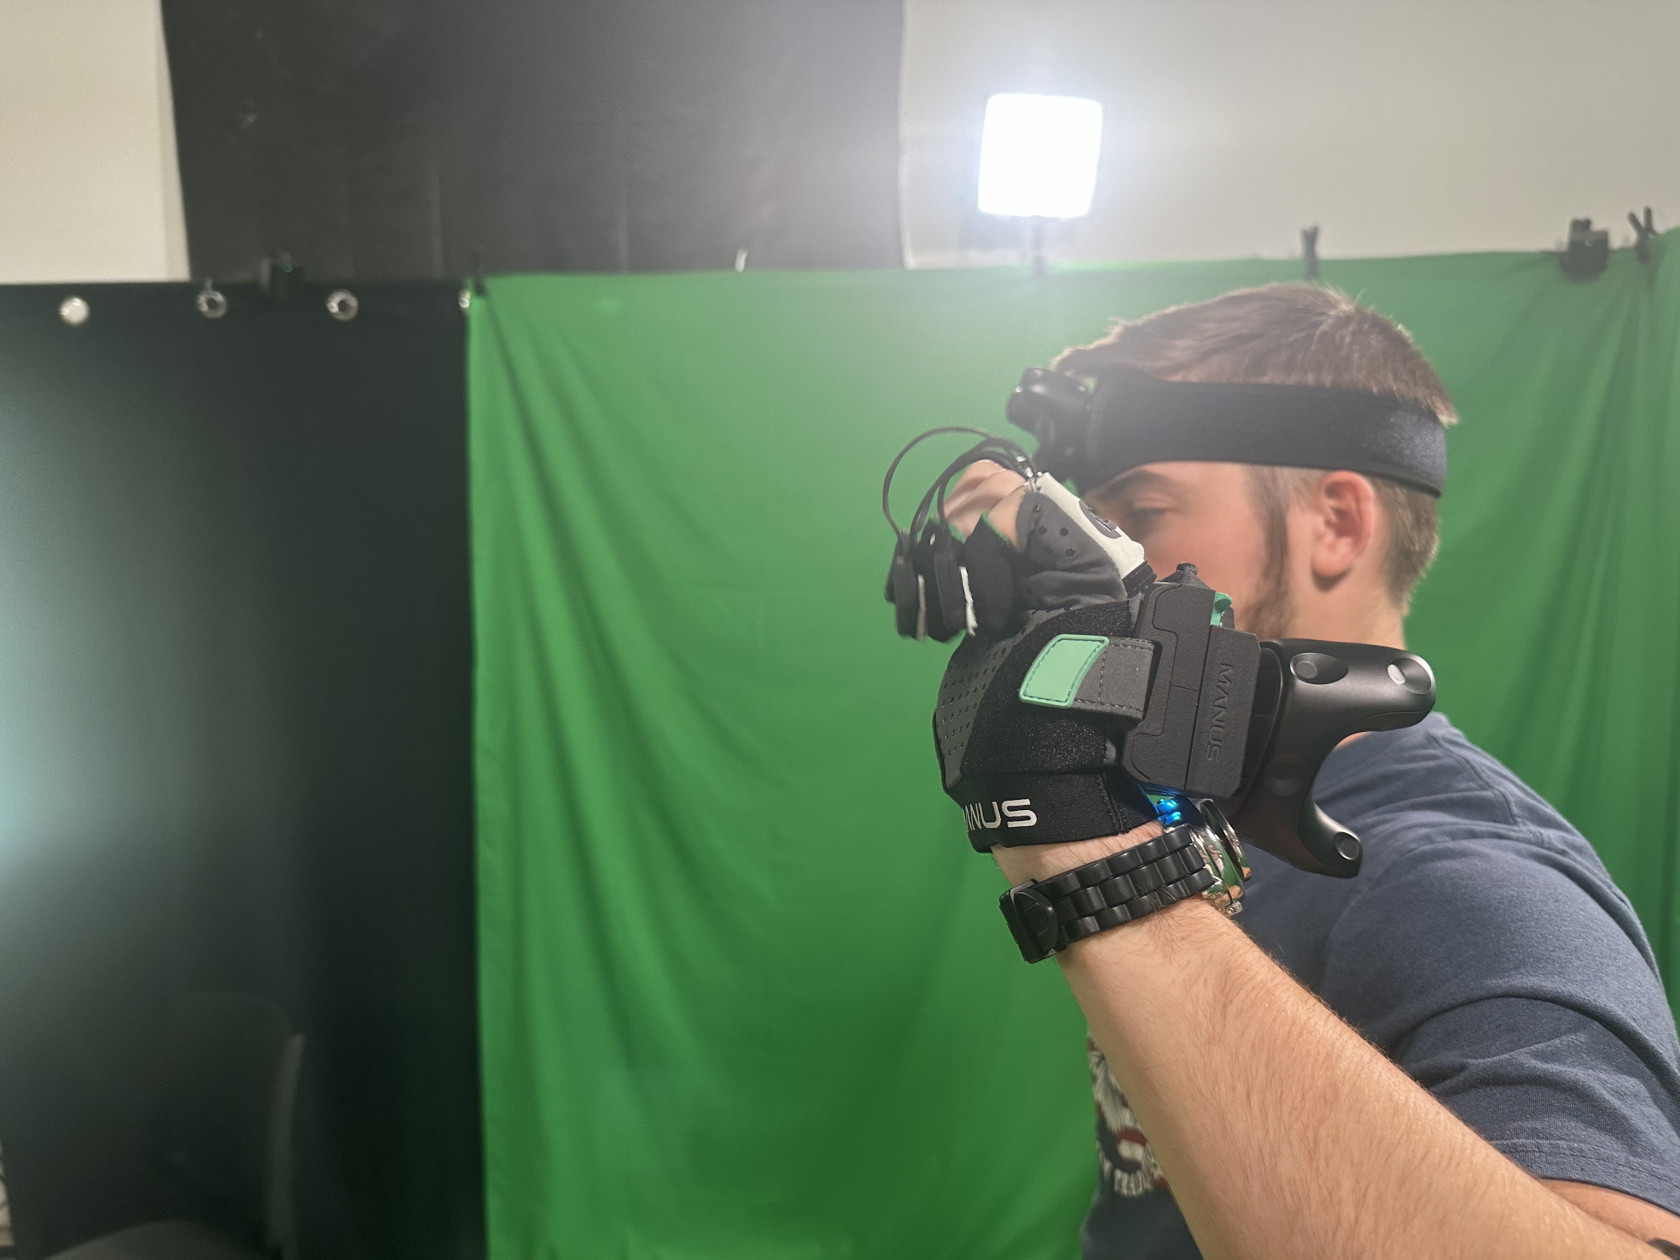
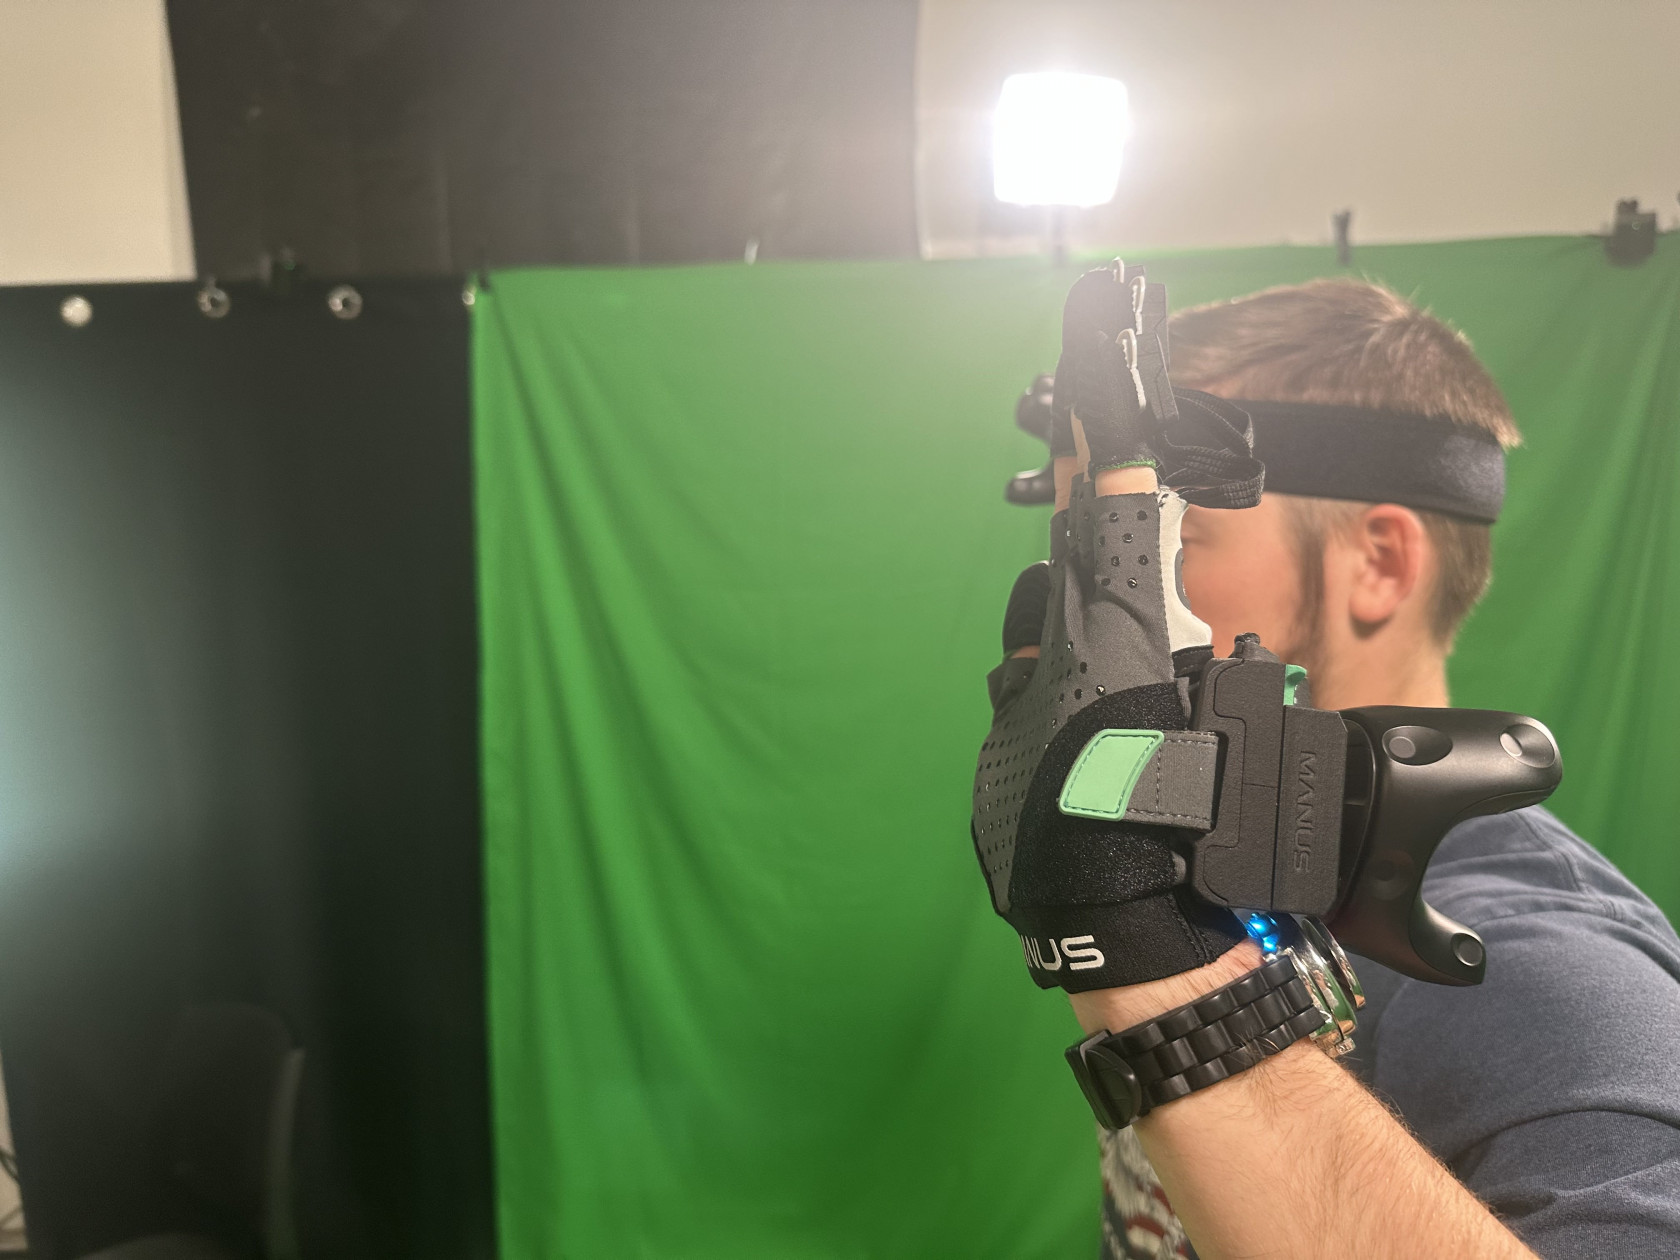
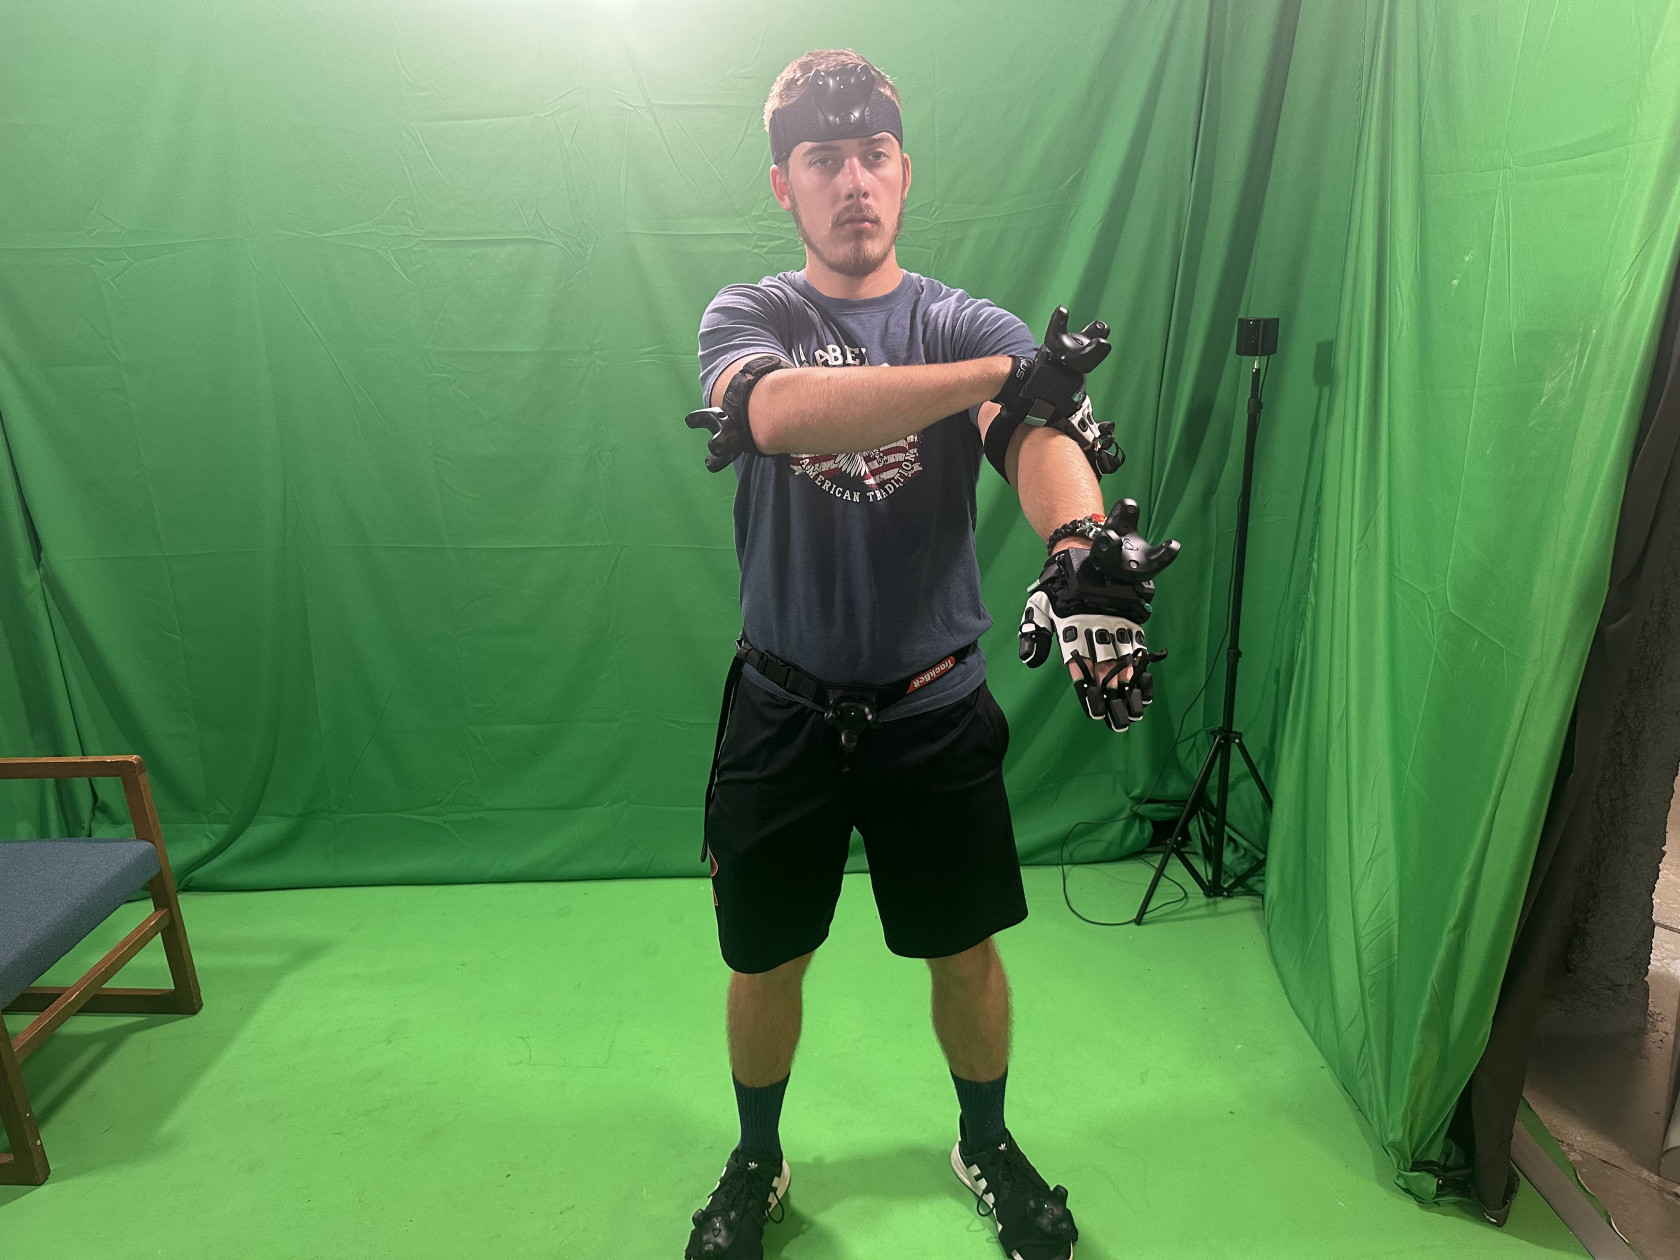
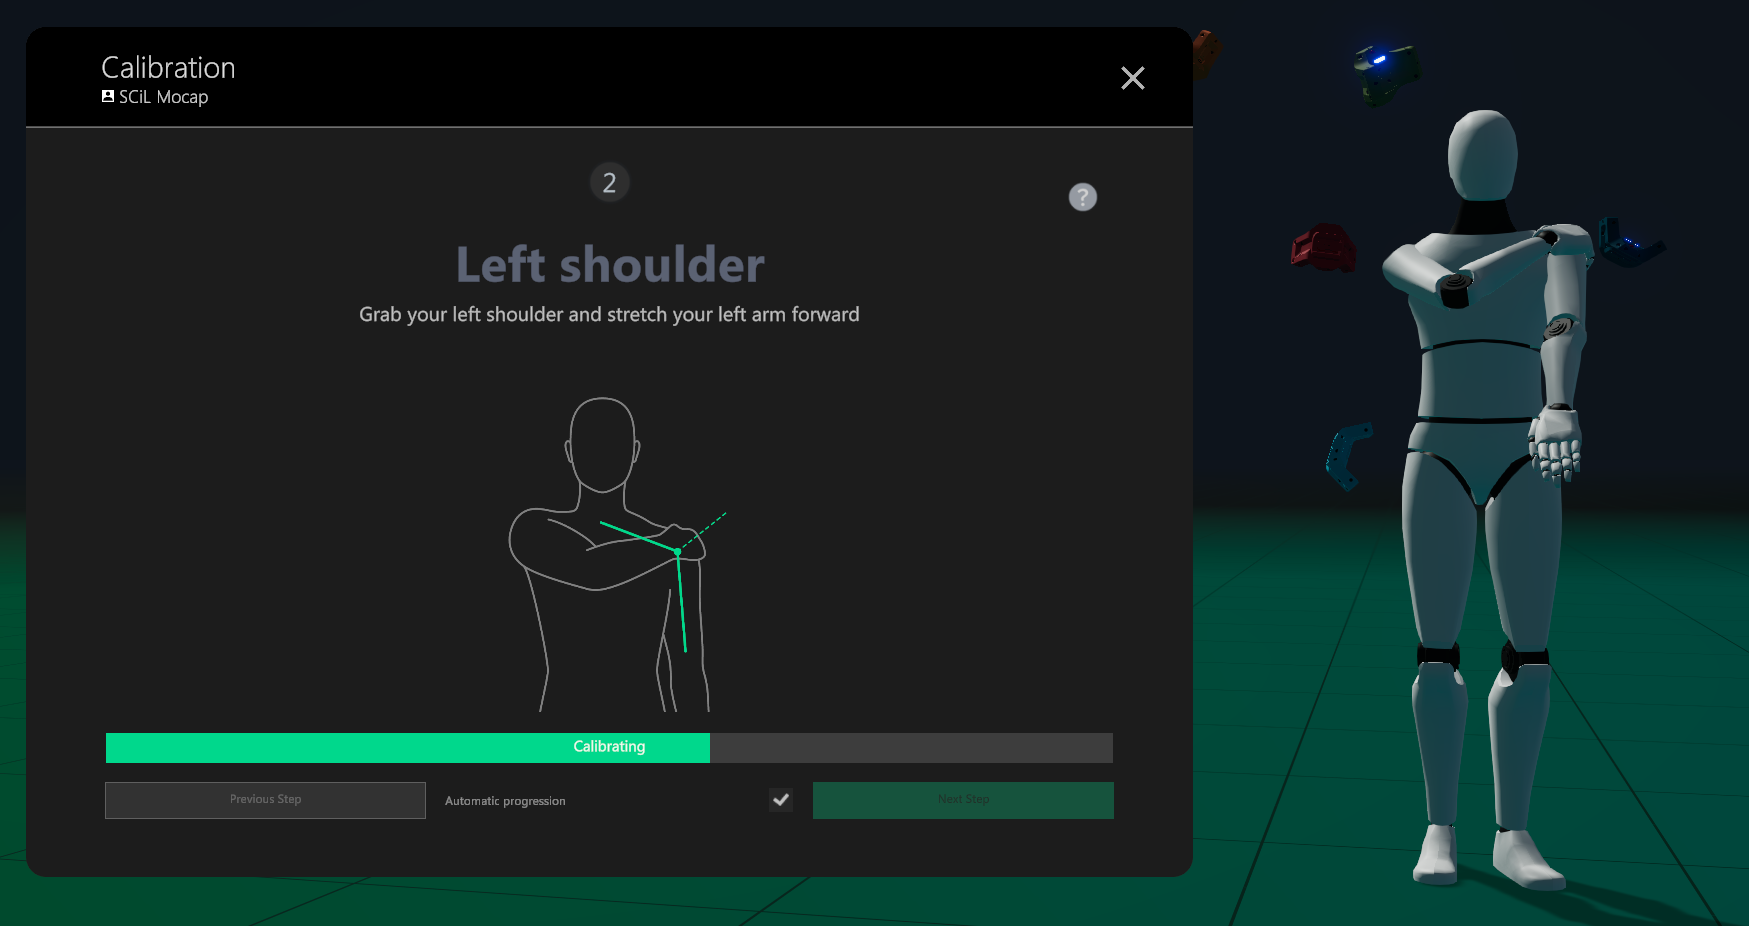
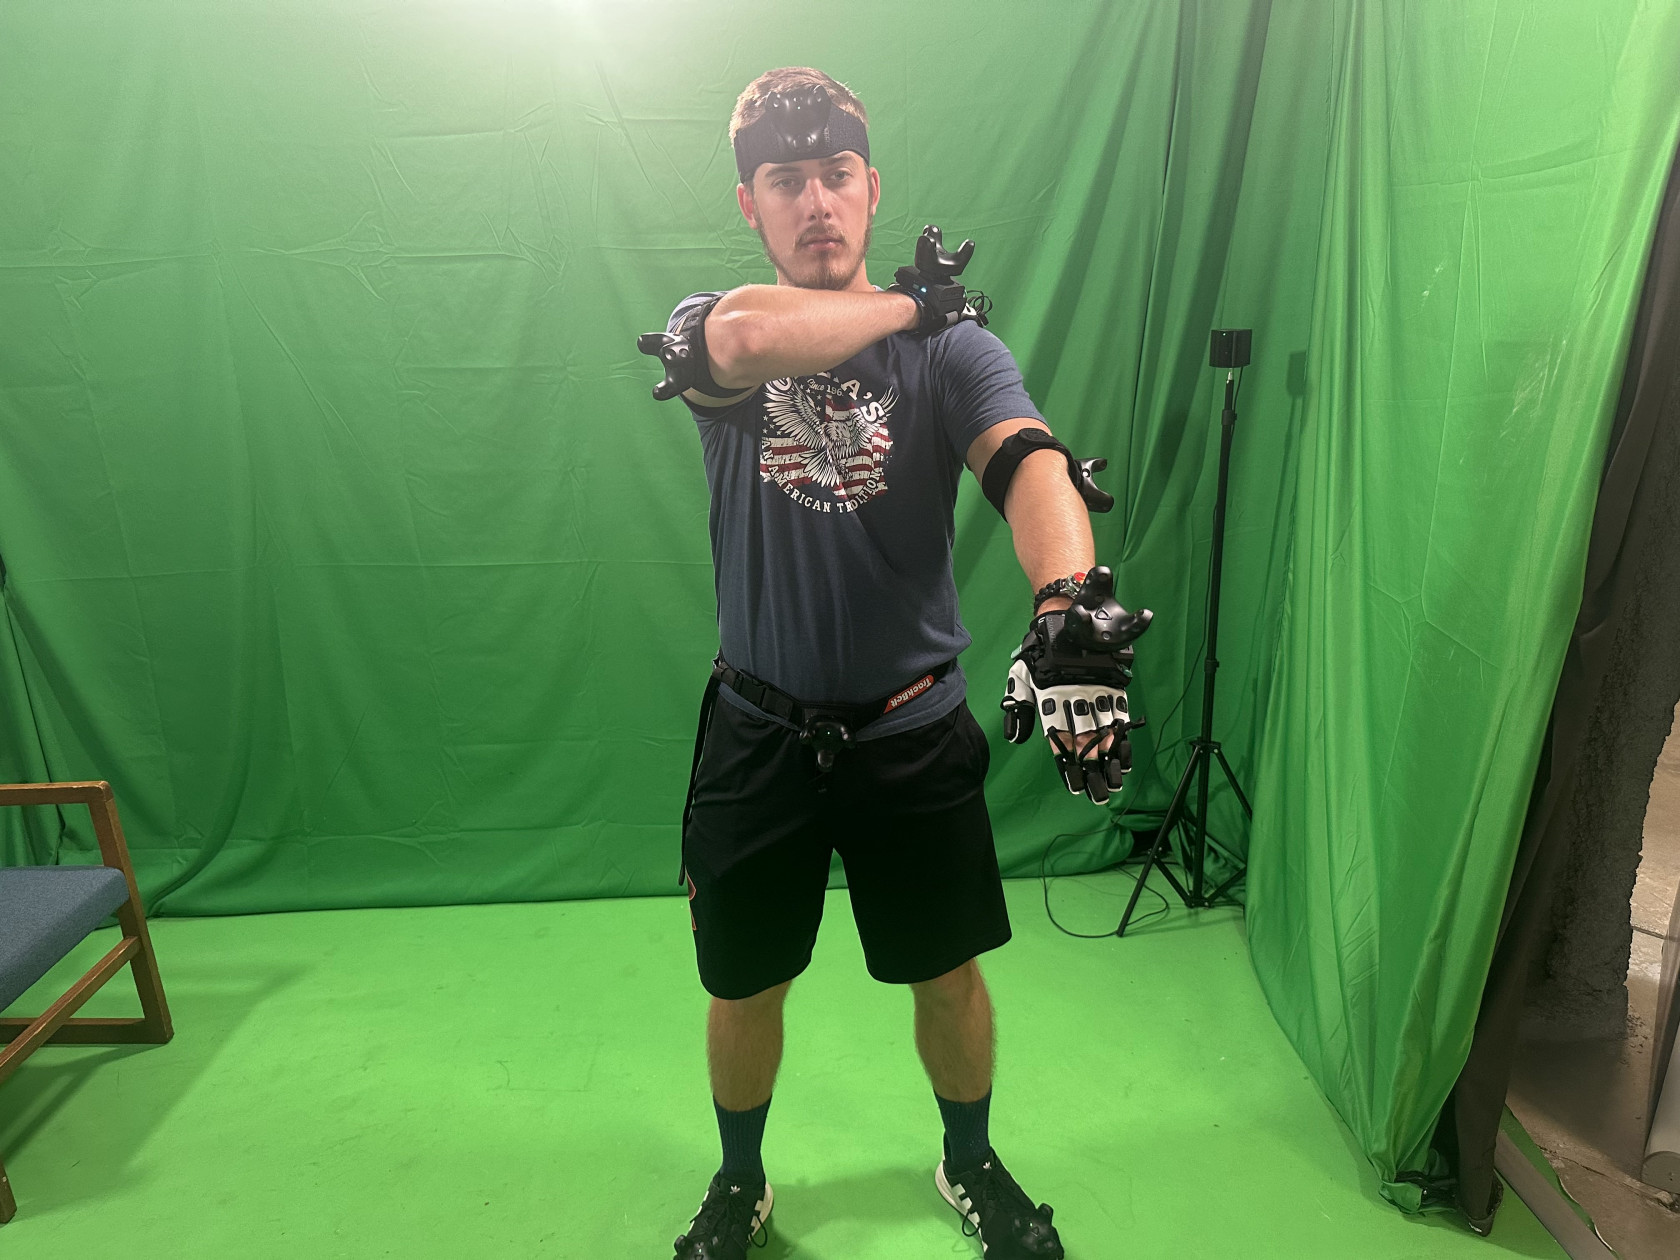
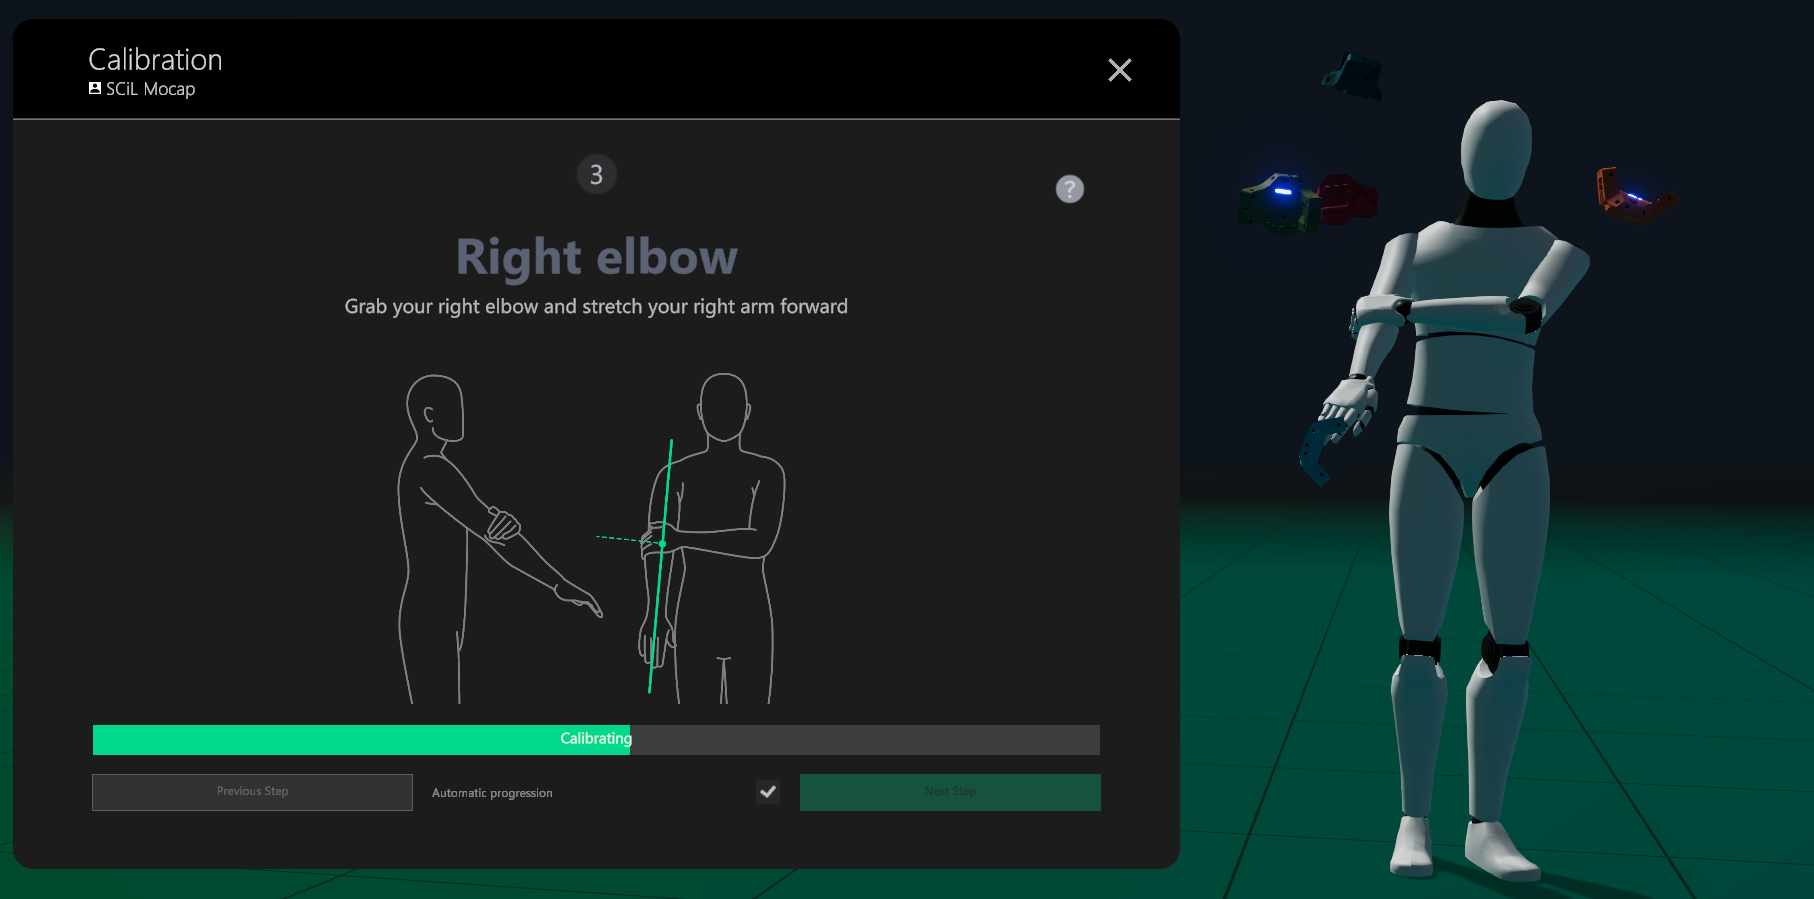
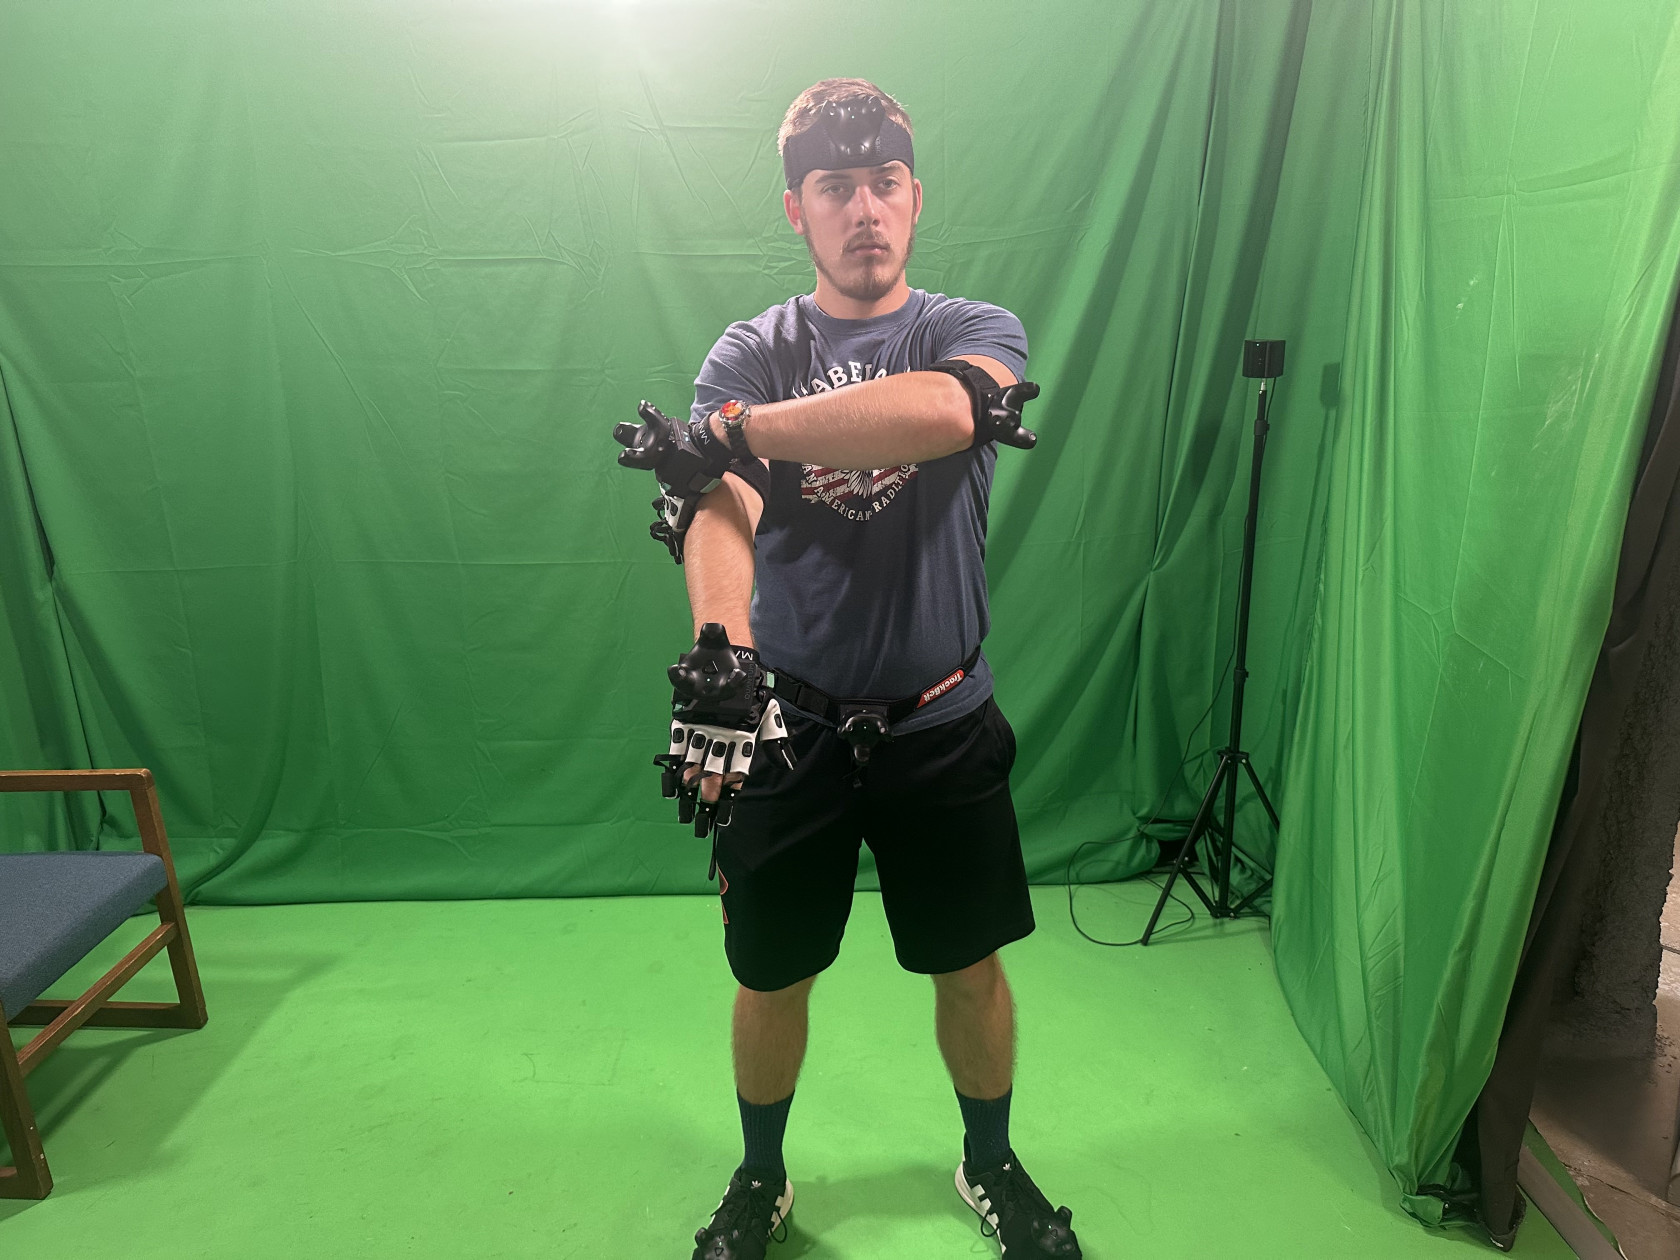
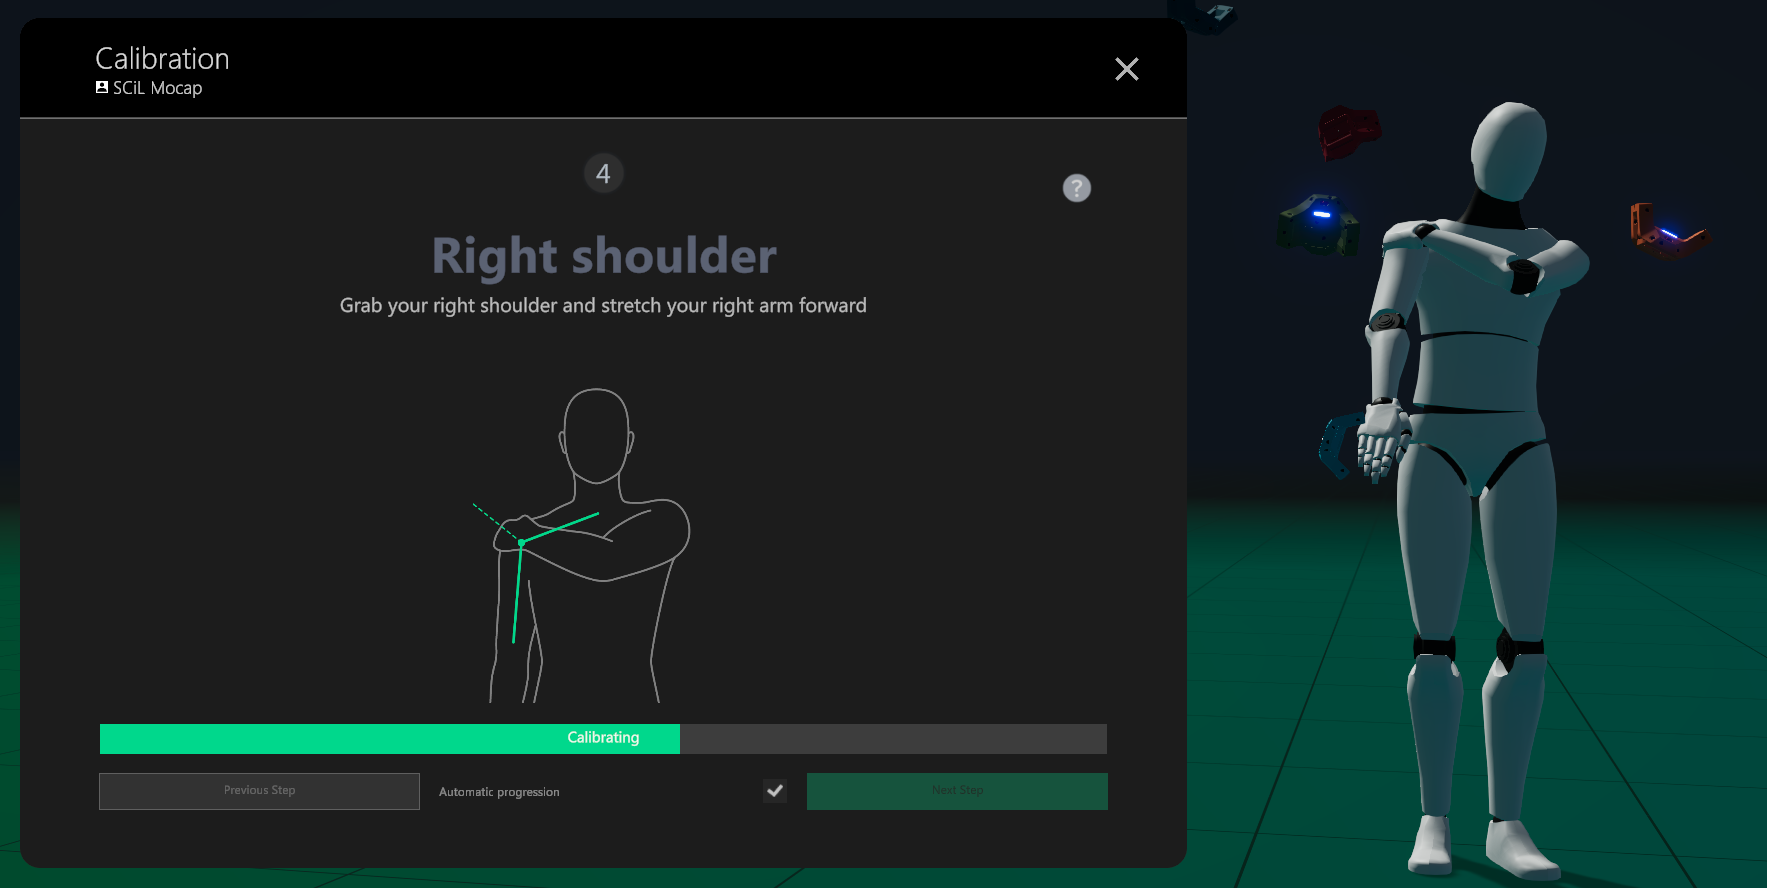
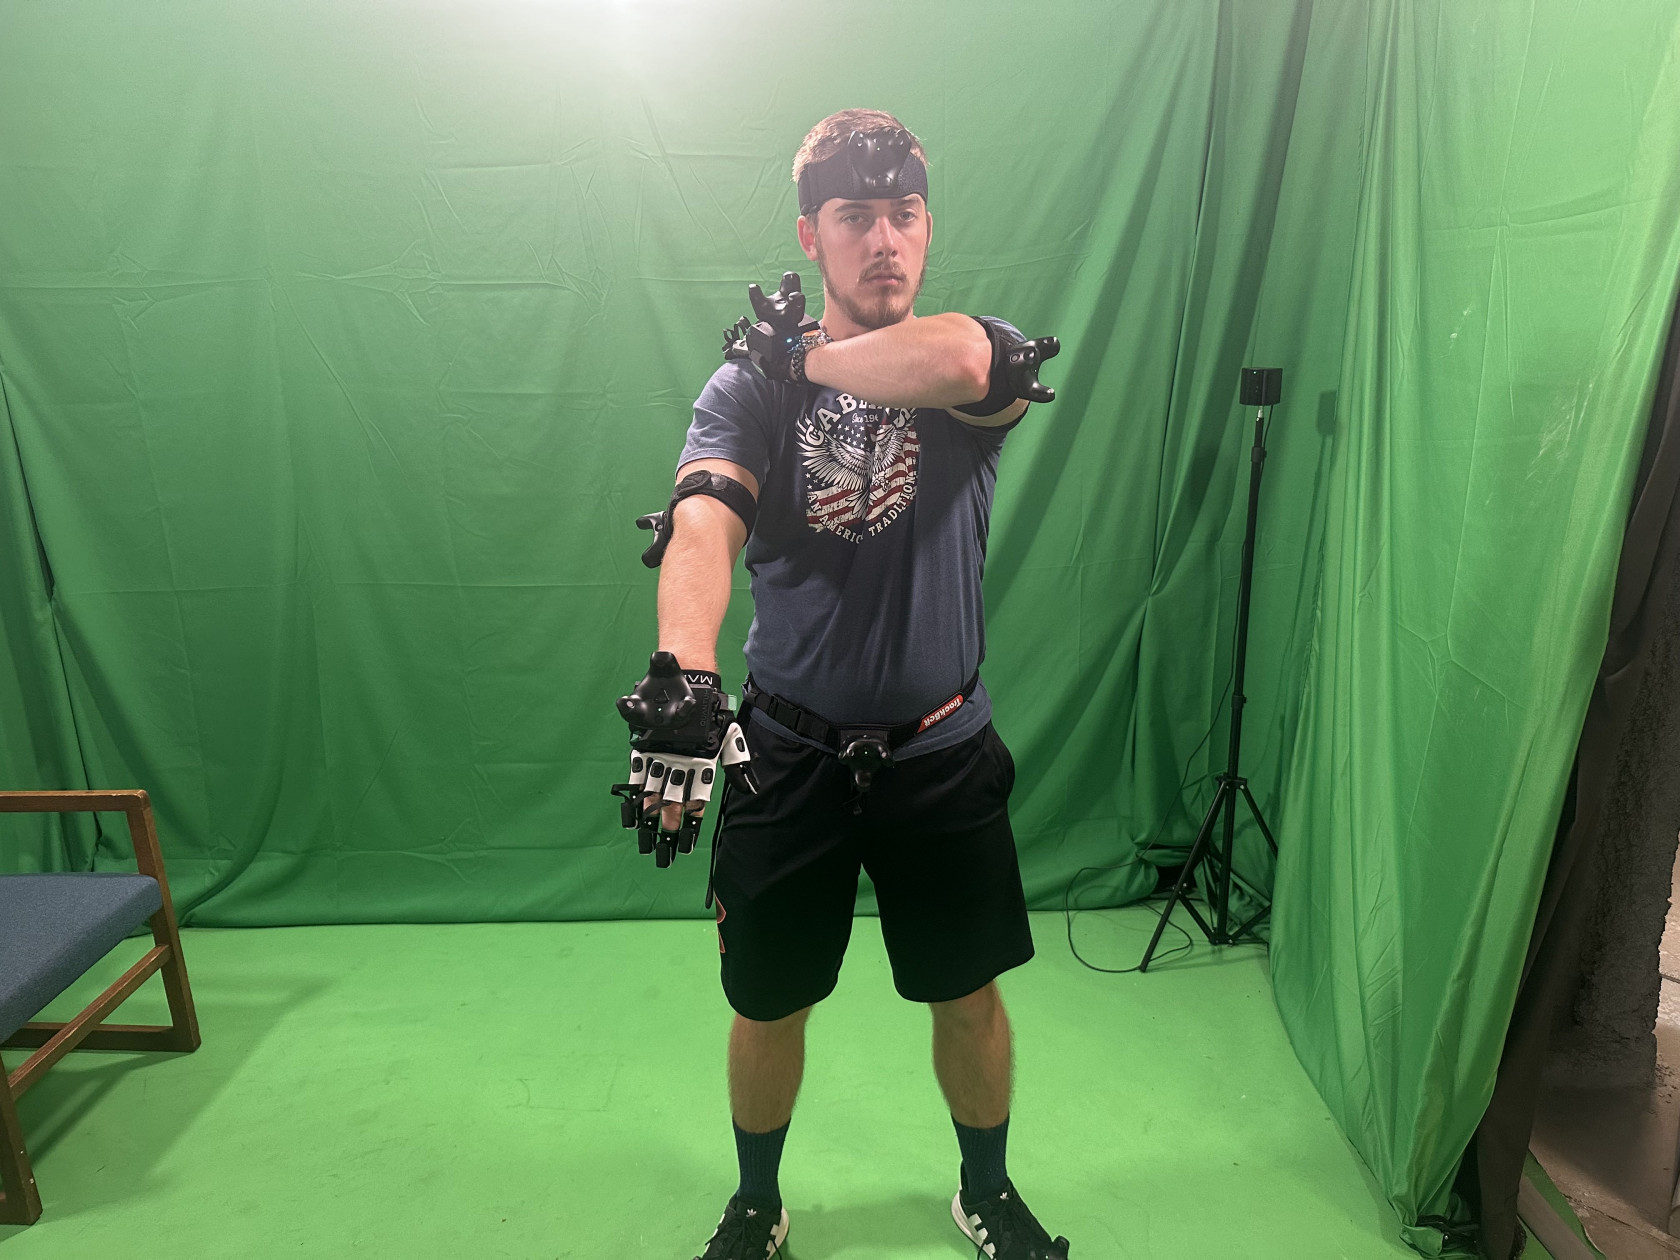
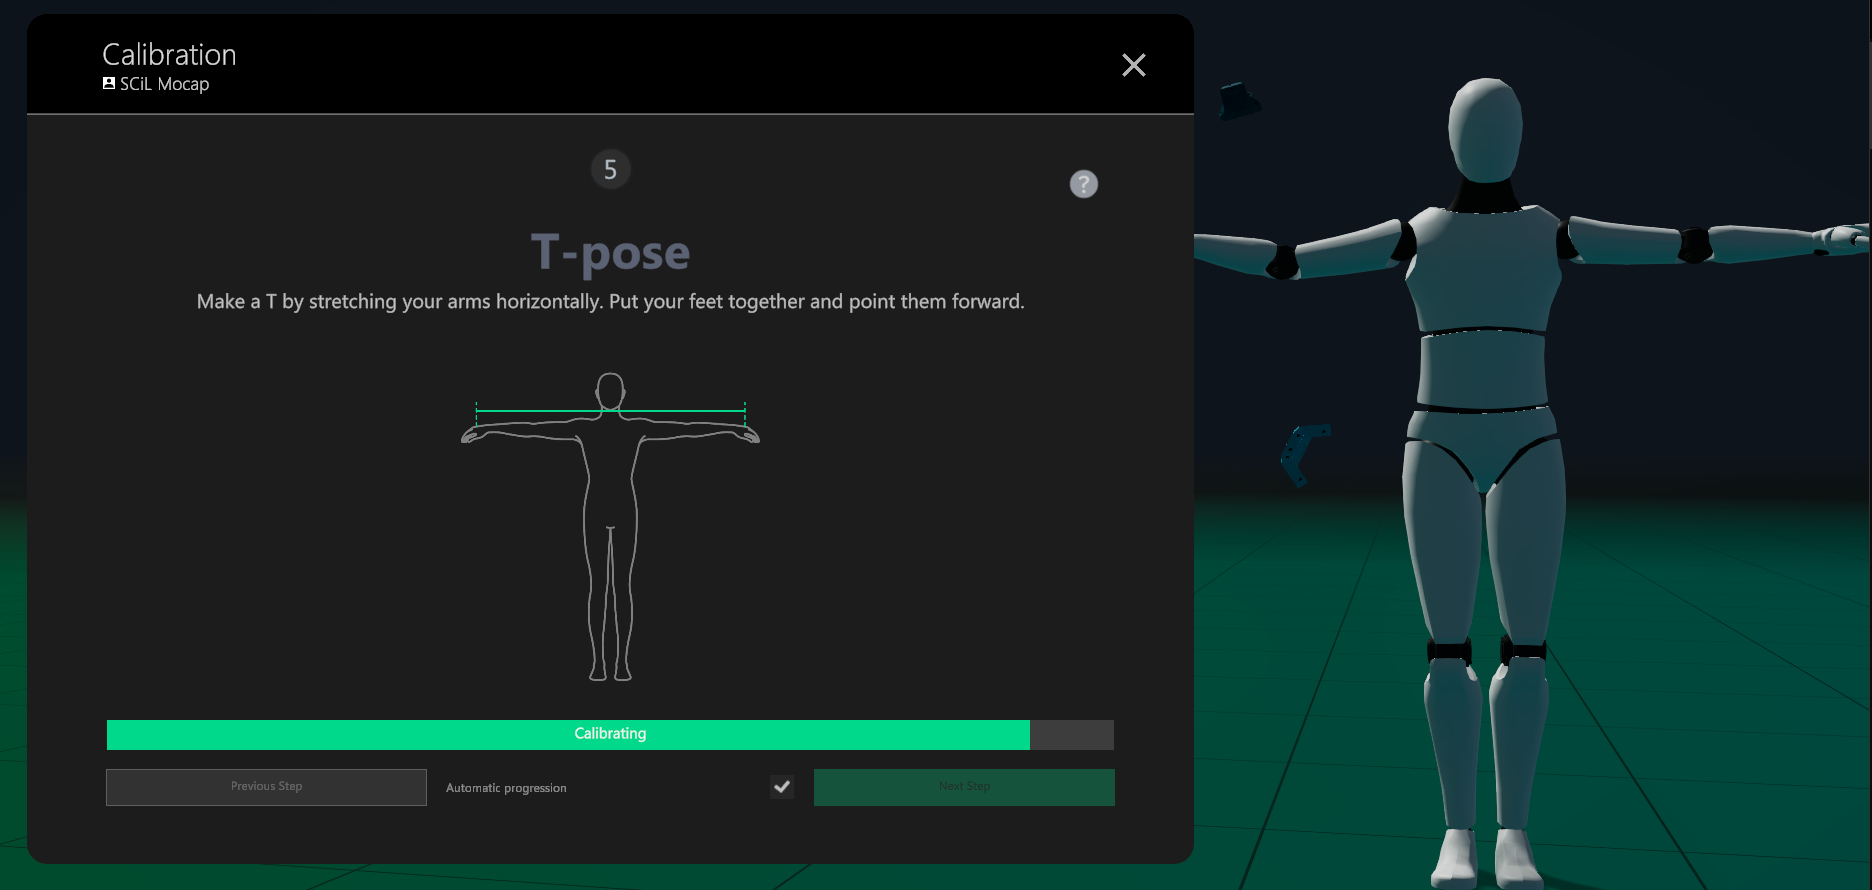
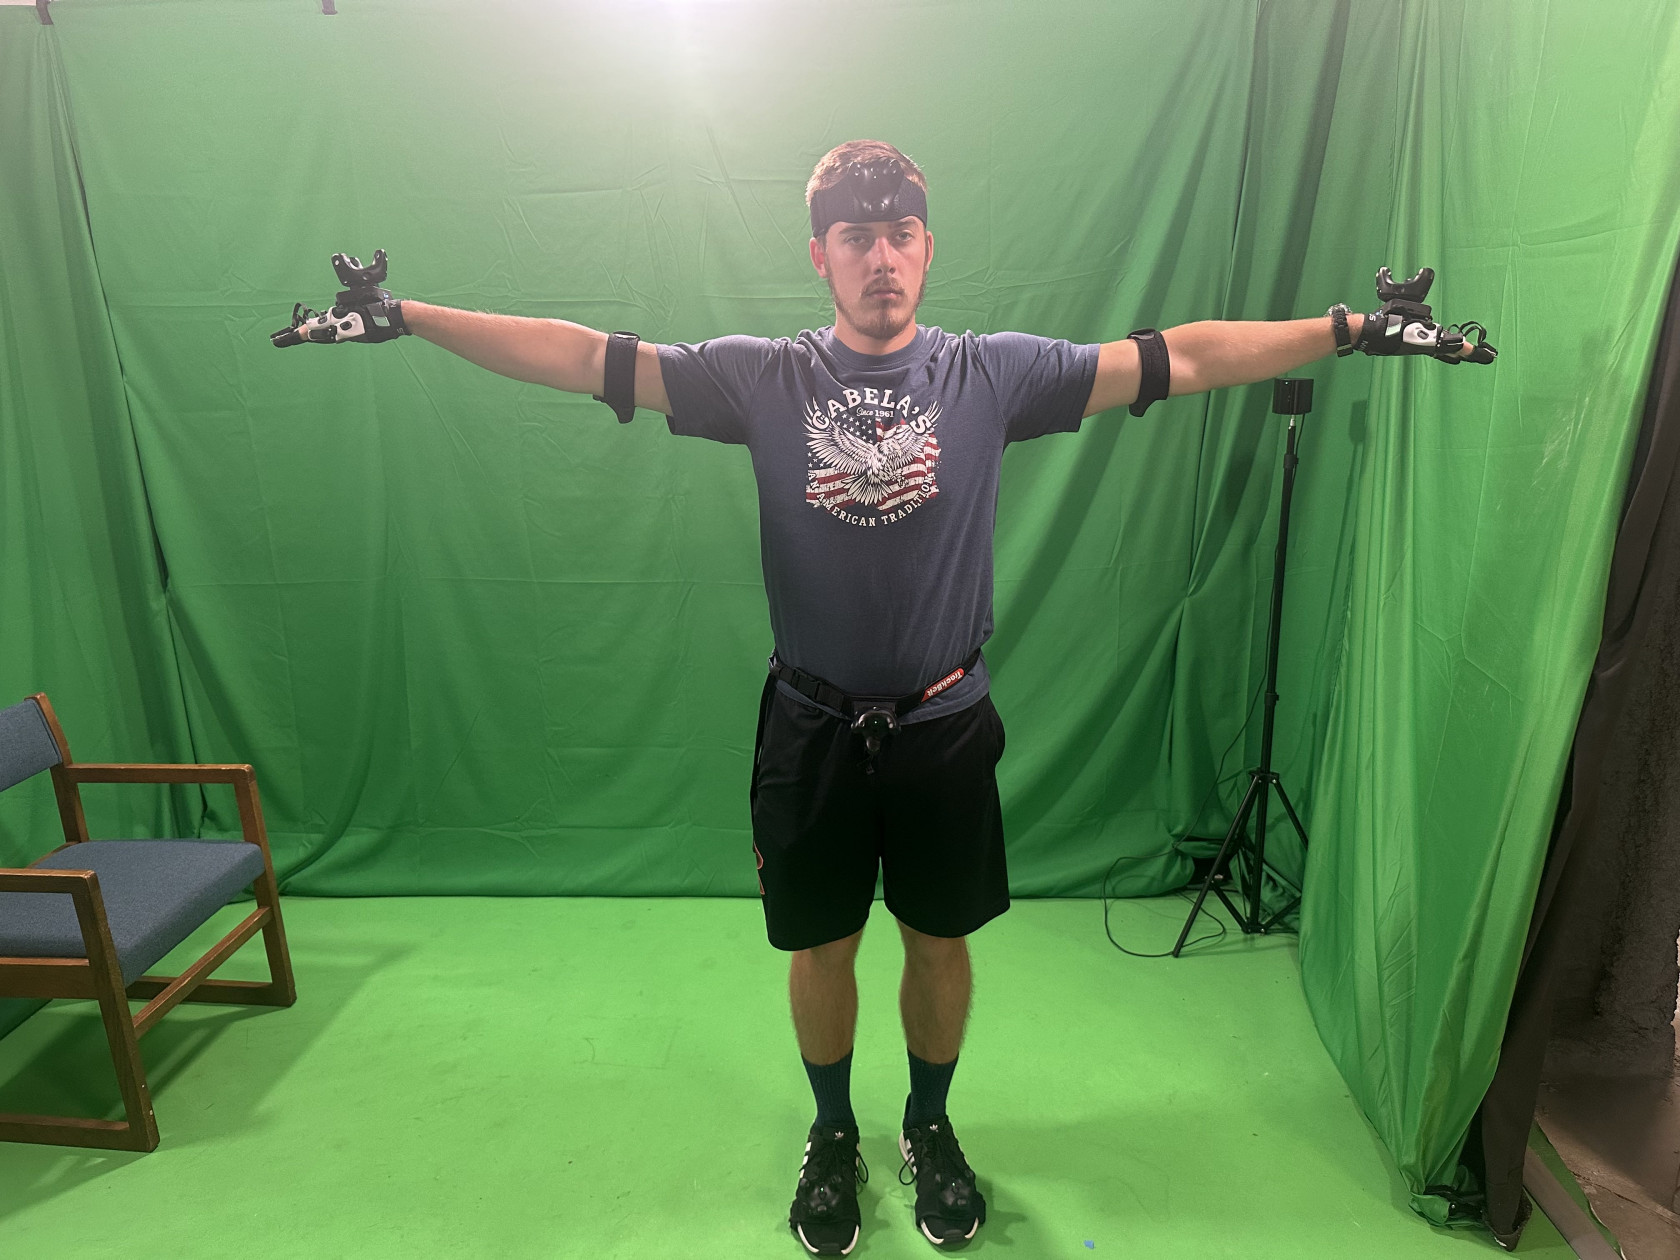
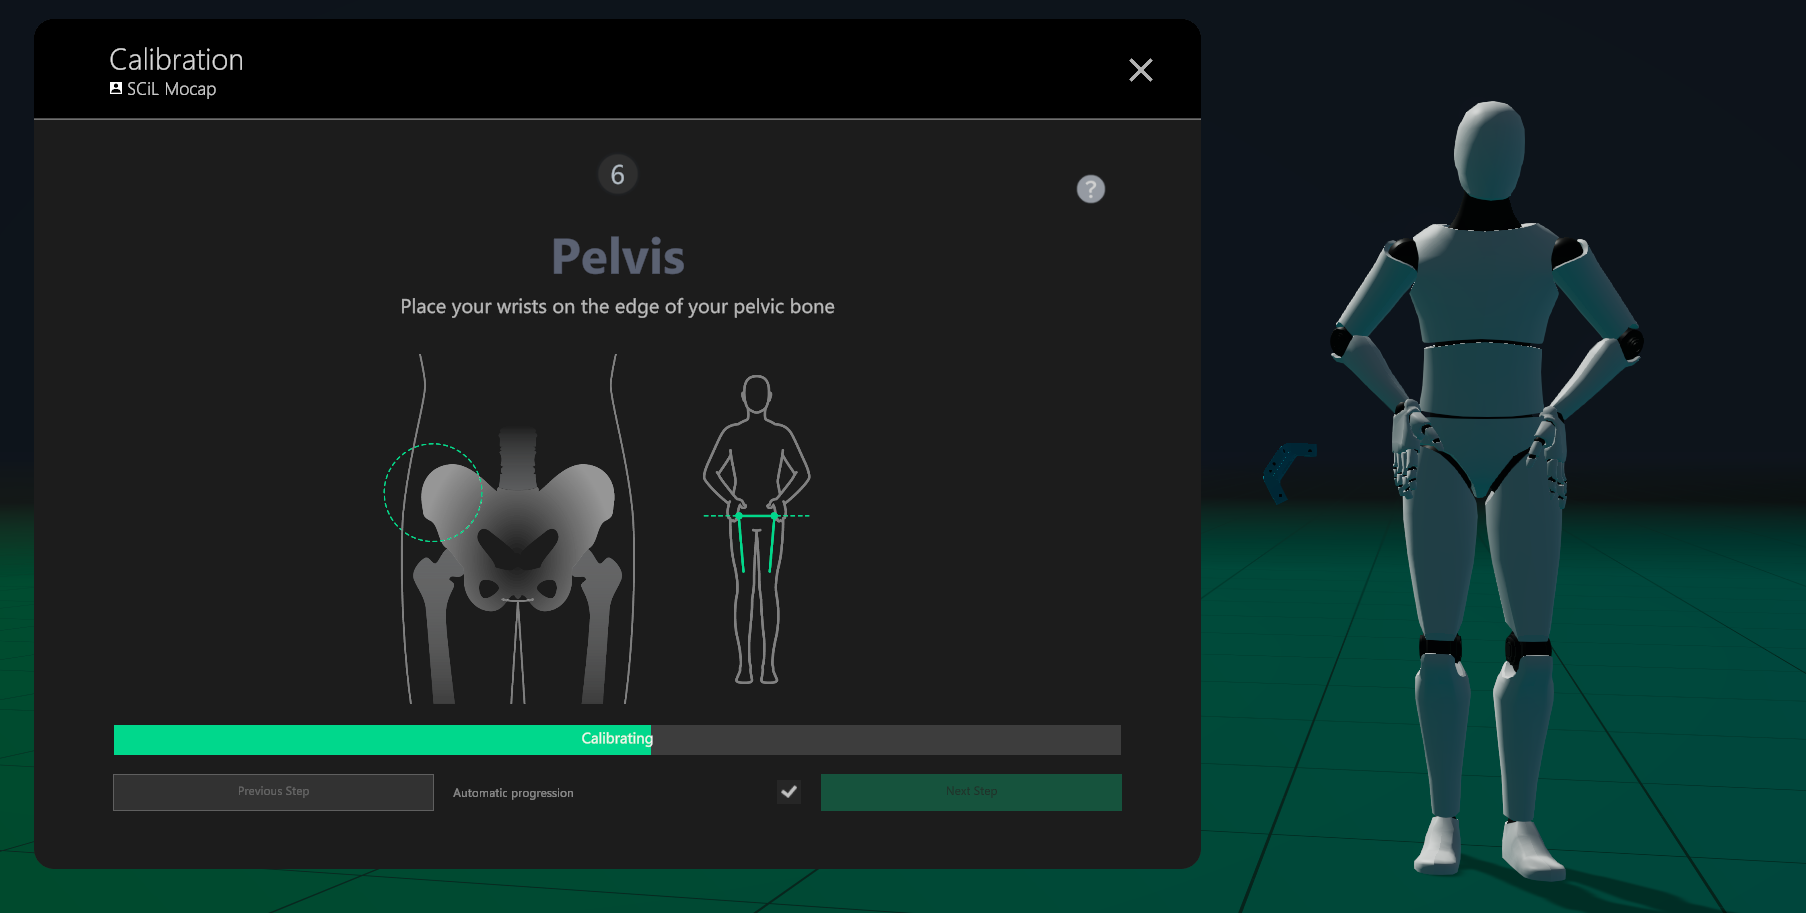
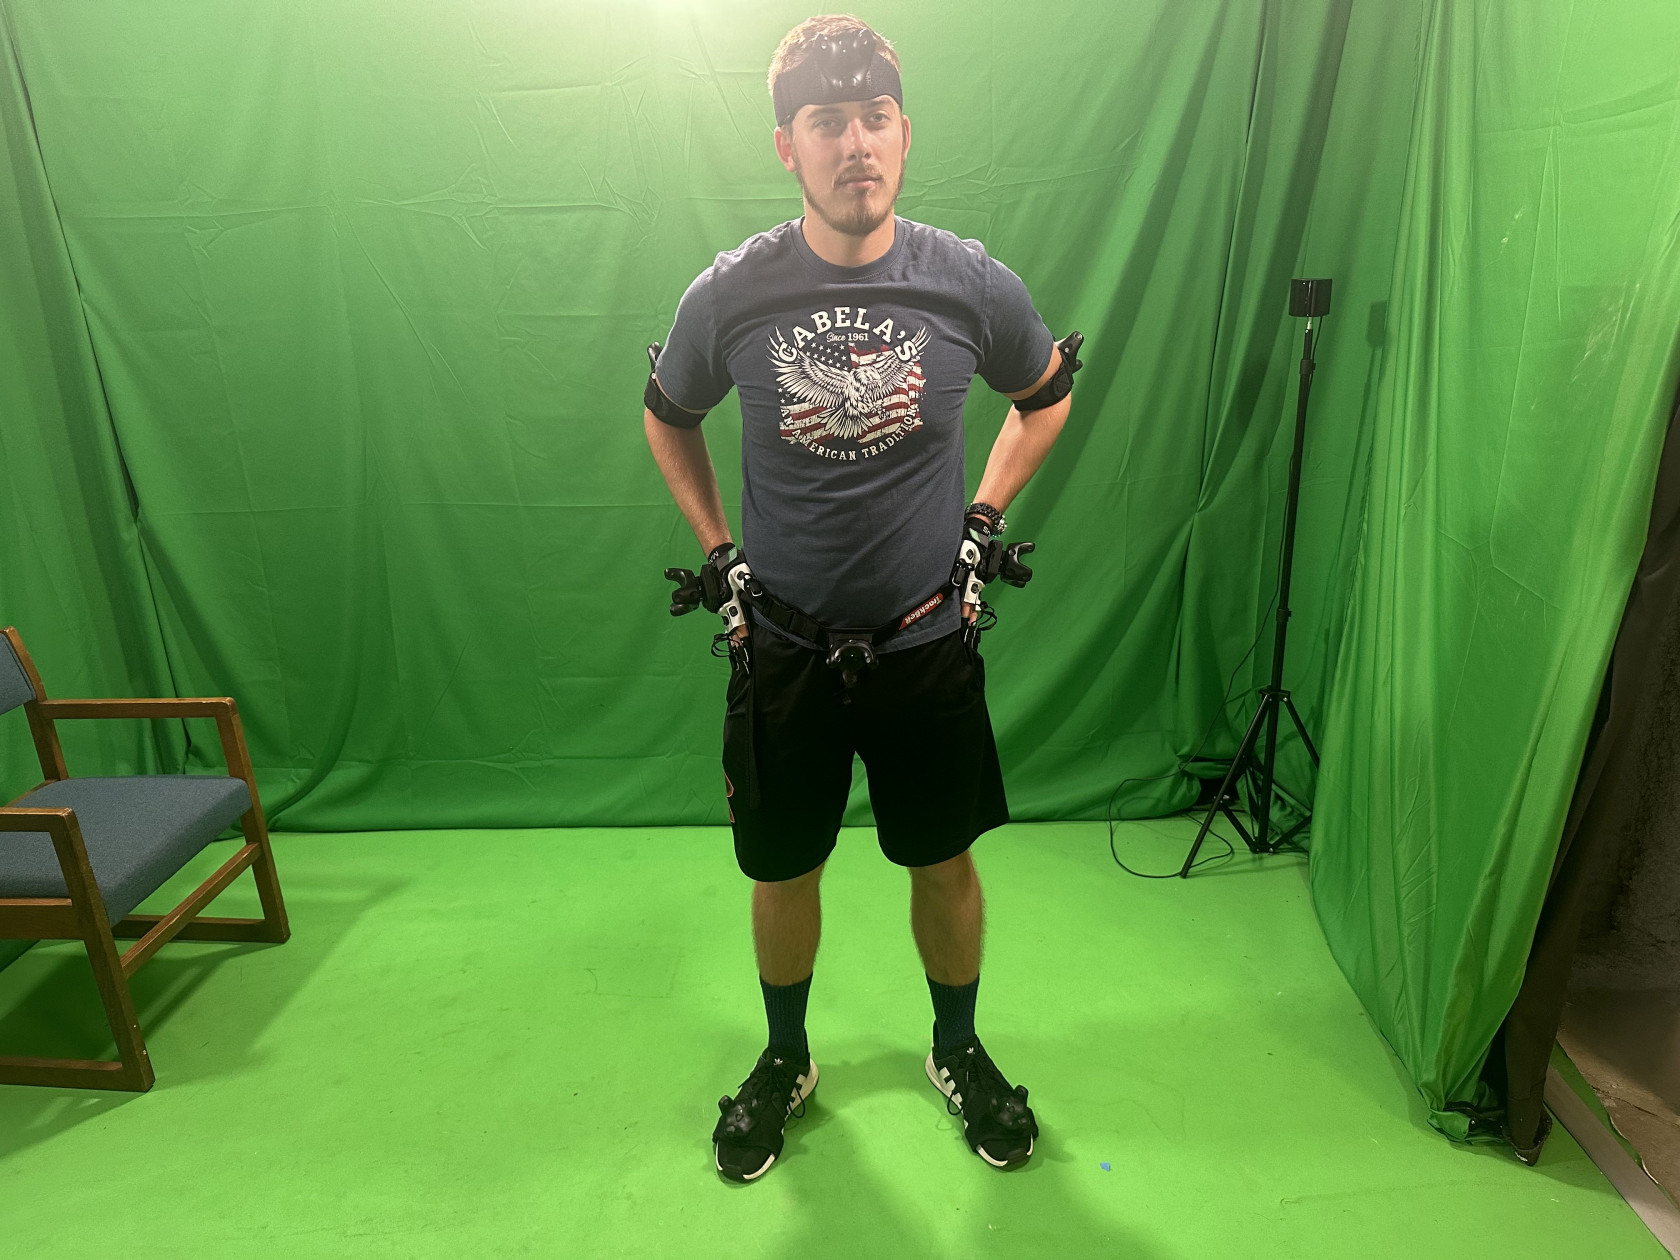
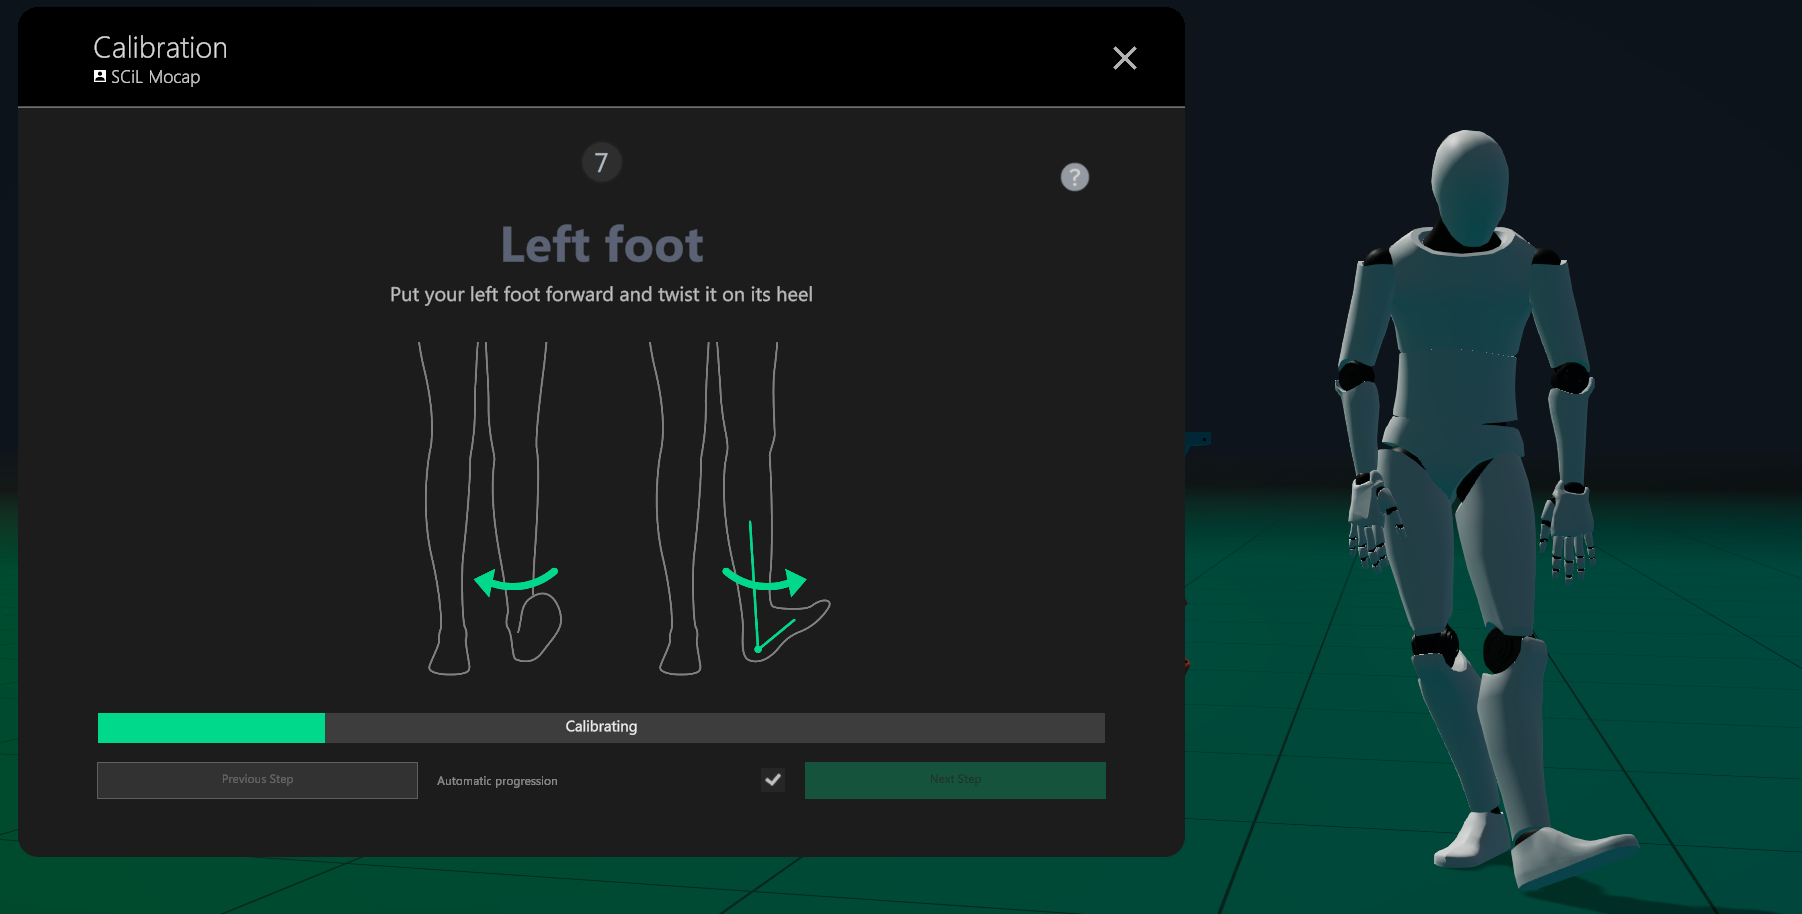
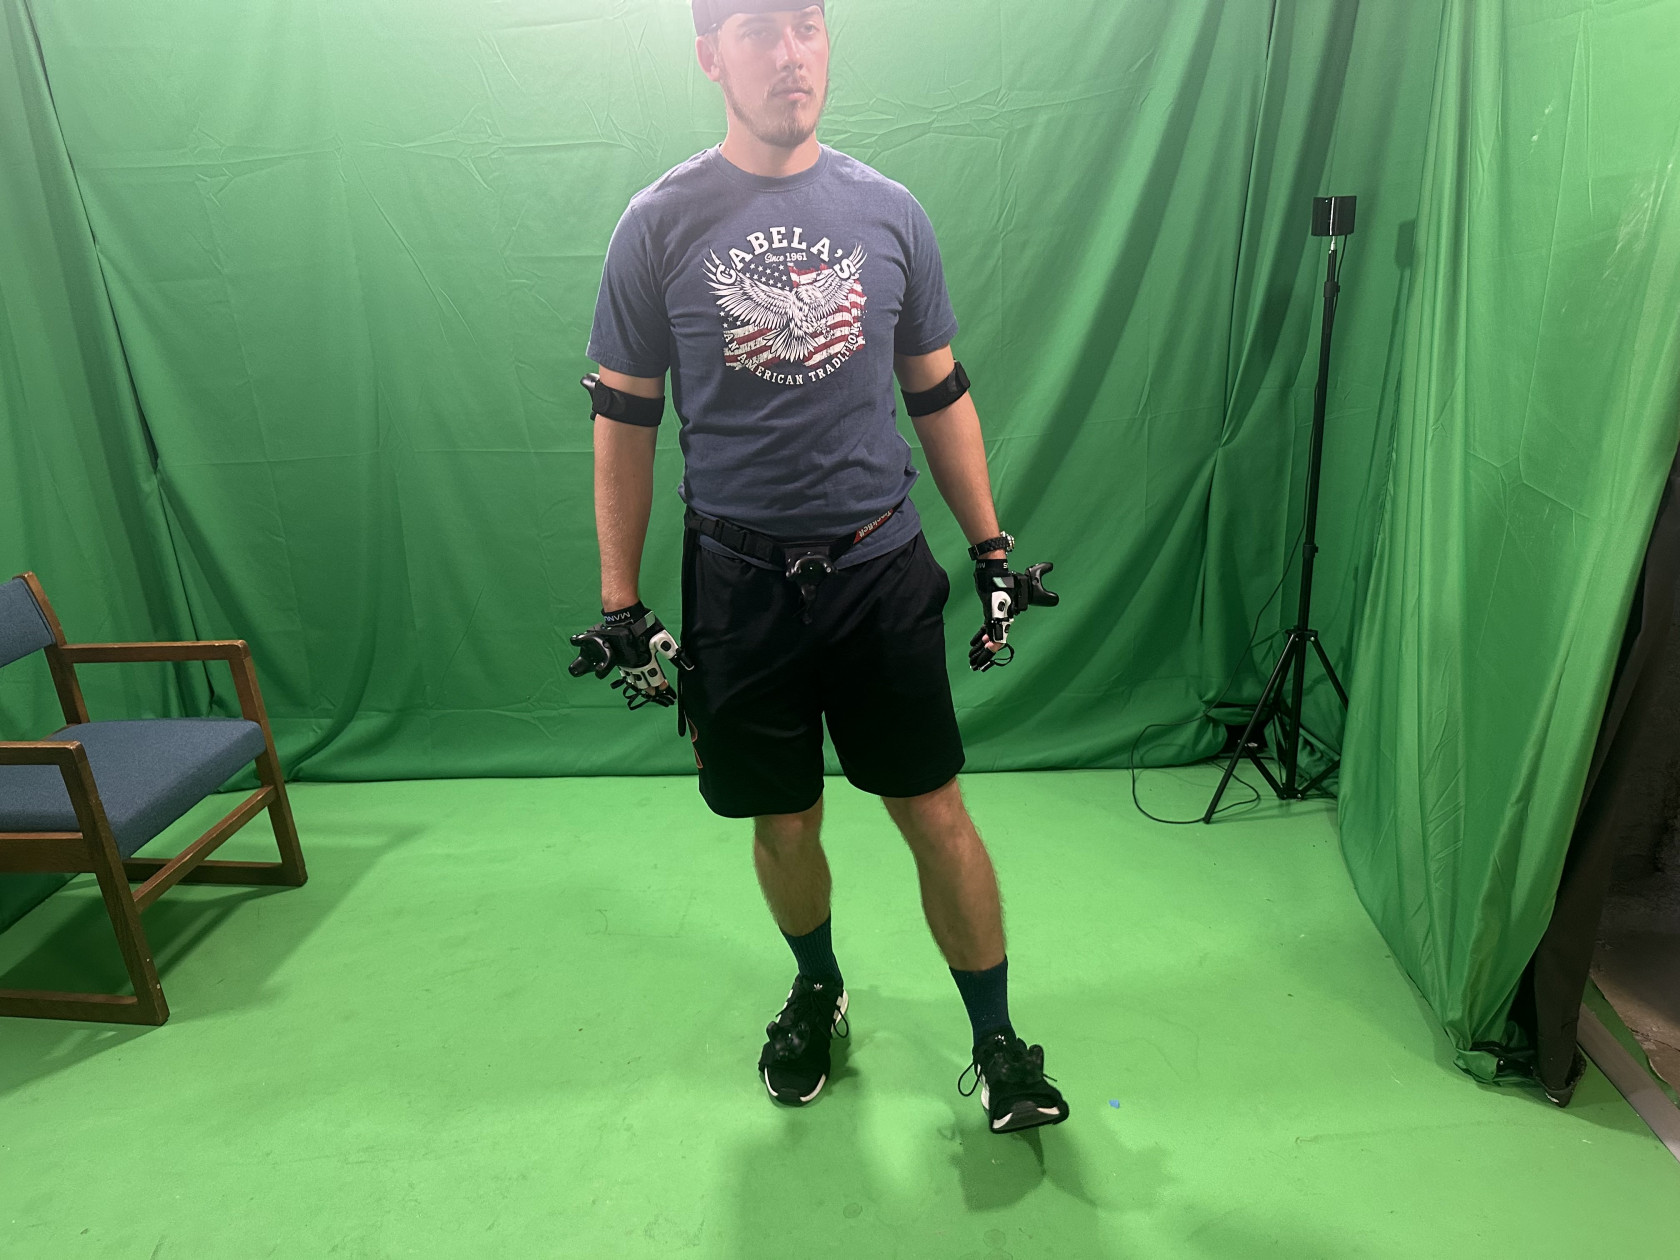
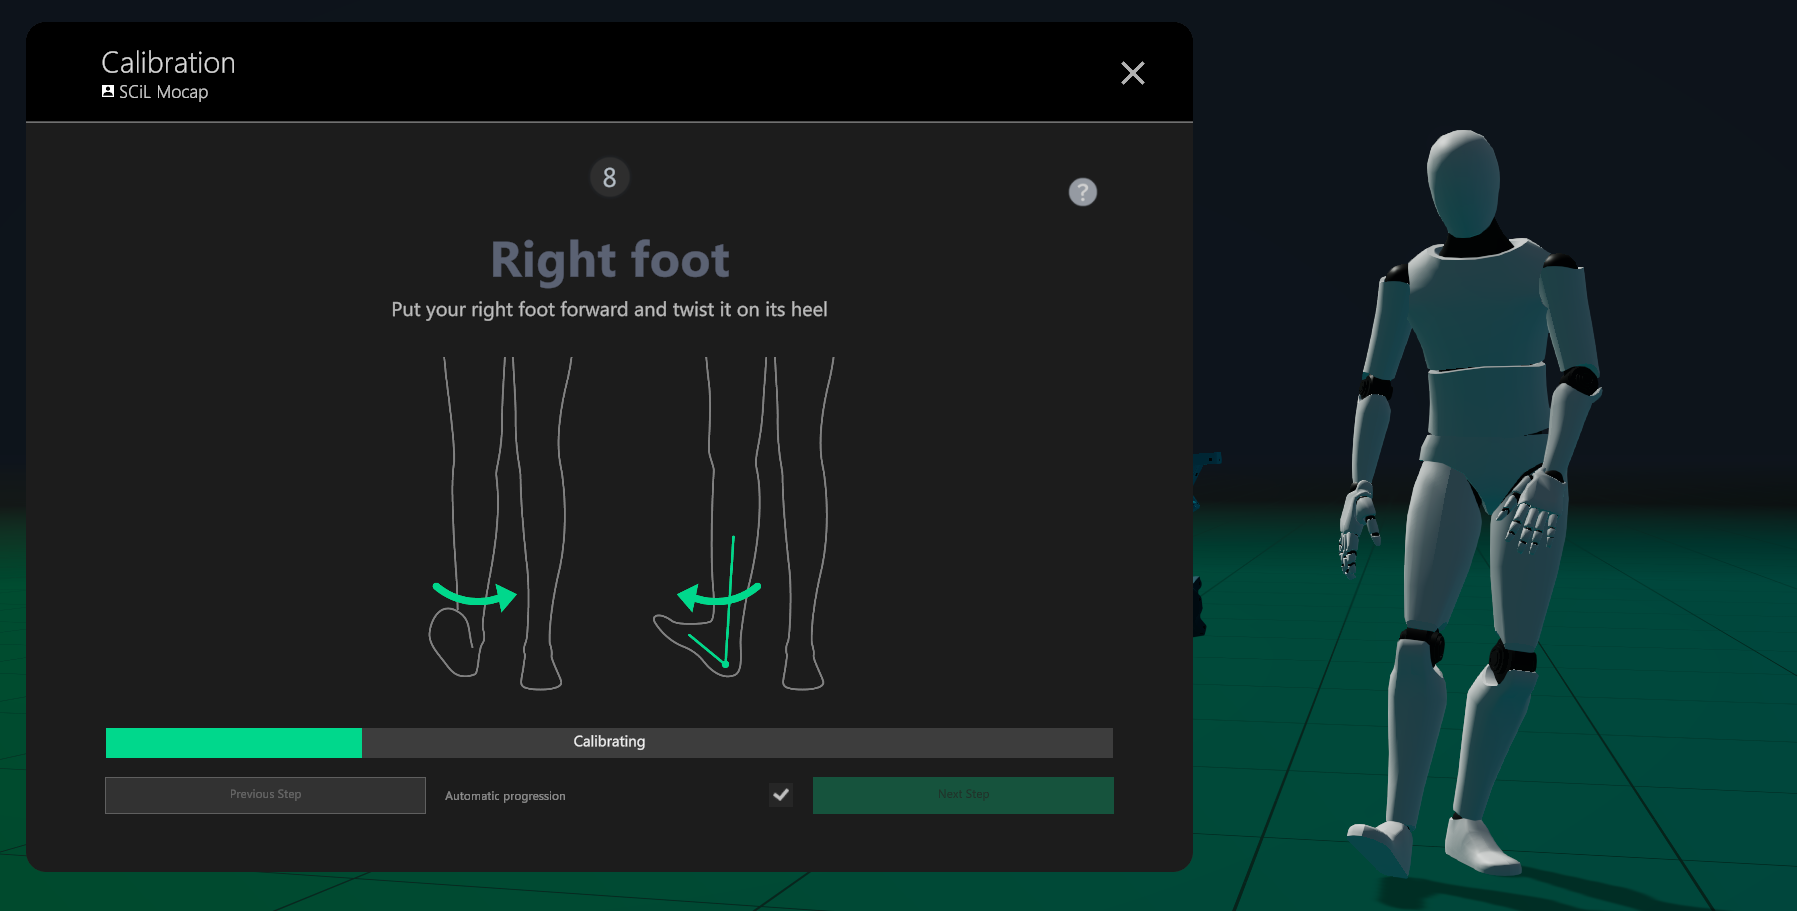
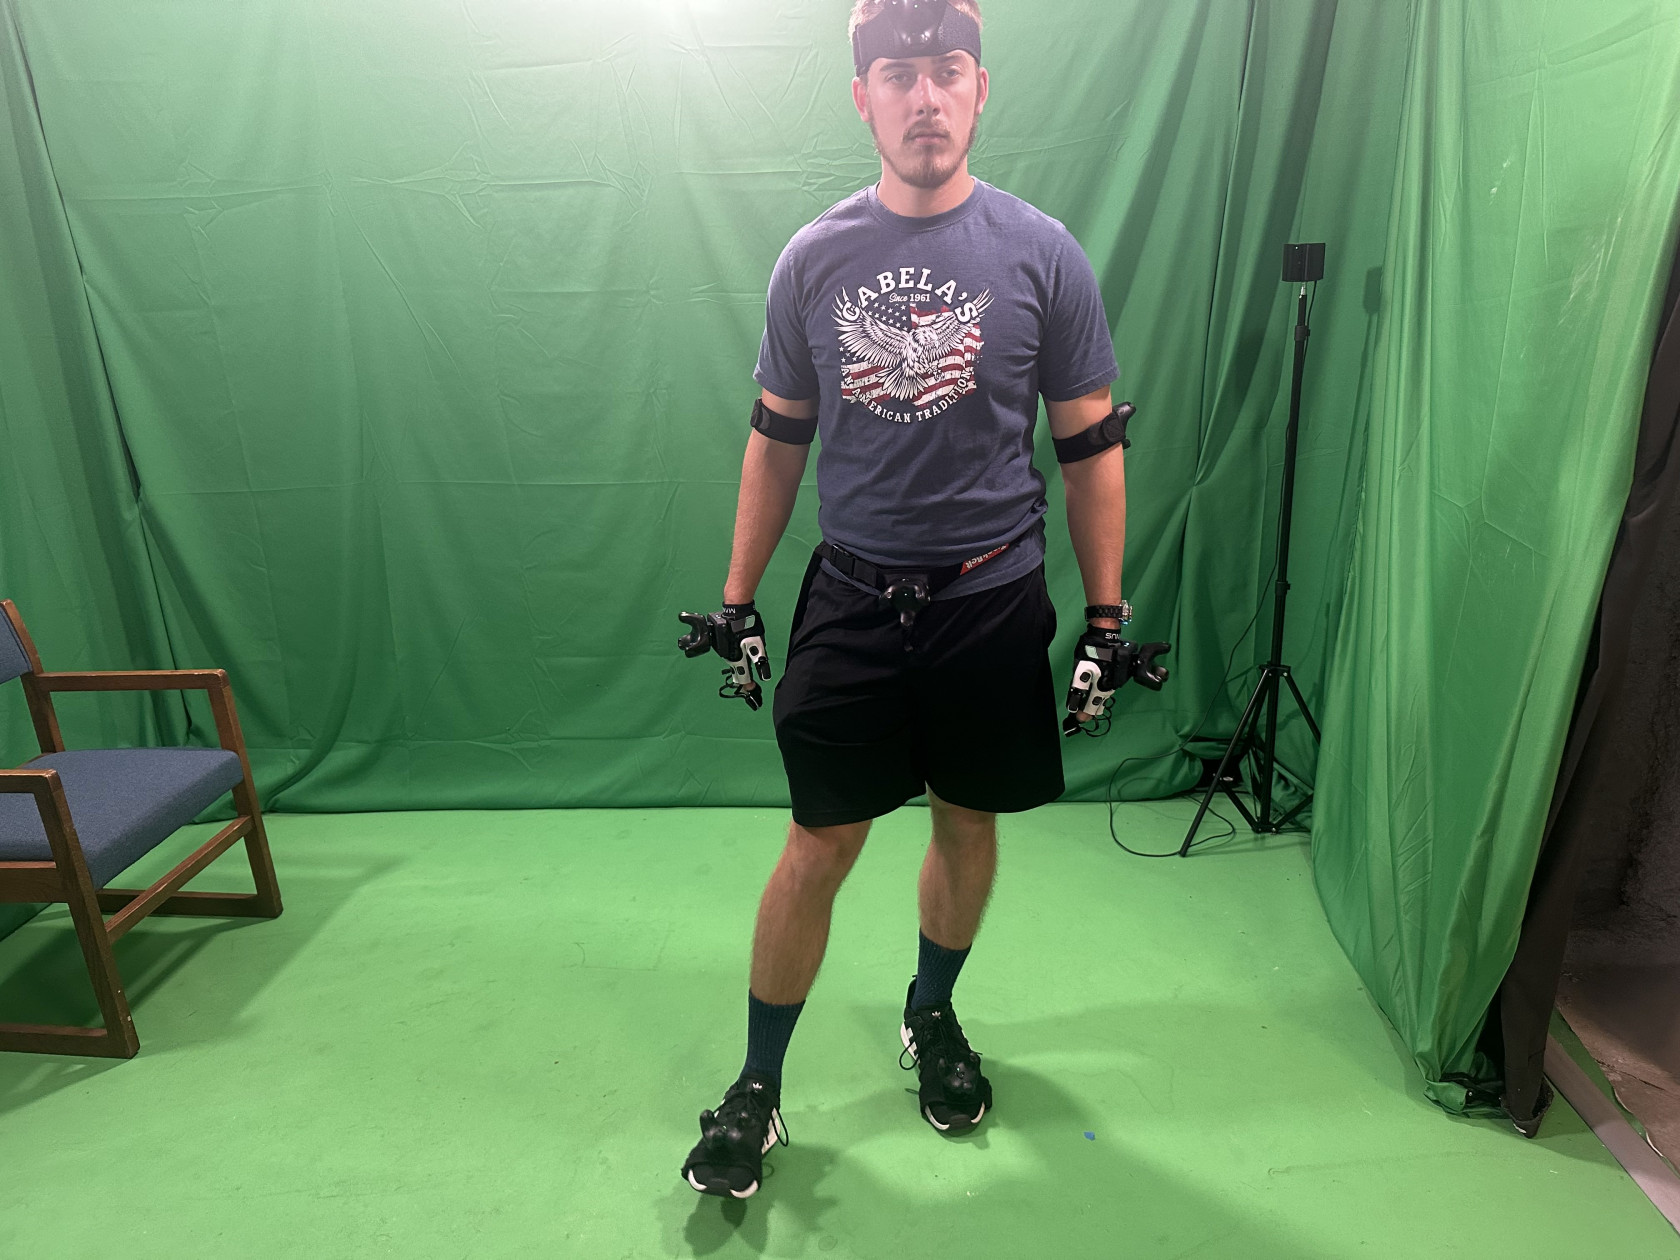
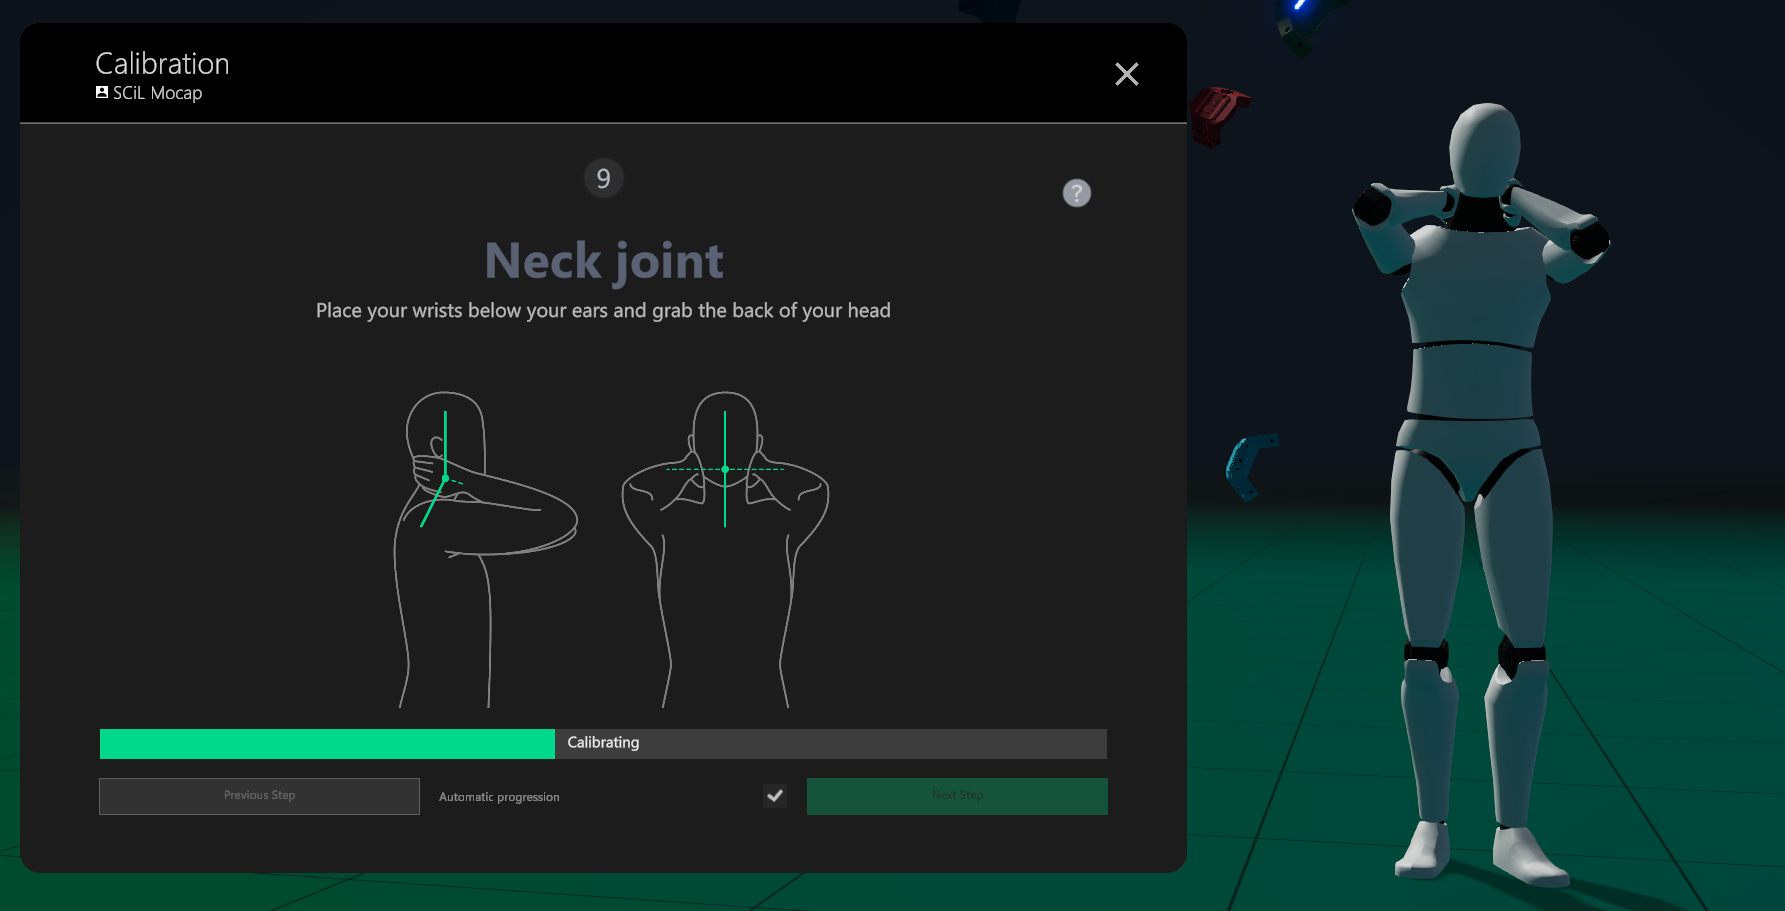
5. Again, the actor should be able to view the MANUS software via the third monitor and emulate the instructions provided by the 3D mesh character. You may enable automatic progression if it's comfortable, but first-time calibrators are advised to manually continue through the calibration to ensure the actor correctly follows the steps. The calibration process includes three review sections to verify proper tracking.
During the arm review section, you may notice a hand depicted upside down - disregard this as it will correct itself upon conclusion.
Note: If a calibration step fails, retry the step until successful. If continuous issues arise, consult the troubleshooting page for support.
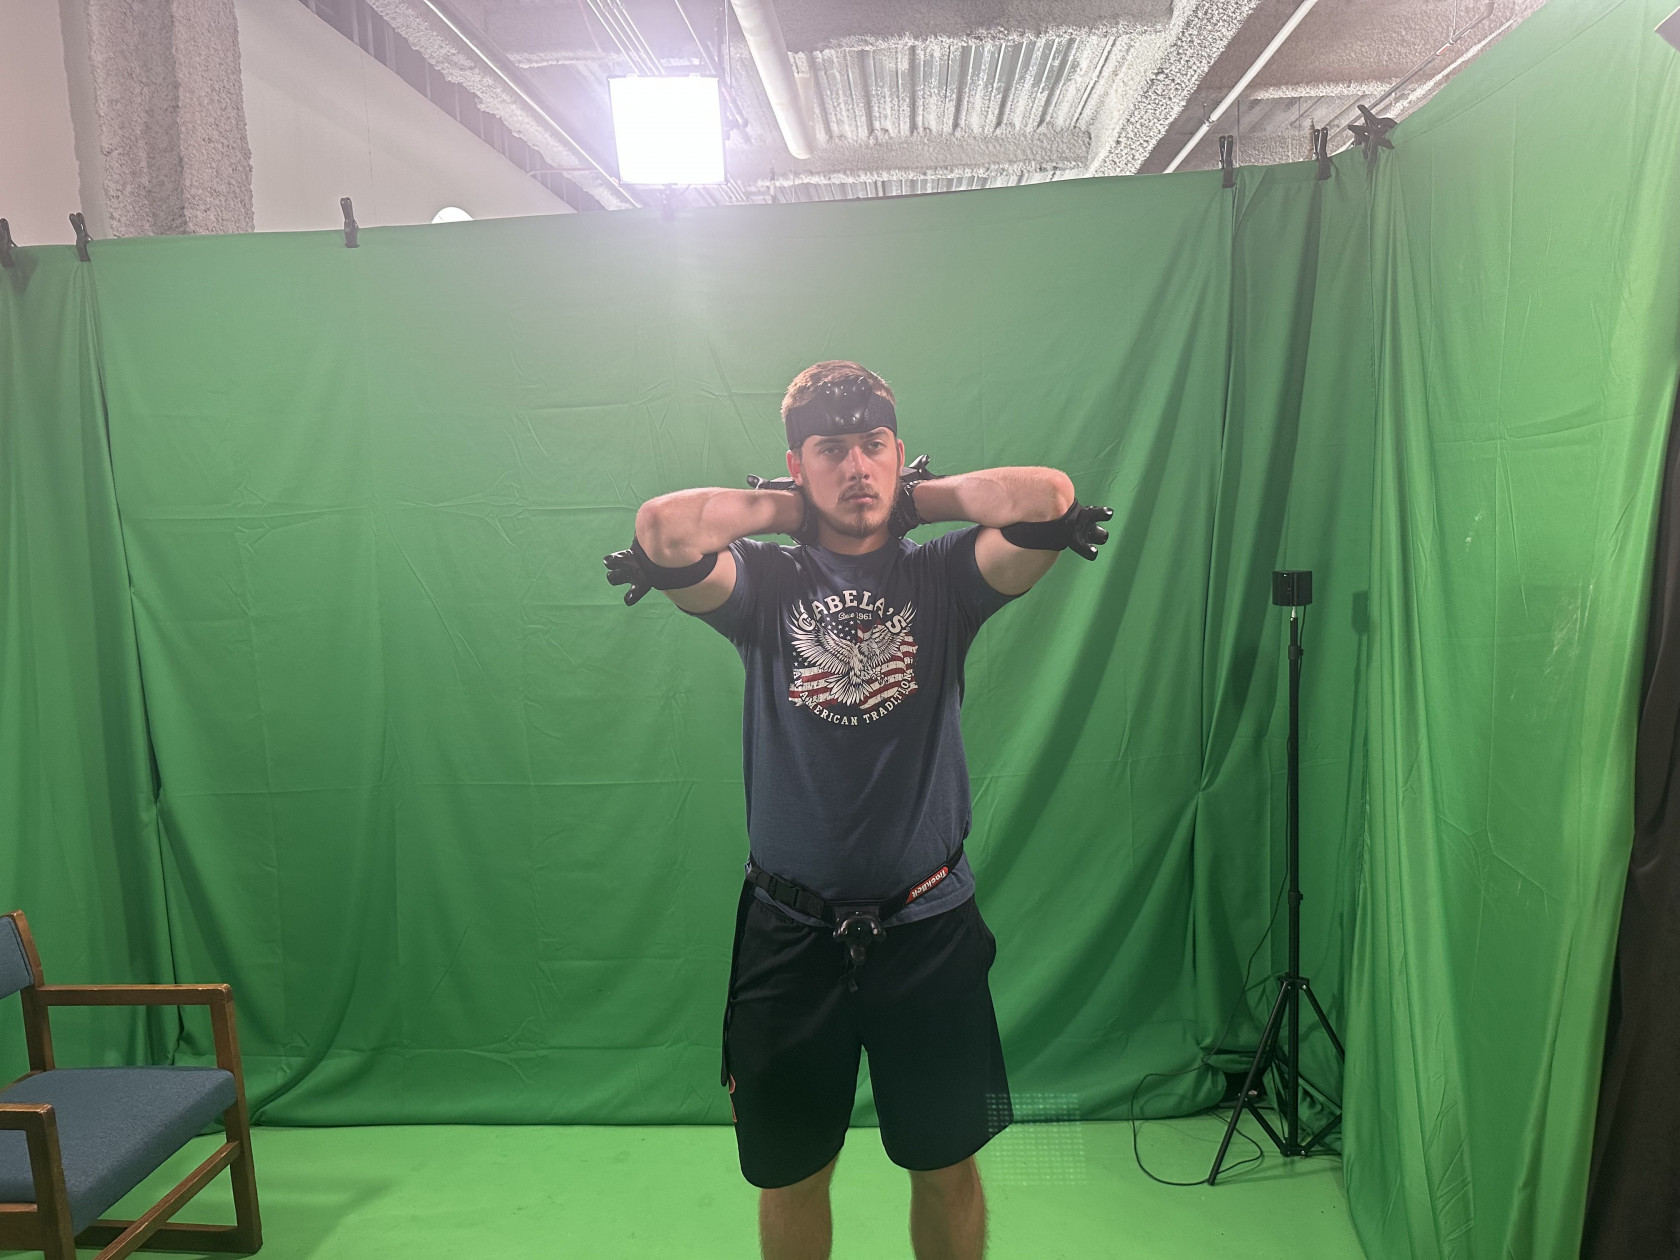
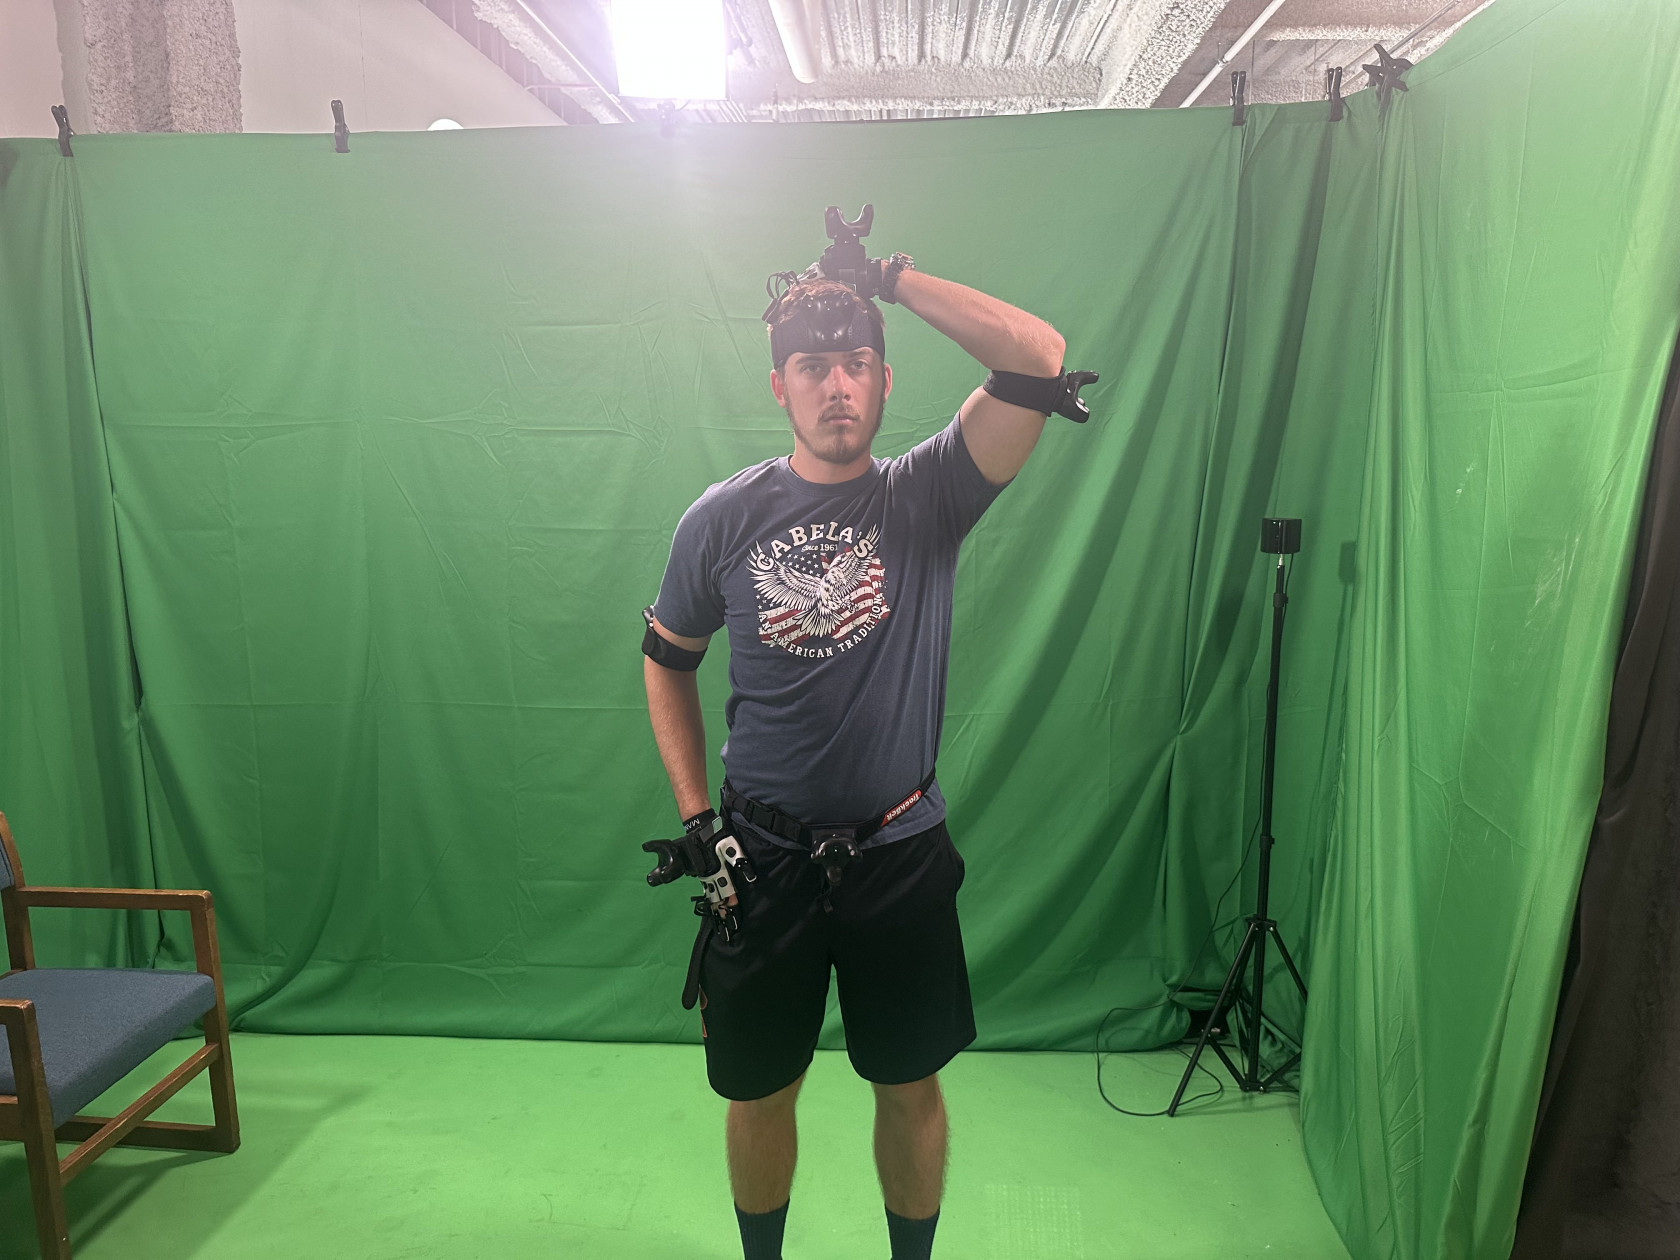
Progress through the calibration sequence, using the images provided on this page to aid in guiding the actor.


6. Upon completion, the fully calibrated mesh character will be responsive to the actor's movements. It's common that the actor requires fine-tuning, so navigate to the profile setting in the user tab to facilitate this.

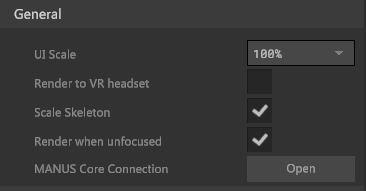
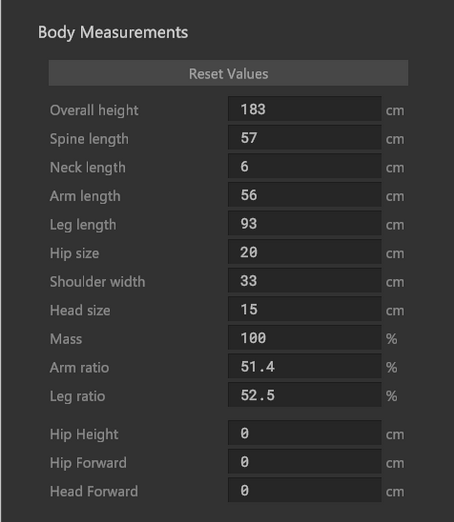
7. Select the user's tab and then the profile settings. Scroll down until you see the 'Body Measurements' section. This area allows for the adjustment of measurements, with real-time visualization of the impact each change has on the actor's body mesh. While making adjustments, it's strongly recommended to have 'Scale to Skeleton' checked in the settings tab. If unchecked, the model may display visual glitches when the arms are in close proximity.
Tip: When adjusting the measurements, start from the hips and work your way up and down the actor's body, as the hips serve as the foundational point for the rest of the measurements.
8. Once satisfied with the measurements click on Apply& Close under the Body Measurements section. Then refer to the MANUS Core Recording page for guidance on recording performances.