MANUS Core Recording
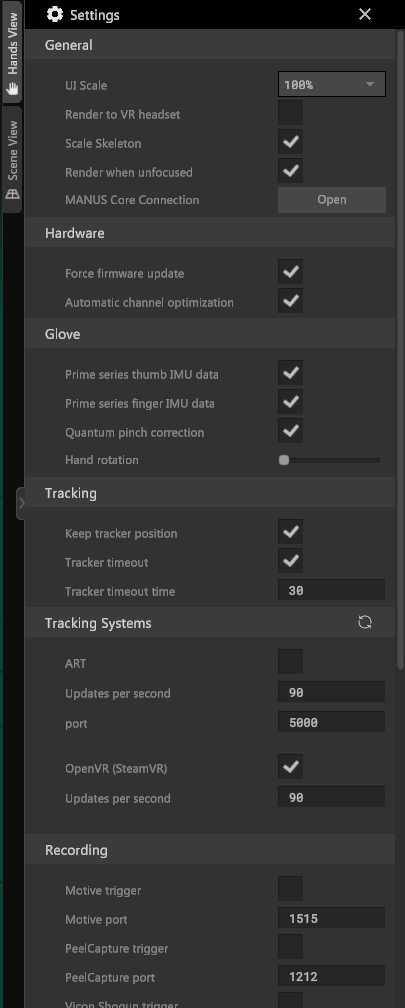
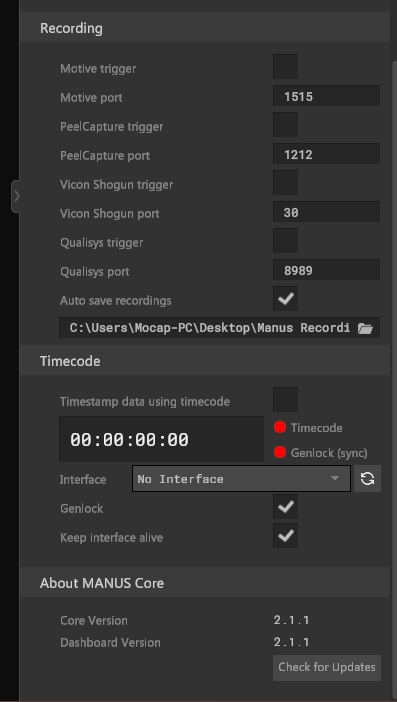
1. At this time, please ensure your settings correspond to the images provided below unless instructed otherwise. These default settings are typically the ones to use.
2. Having confirmed that your settings are accurate, navigate to the upper right of the tabs and click on 'REC'. Following this action, a recording menu set should emerge at the bottom of your scene view.

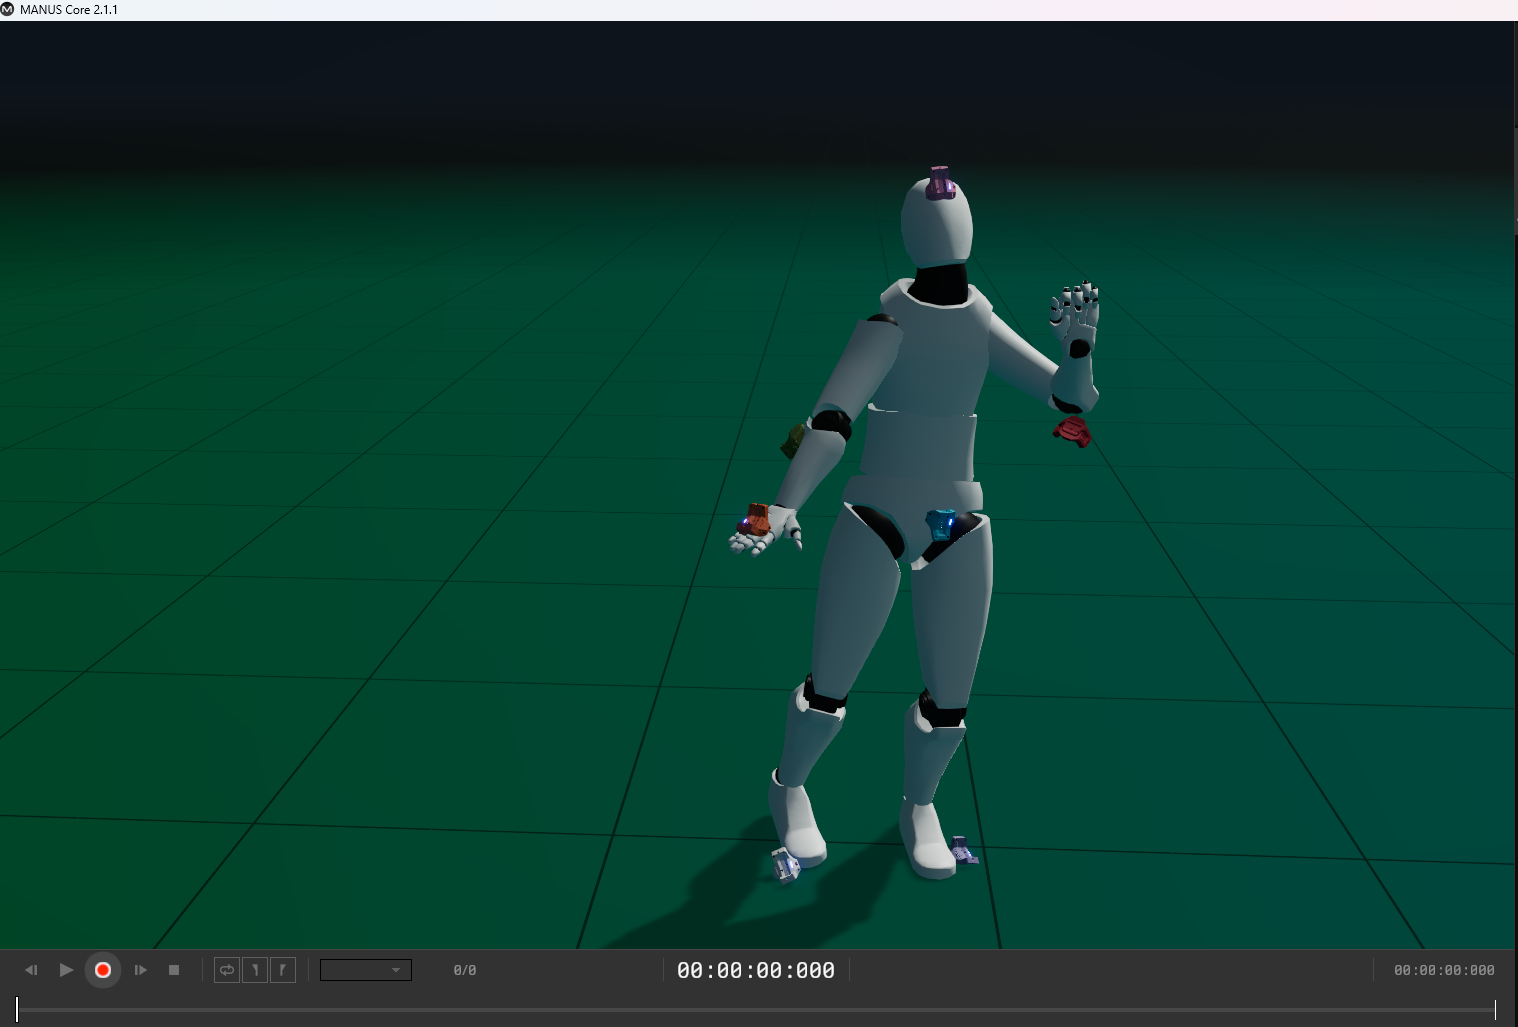
3. To commence the recording of the actor's performance, click on the red 'Record' button
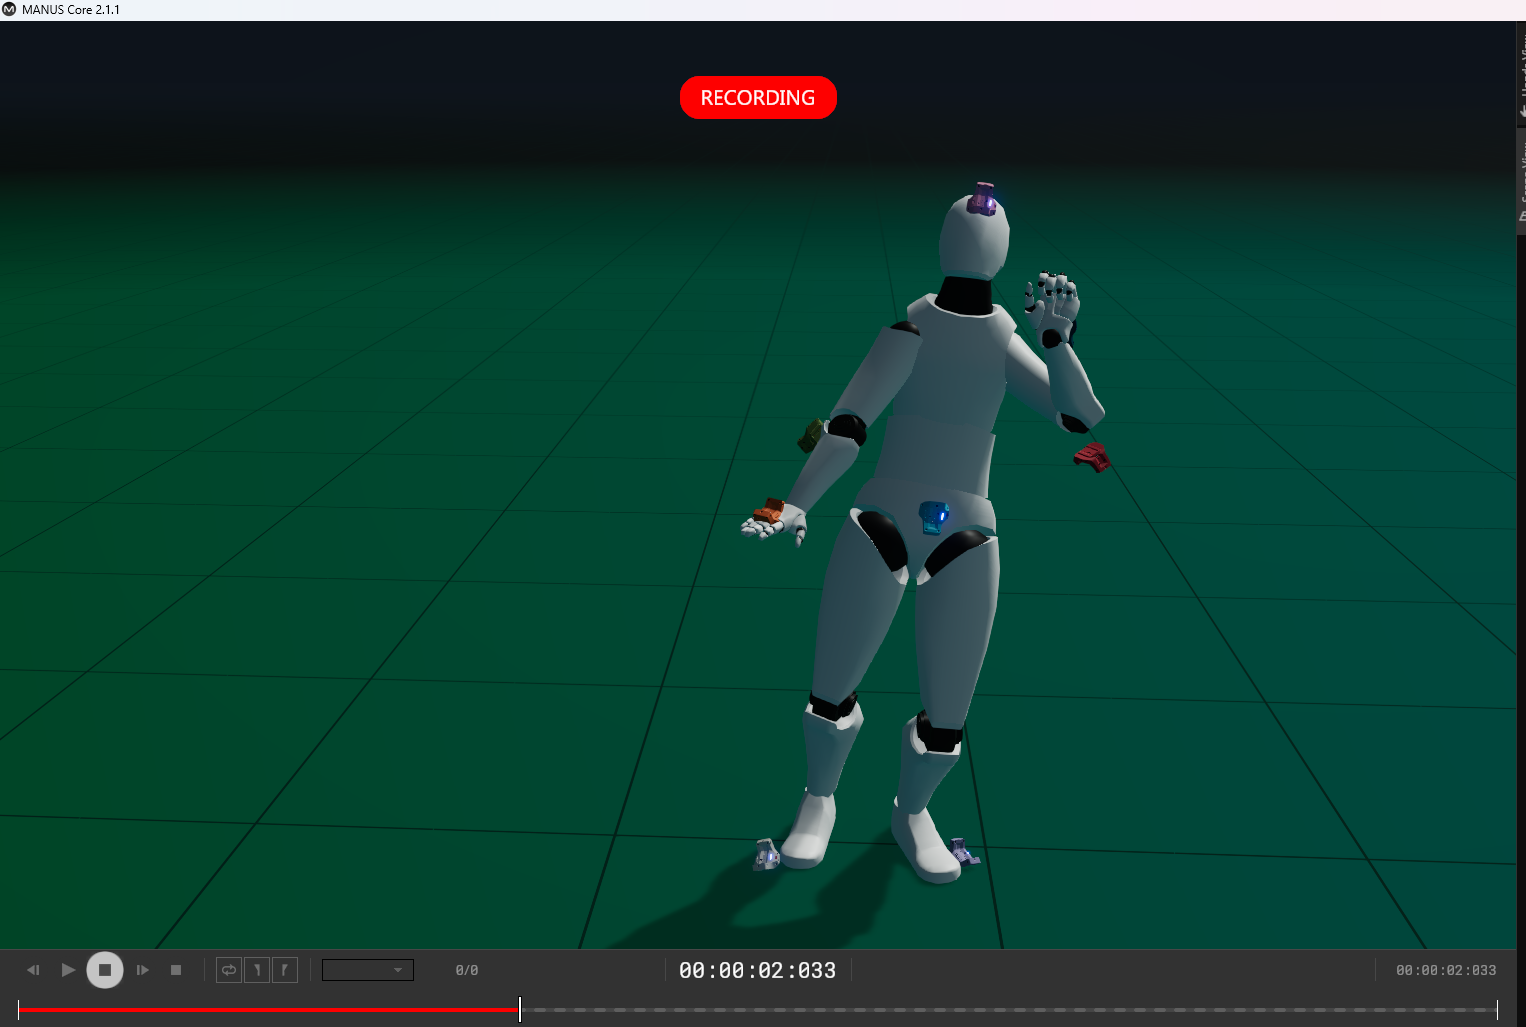
5. Once the recording concludes, click the 'Record' button again to halt the process. Post-recording, you have the option to review the clip and adjust the beginning or end as necessary by moving the two yellow indicators on the timeline.
Note: The software will only display the animation clip and not the live actions of the actor until the clip is cleared for another recording.
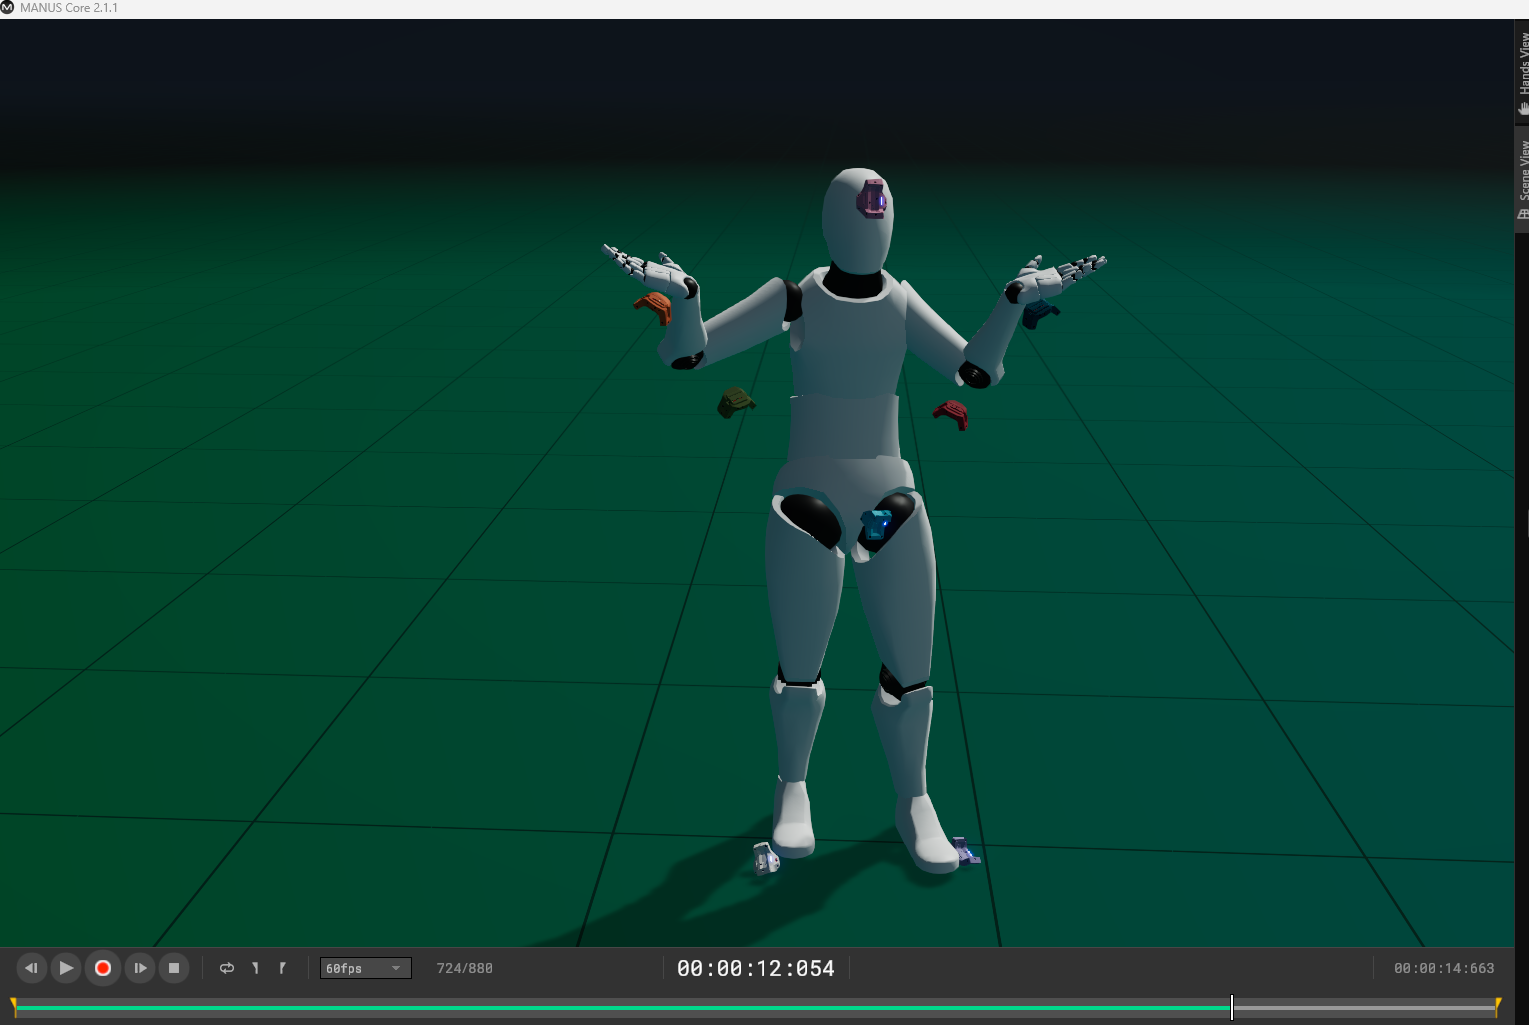
You can also adjust the framerate at which the performance is viewed

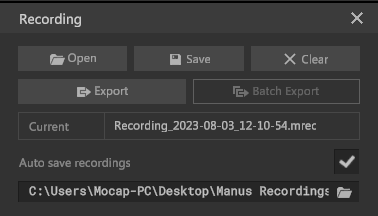
6. To save the animation clip, navigate to the lower right-hand side of the software and select 'Save'.
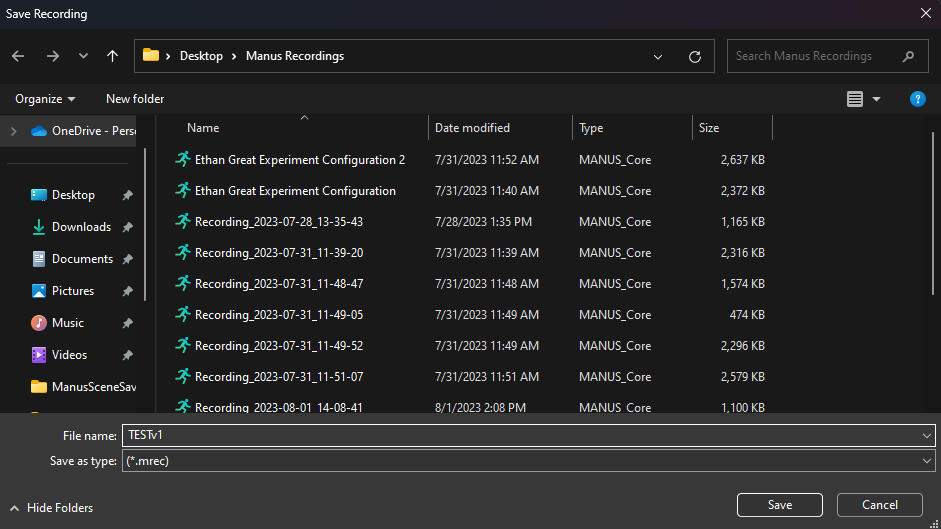
7. At this point, you're preserving the MANUS Core scene, and it is generally advised to consistently save your scenes. You will be prompted to designate a name and location for the scene. Once satisfied with the details, click 'Save'.
8. After you saved the scene select the export button. Here you will rename and assign a location too. Then for the skeleton select Mixamo and then X Bot.
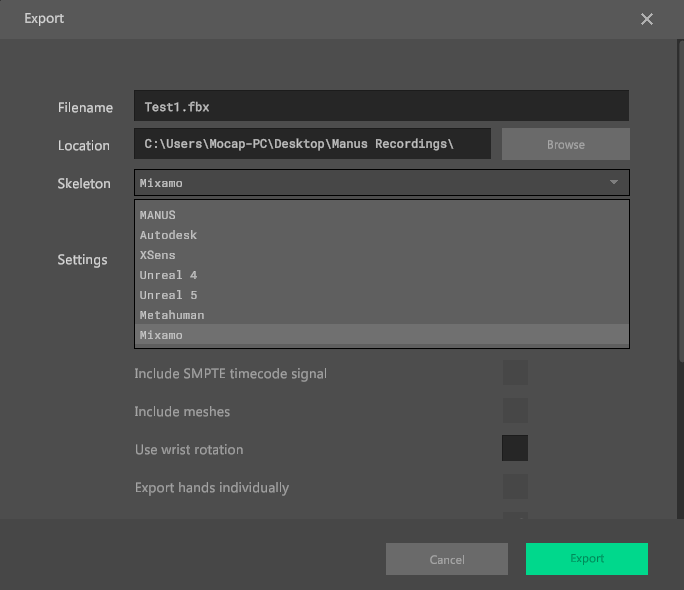
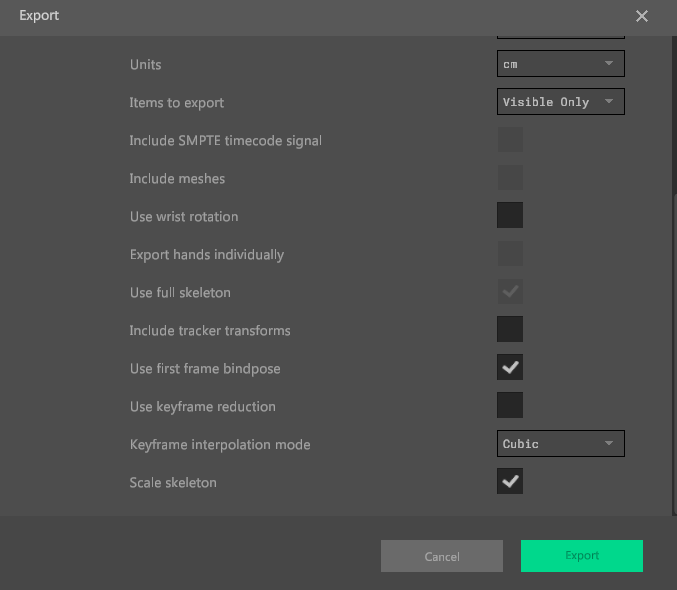
The following are the additional settings that I've found to yield the best results.
9. Now, a file of type FBX should be present in the location you specified.