LIV VR Mixed Reality
LIV Mixed Reality Software
Technical Walkthrough
IMPORTANT: Do not unplug cables arbitrarily, you may break something
You will need:
-
SteamVR compatible headset (LIV is highly dependent on SteamVR)
-
If you are planning to use the Valve Index, check with Wes to make sure you’re okay to unplug it from the motion capture PC, and don’t forget to plug it back in when you’re done.
-
-
Sufficient lighting (the lights in the studio are plenty)
-
Decent camera/webcam, preferably 60 frames per second
-
The game you are using; SCiL does not own Beat Saber, so I am using my own Steam account for the purposes of this walkthrough
-
The following apps:
-
Meta Quest Link (Only needed if using a Meta headset)
-
Steam & SteamVR
-
LIV application
-
Game (Beat Saber)
-
OBS (if recording)
-
Step 1: VR Setup (Meta)
If you are using a non-meta headset, skip to the SteamVR startup.
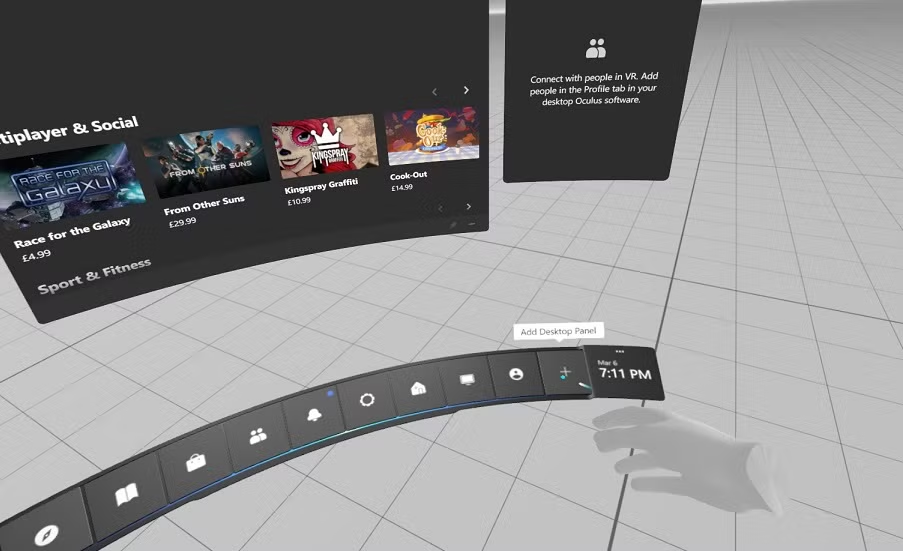
Firstly, you will need to open the Meta Quest Link app, and start VR within the headset
-
In the view of the headset, it should look like this:
Step 1a: VR Setup (SteamVR)
-
You can then open SteamVR from the desktop, or the Steam library

-
Once open, you should see this status window
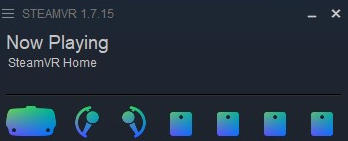
-
These icons will look different depending on what headset you are using, for example, these are for the Valve Index.
Step 2: Opening LIV
-
Open LIV from the desktop, or from the Steam library

-
It will likely prompt you for administrator privileges, just click “No” and it should open without an issue.
-
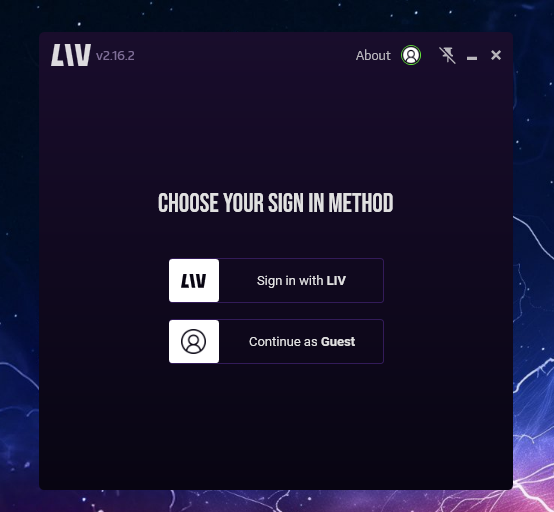
You should see this window:
-
You can choose to make an account or not, but be aware that if you continue as a guest, there will be a LIV watermark on the output screen, which is what you will record.
-
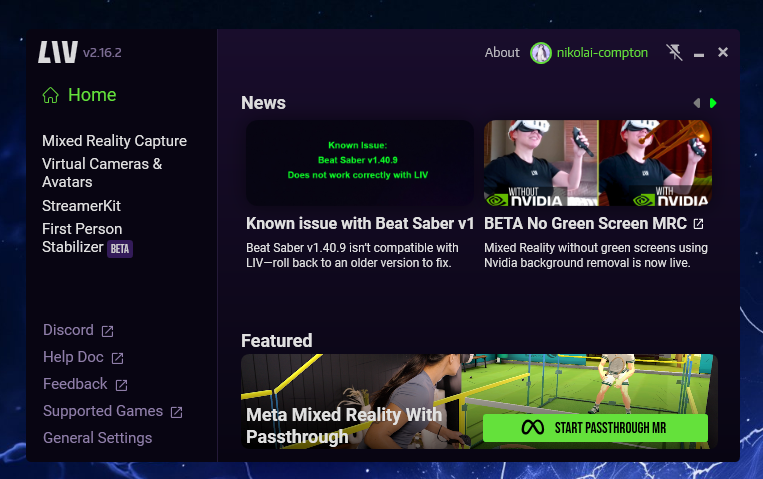
After this step, you should see this:
-
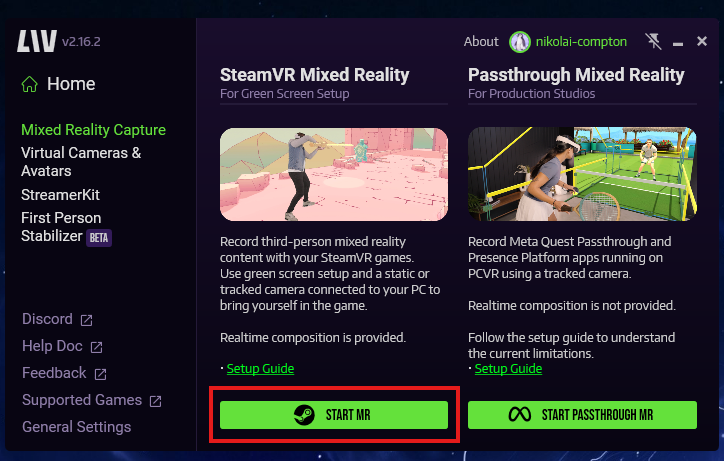
Click on “Mixed Reality Capture”
-
On the bottom, you can then click “Start MR”
-
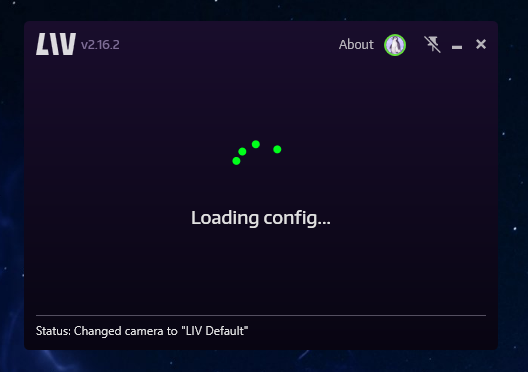
It will do some loading for a while on this screen:
-
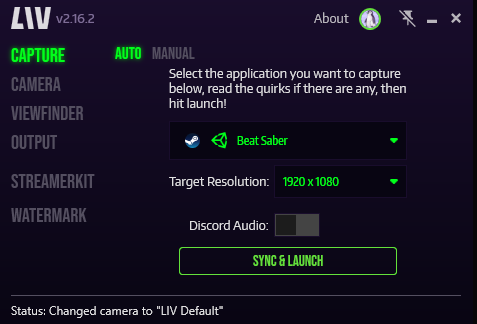
When it finishes it should look like this:
Step 3: Calibration
-
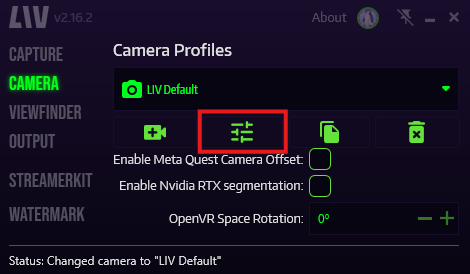
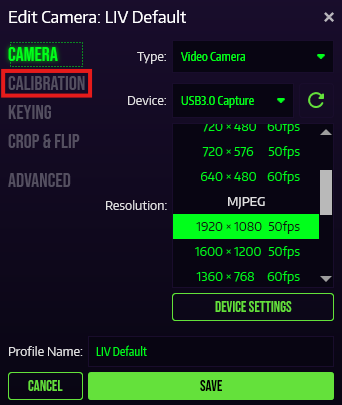
Once there, click on the “Edit” button, it looks like this
-
The camera settings should look something like this
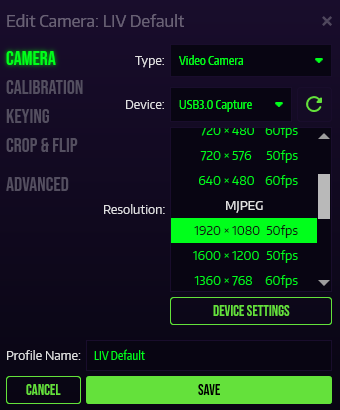
-
At this point, you can click “Begin Calibration”
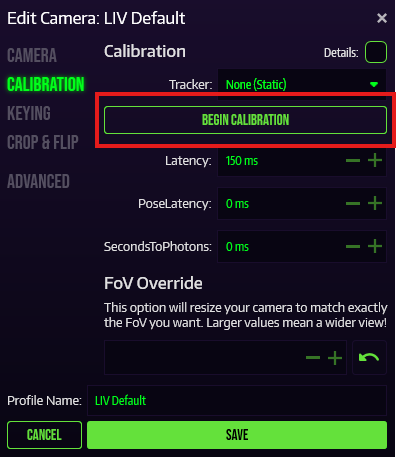
-
You can choose to calibrate within the headset, or with your computer monitor, for this example, I will be using the headset.
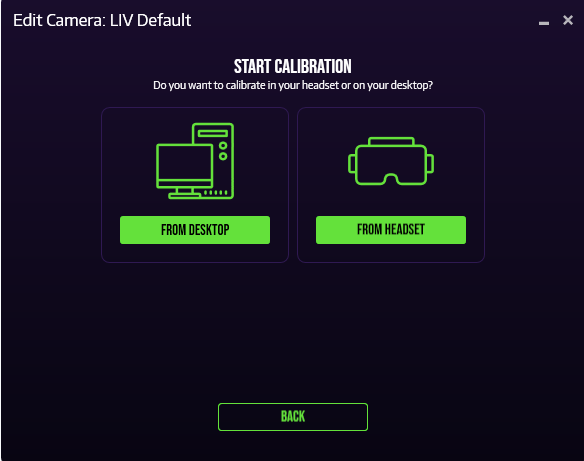
-
It should still display instructions on the computer screen, as well as the VR display.
-
If you followed the instructions correctly, you should see a big red ‘plus’ on the output window.
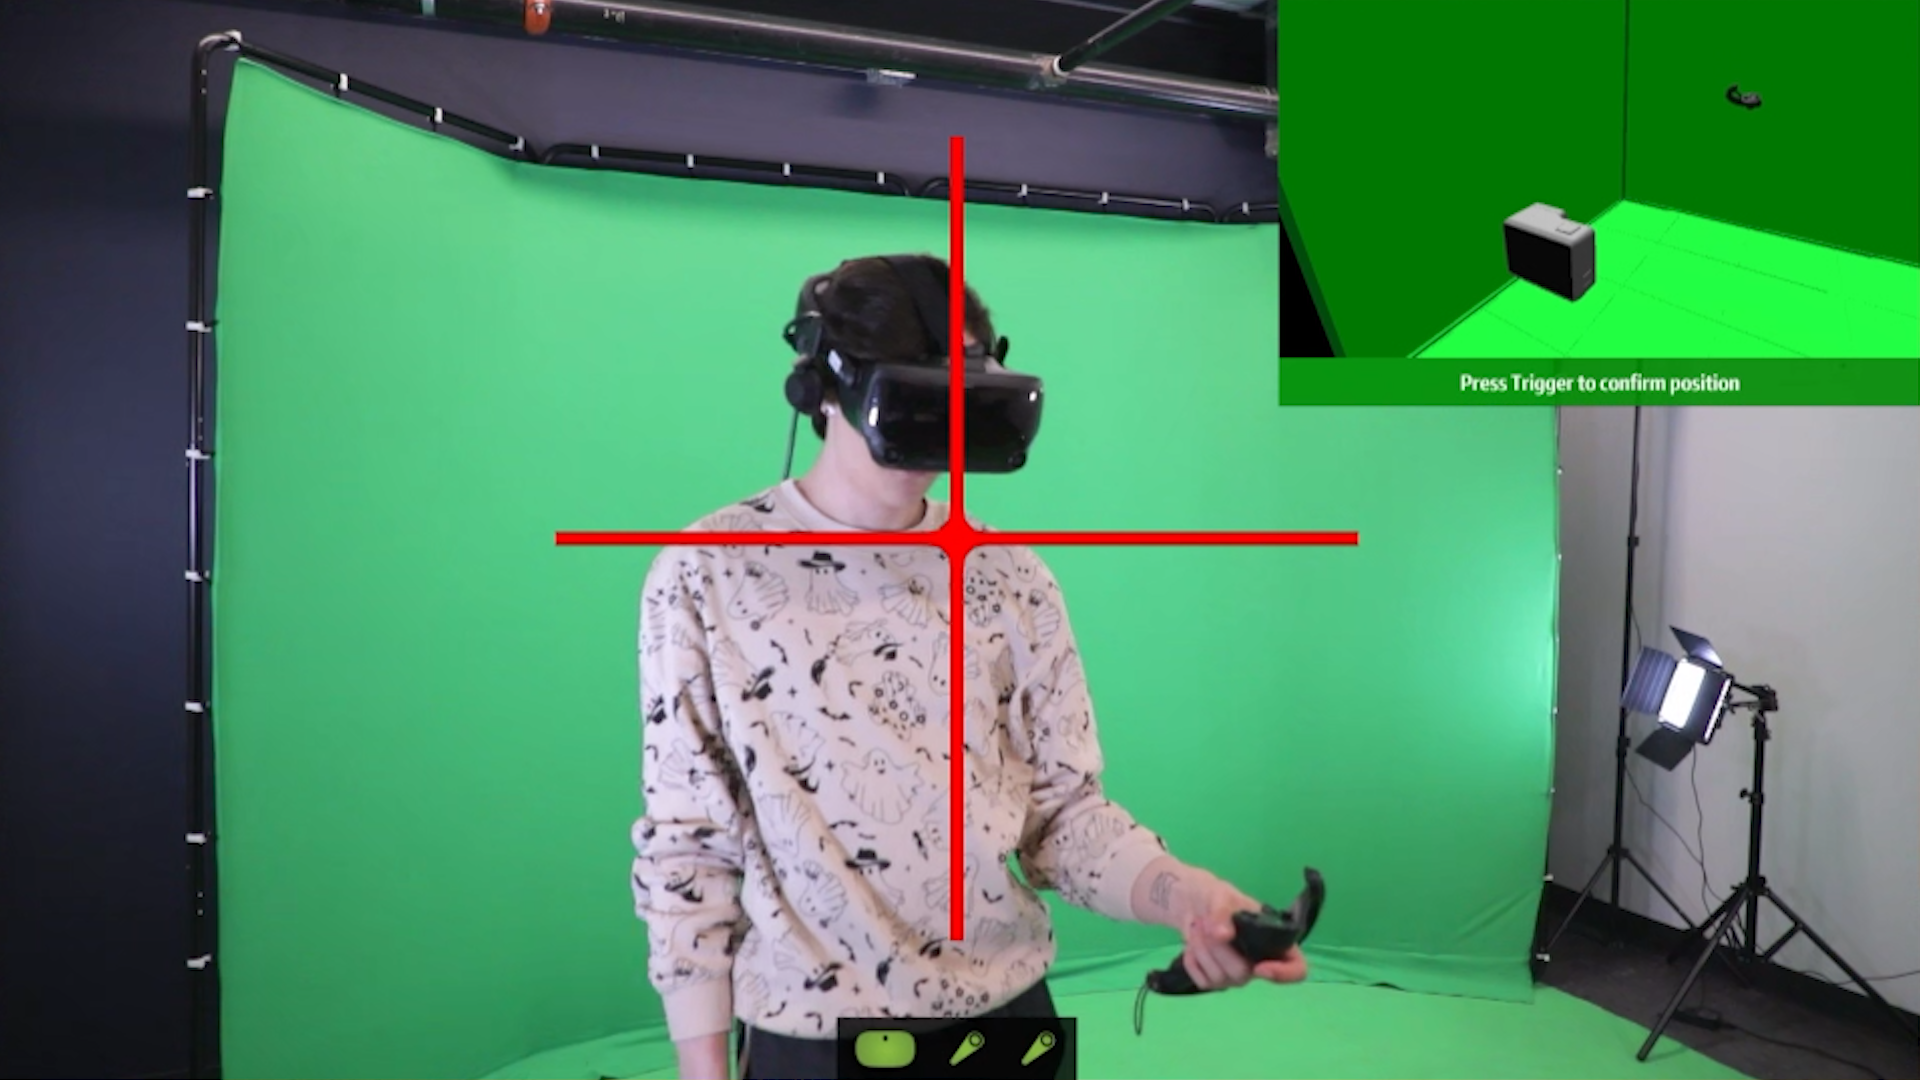
-
This indicates how you should place your controller for the calibration sequence. Note the top right video example.
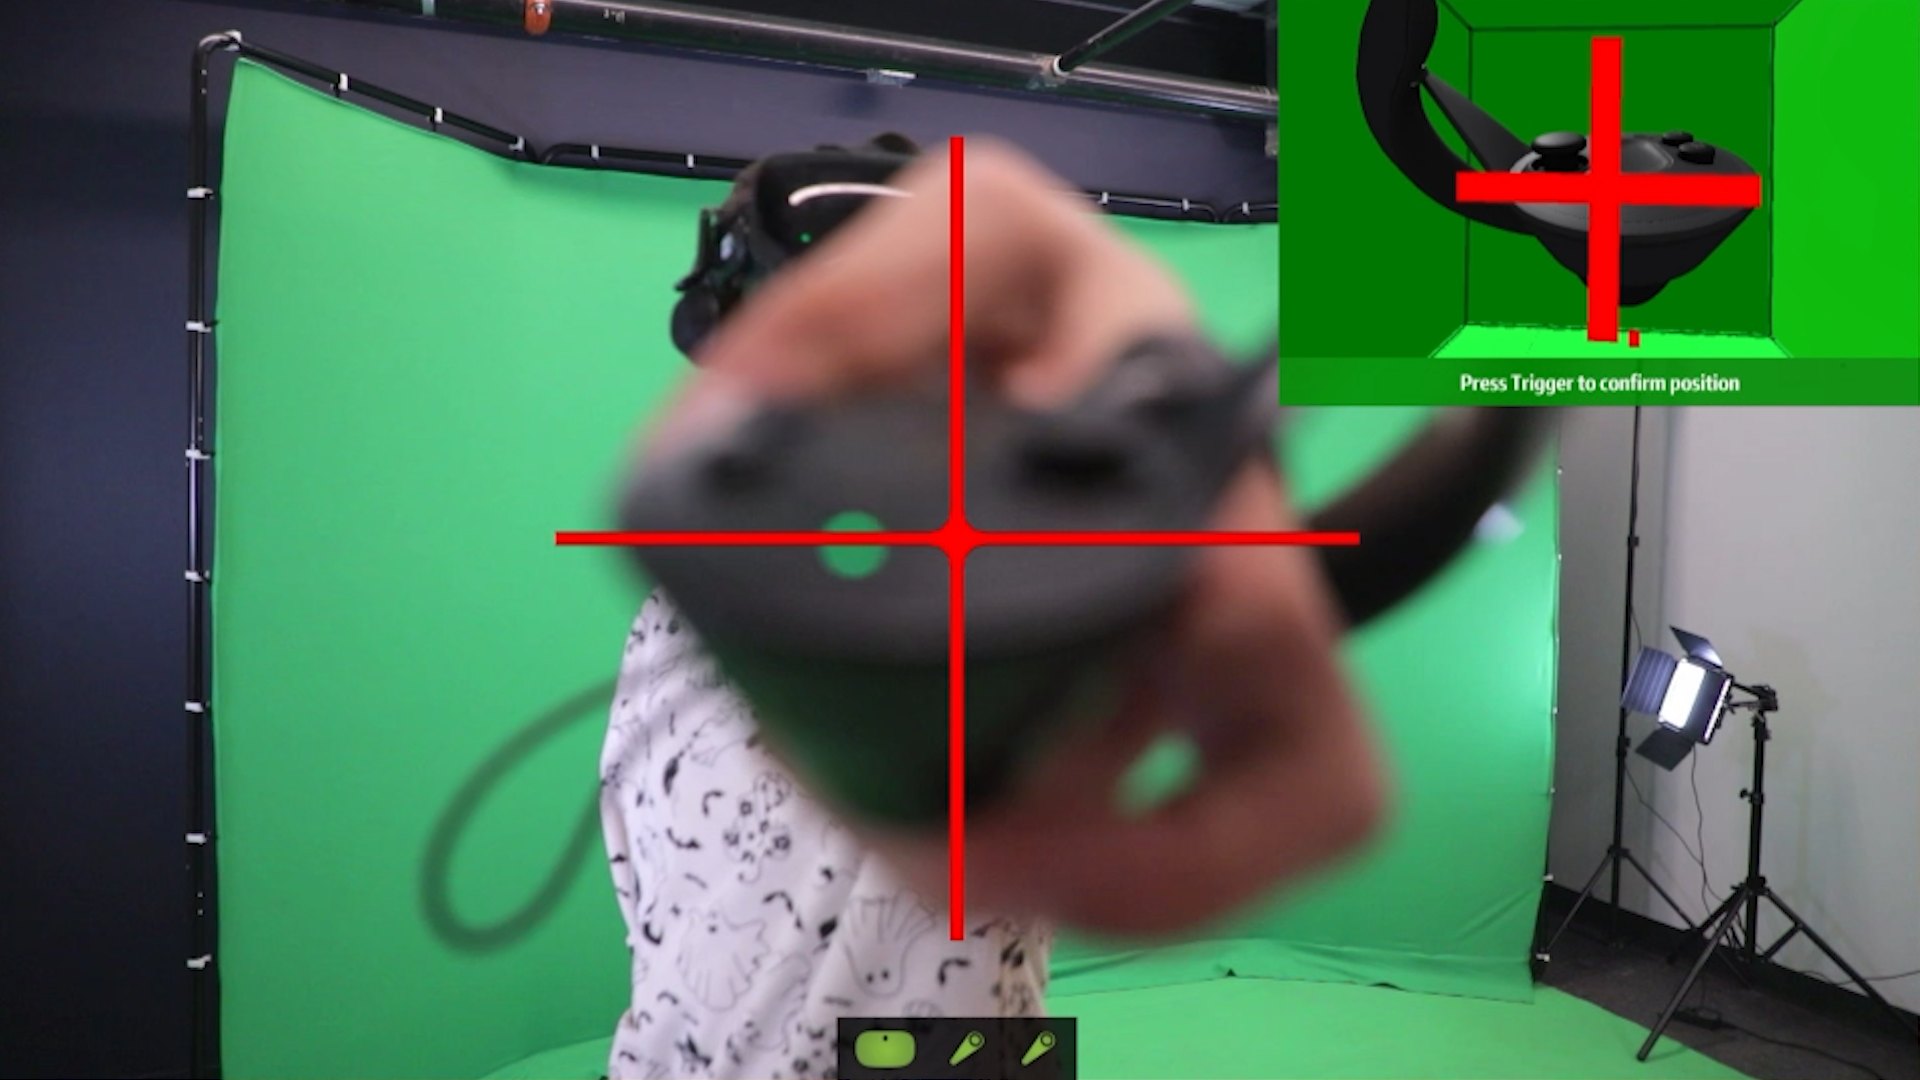
- So you should do this:
-
Like it says, you can press the trigger button to confirm and move onto the next step.
-
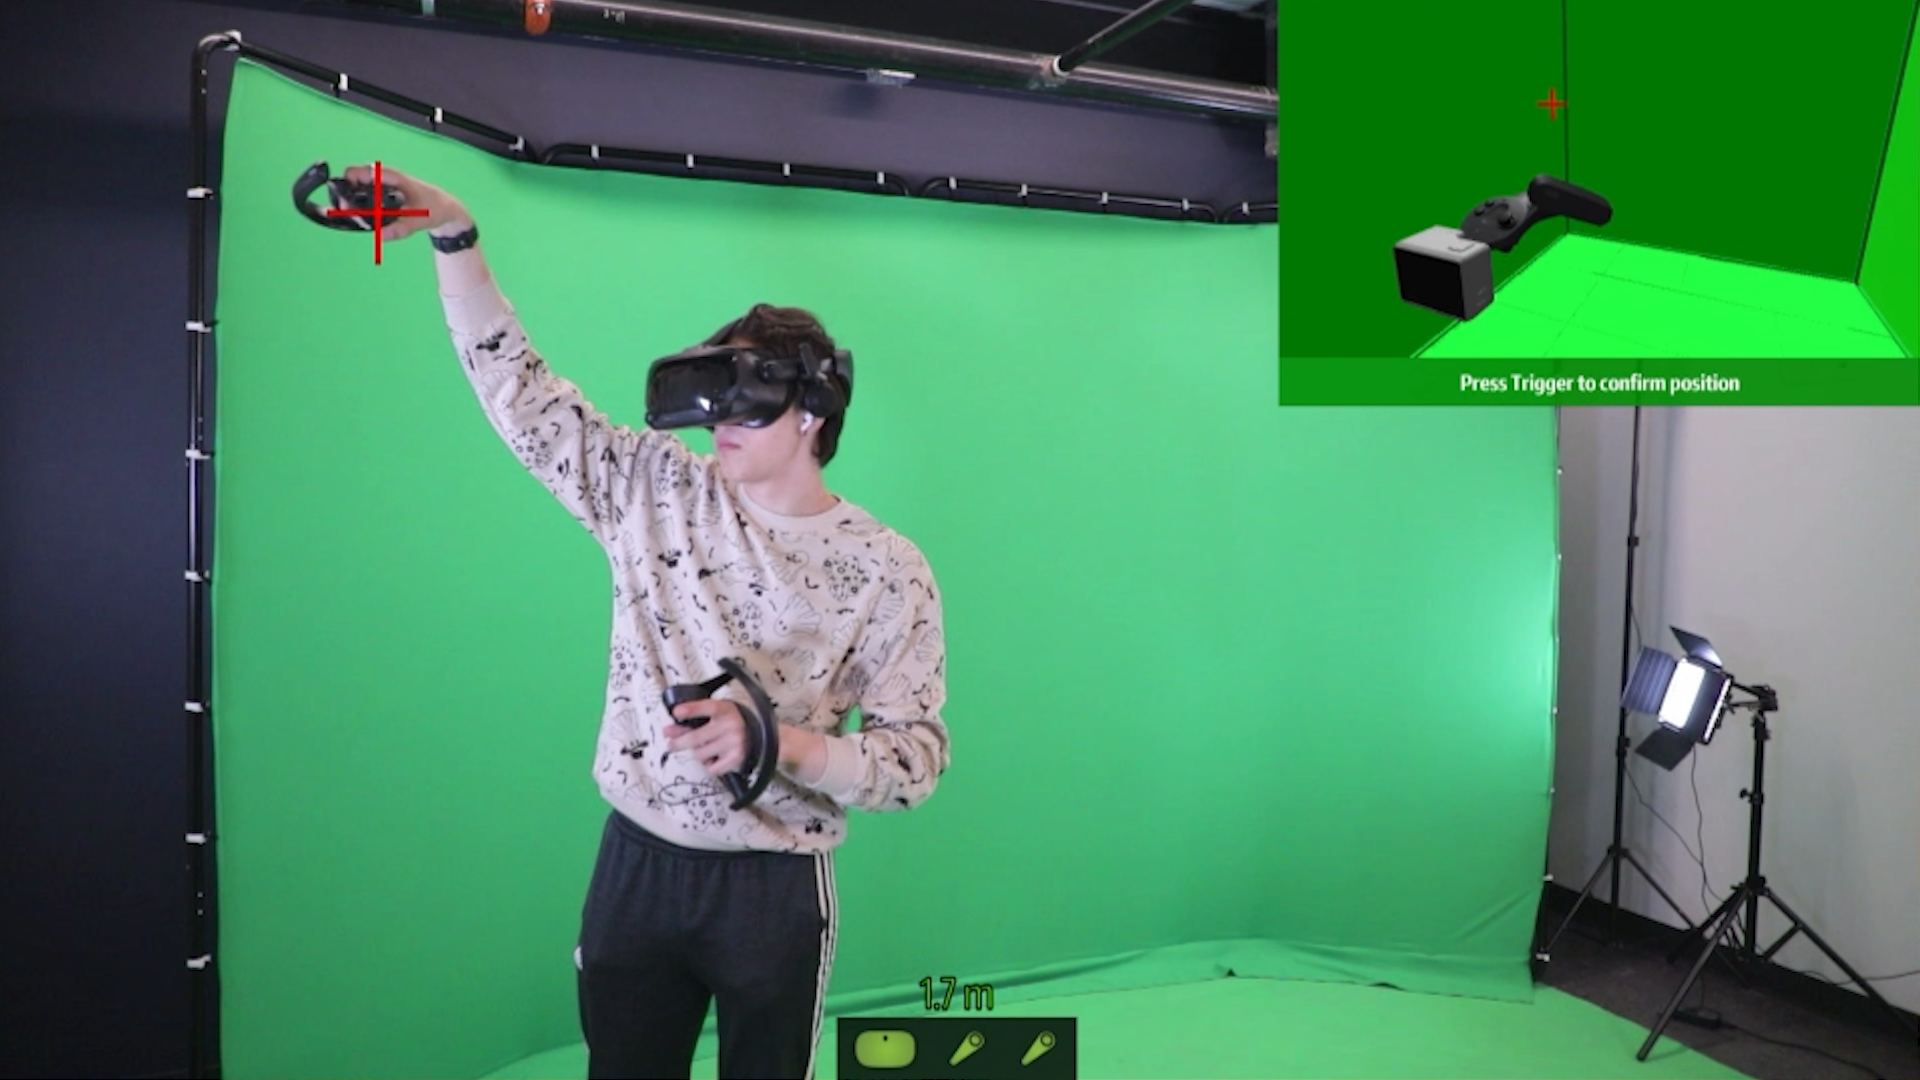
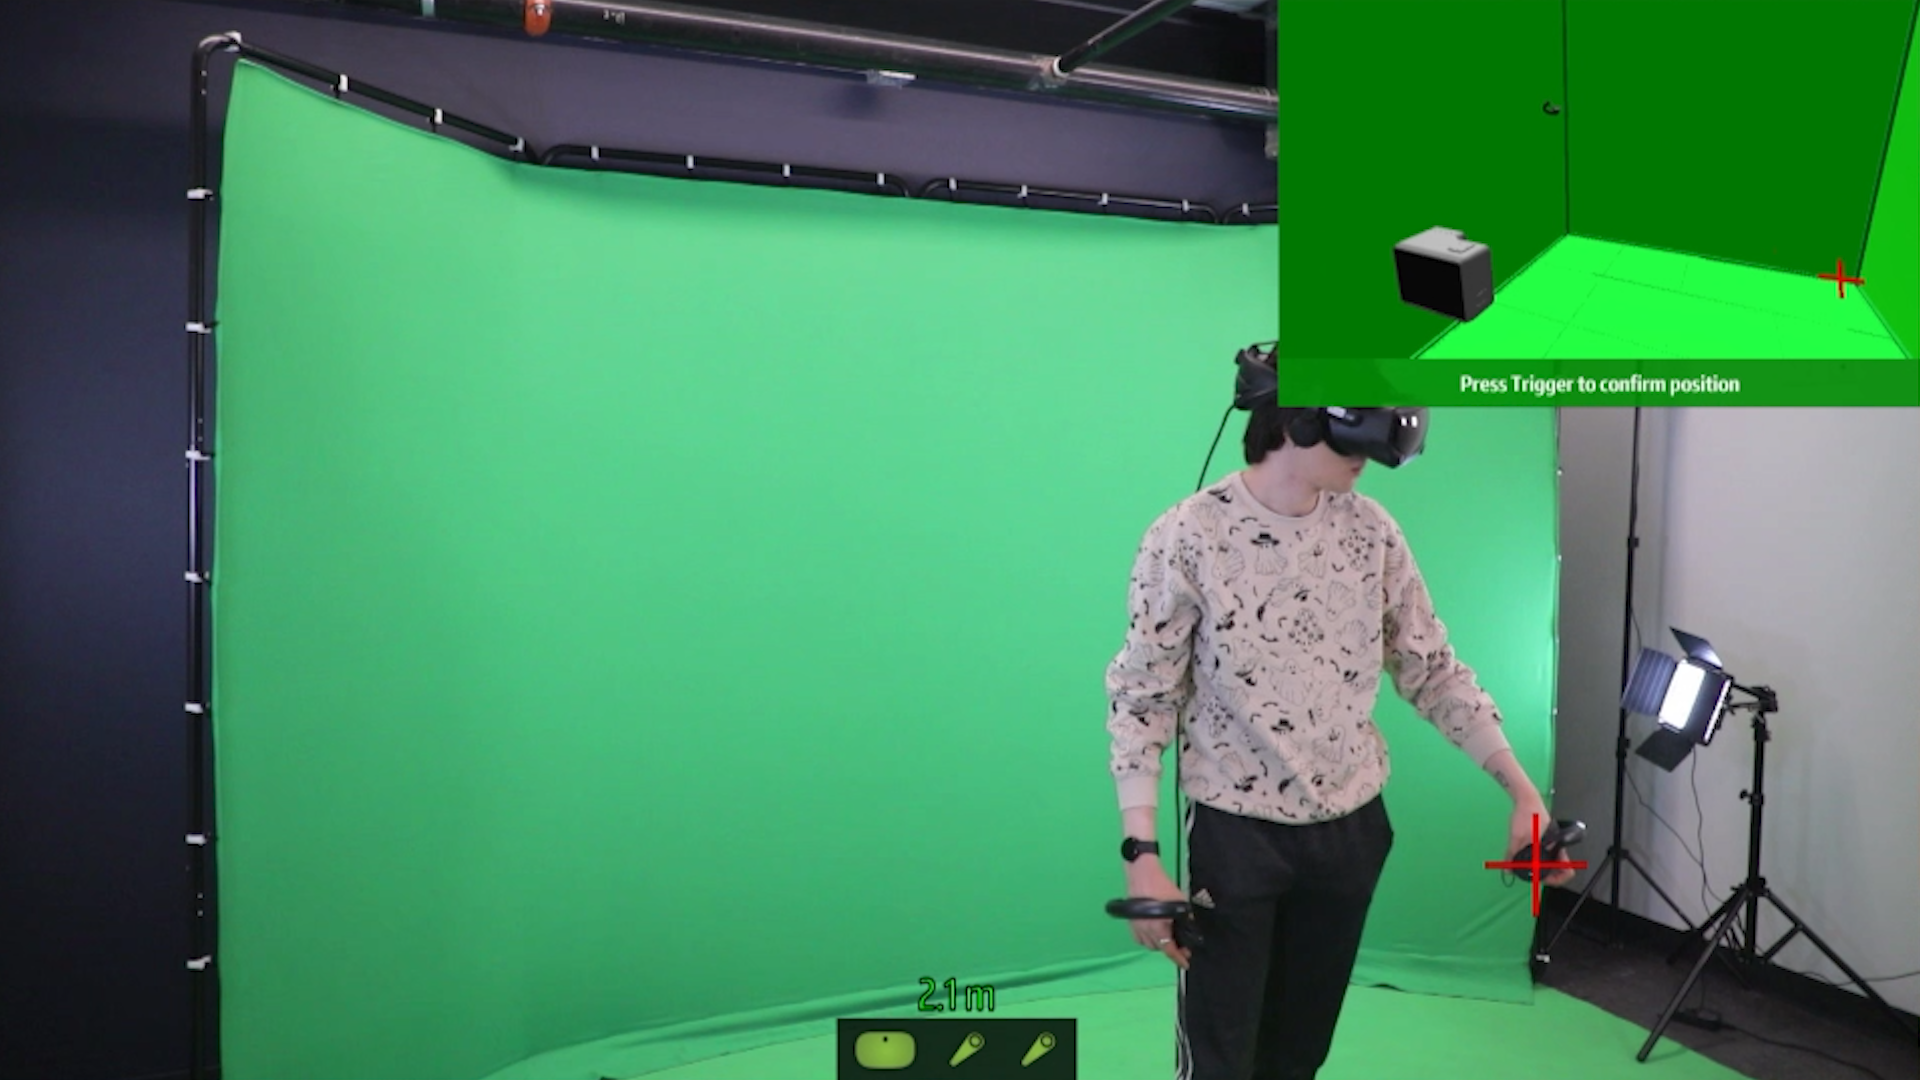
For the next 2 steps, it will instruct you to back up from the camera. Once the text turns green, you’re fine. In my experience, 2 meters is plenty, but if you are working with a smaller space, 1.5 meters is the closest you should be.
-
You may need to press the trigger twice, if you are using the other controller. For example, if I did the first plus with the right controller, and I want to do the second plus with the left controller, I would need to press the trigger once to tell the software I’m using the other controller, and again to confirm the position.
-
You’ll want to make it as close as you can to the example video, but as we’re humans, and the video is a 3D render, our attempt will probably never be perfect.
-
One more ‘plus’, this time in the opposite corner,
-
After this step, you should have overlaid virtual controllers on top of(if you’re really good at it) or next to your real controllers.
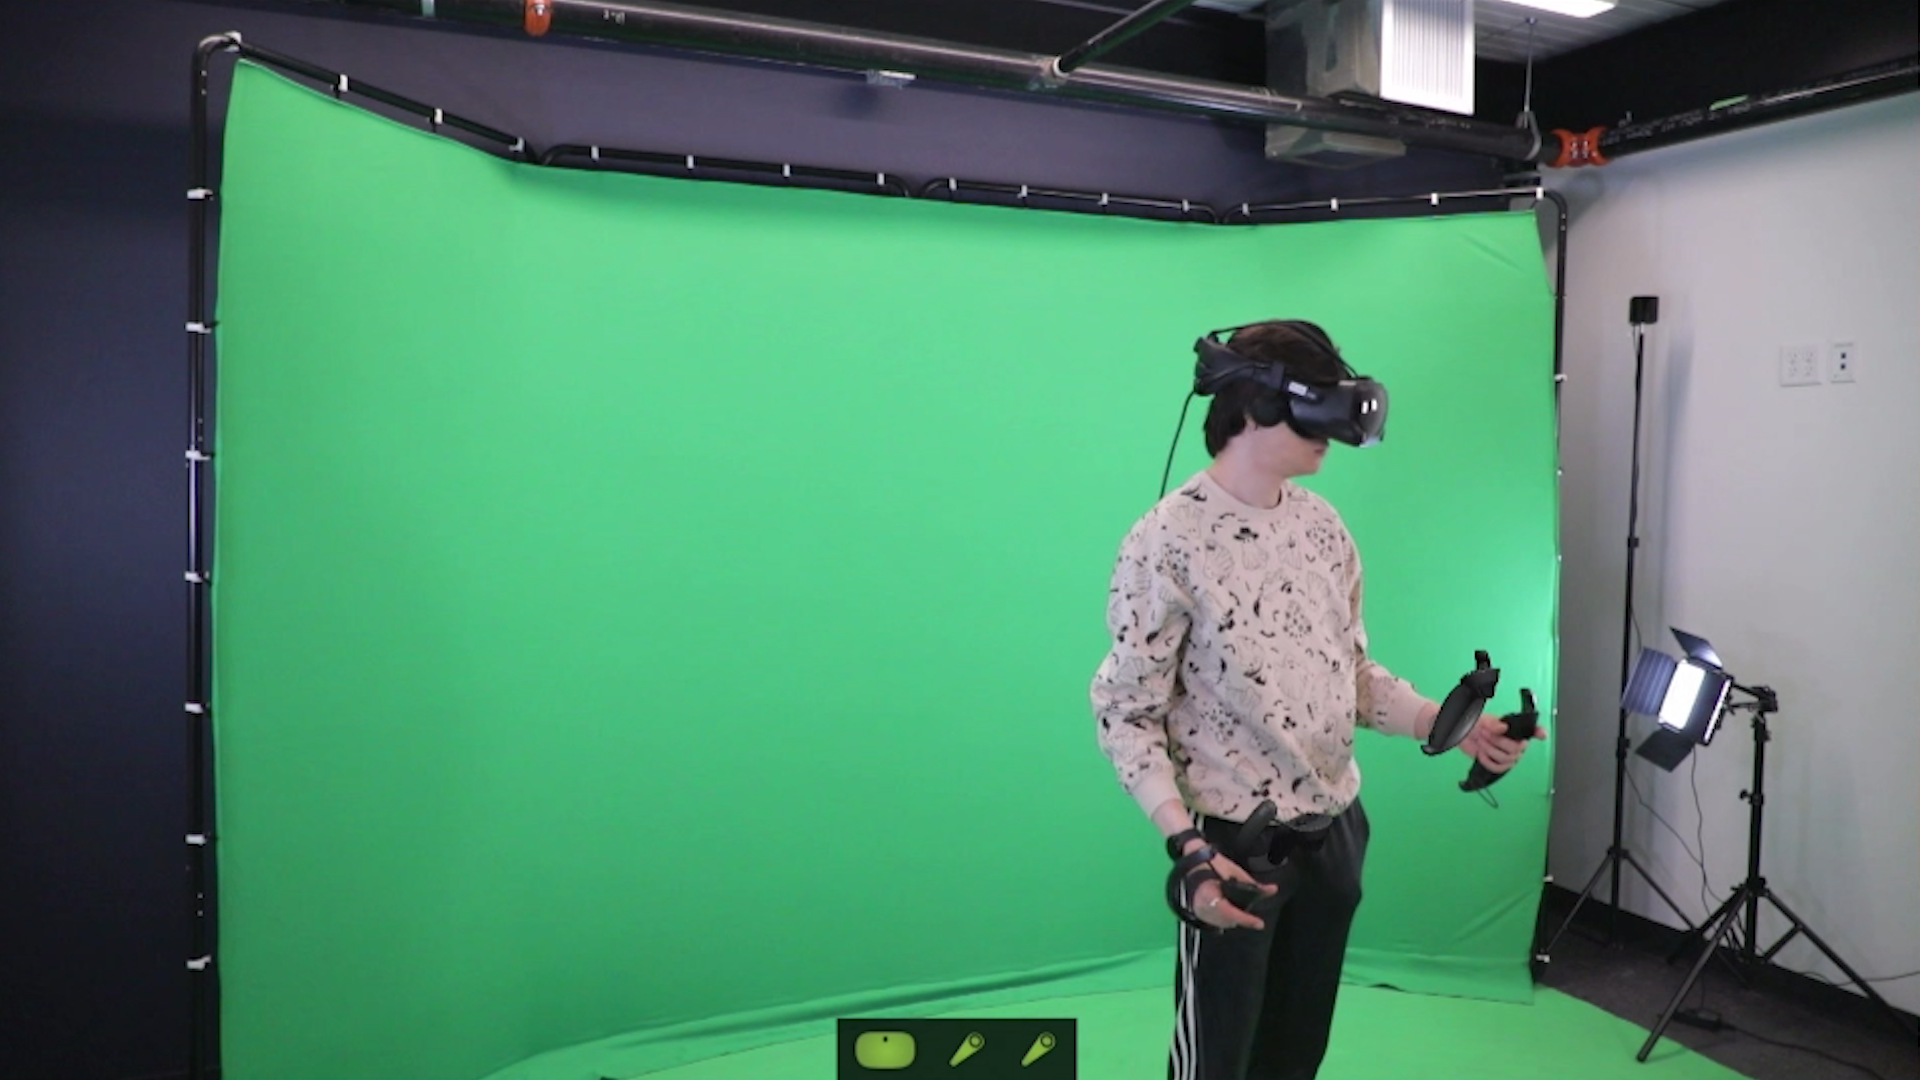
-
Now since this calibration isn’t perfect, we can fine-tune it. In your VR view, you will see a few tabs with controls. You can also see them on your computer monitor.
-
Personally, I always start with latency. The capture card for this camera isn’t perfect, so the latency can vary, but it usually stays at about 160ms. So that’s what we’ll set the number to.
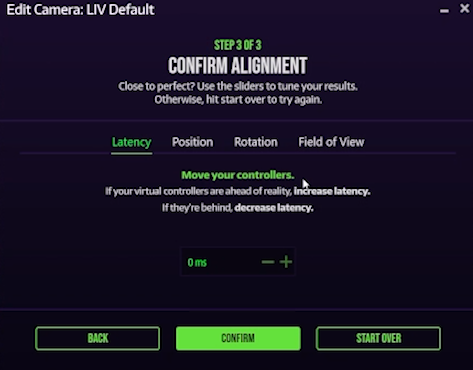
-
Use the other tabs to fine-tune further.
-
After a while, it should look something like this, maybe even better if you really want it to be perfect.

Step 4: OBS Capture (Optional)
-
If you want to capture your gameplay with OBS, follow these steps.
-
Make a new scene in OBS
-
Click the plus button under “Sources”
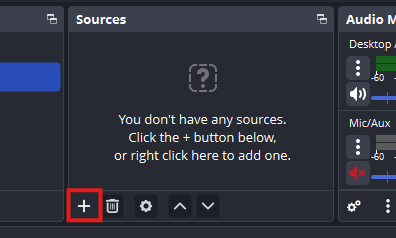
-
Click “Window Capture”. “Game Capture” will not work with the LIV output window, as it isn’t recognized as a game.
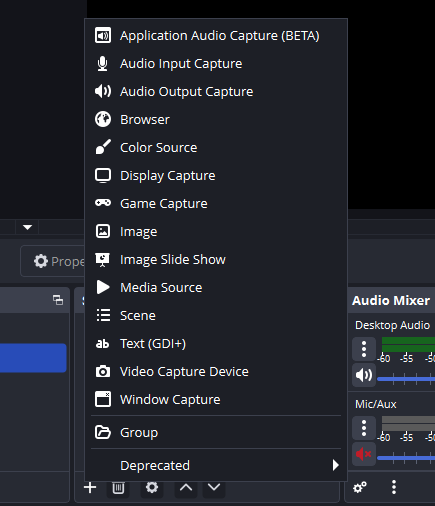
-
You can name it whatever you want, it’s purely for keeping track of your sources.
-
A new window should open that looks like this:
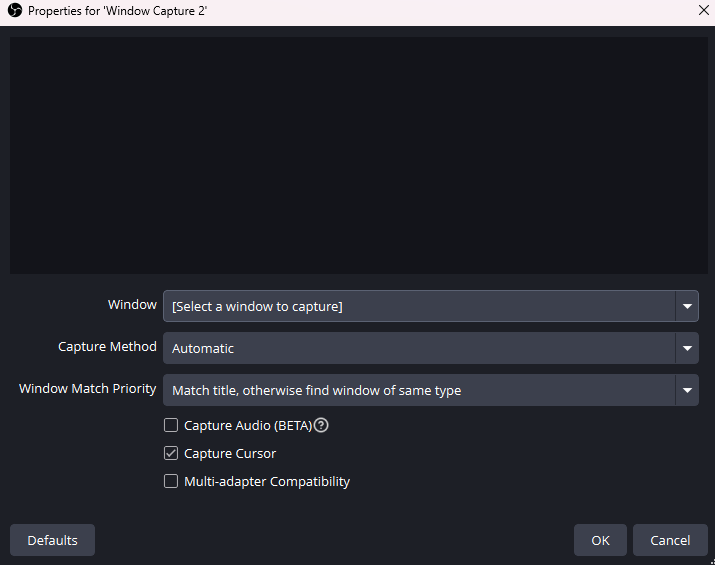
-
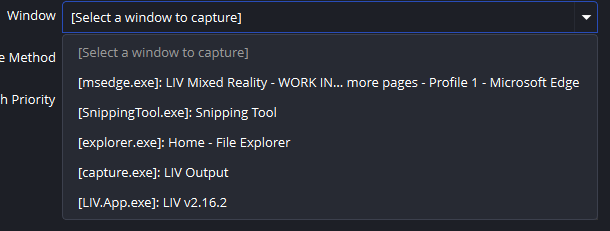
Select the “Window” dropdown, and find “LIV Output”. NOT the LIV app.
-
Your OBS window should now look like this:
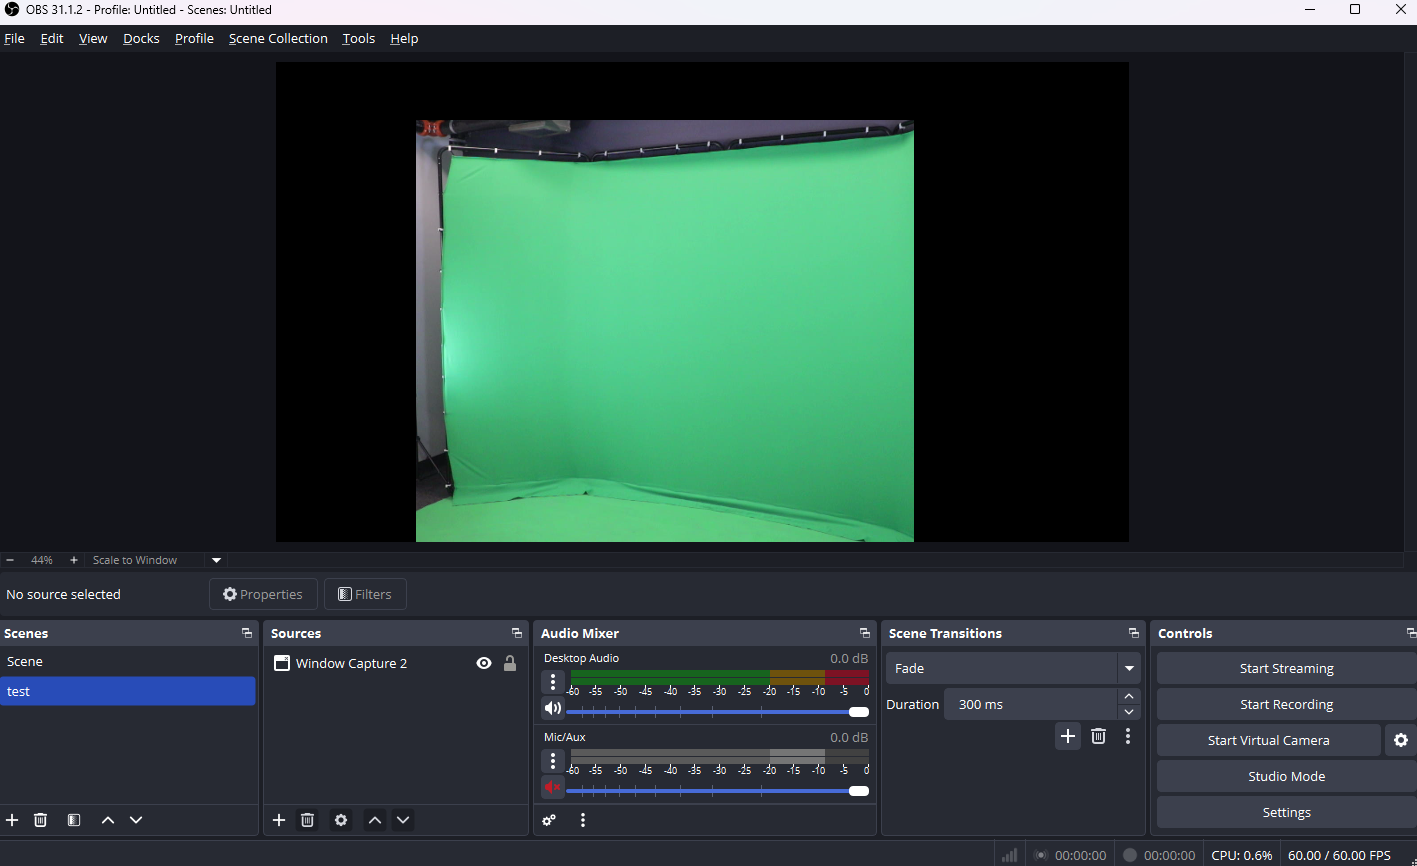
-
You can now click “Start Recording”.