Create a Skybox
About
This guide will show you how to create a "sky" by building a 3D model, importing the model into Unreal, and setting its material properties to accept a 360 photo (or video).
Consider a skybox texture at 2K but no larger than 4K. PNG extensions are preferable but HDR is a secondary option. Generally, don't use JPG here due to compression artifacts or EXR due to massive file size!
Although this guide makes use of Blender and Unreal Engine, the concepts are the same for any modelling software or other game engine.
Getting Started
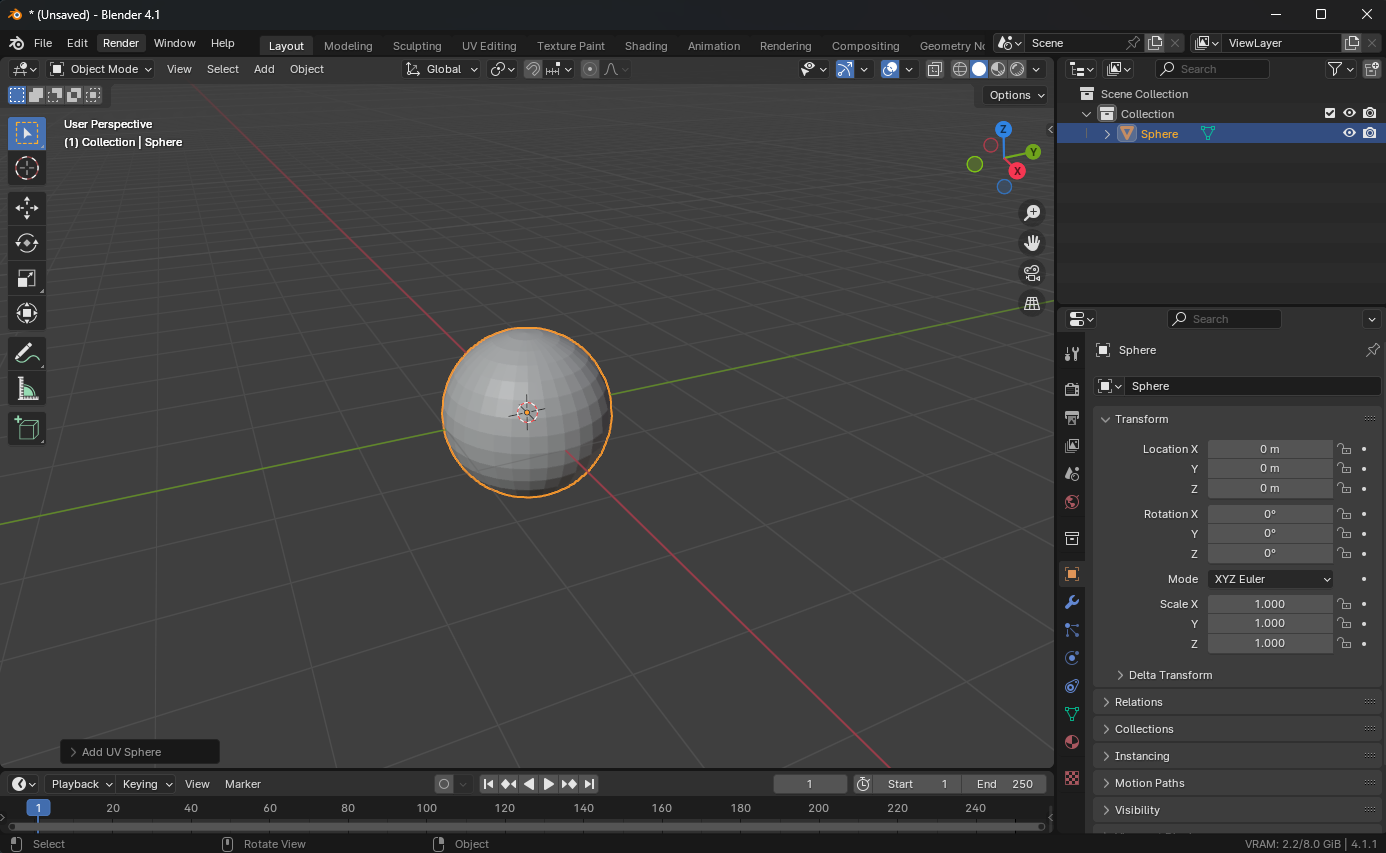
For this guide I will be using Blender but the concepts should translate if you use Maya or another tool. Open Blender and go to File/New/General. Delete the Cube, Camera, and Light. Add a UV Sphere mesh by going Add/Mesh/UV Sphere.
Modelling: Adjust smoothness
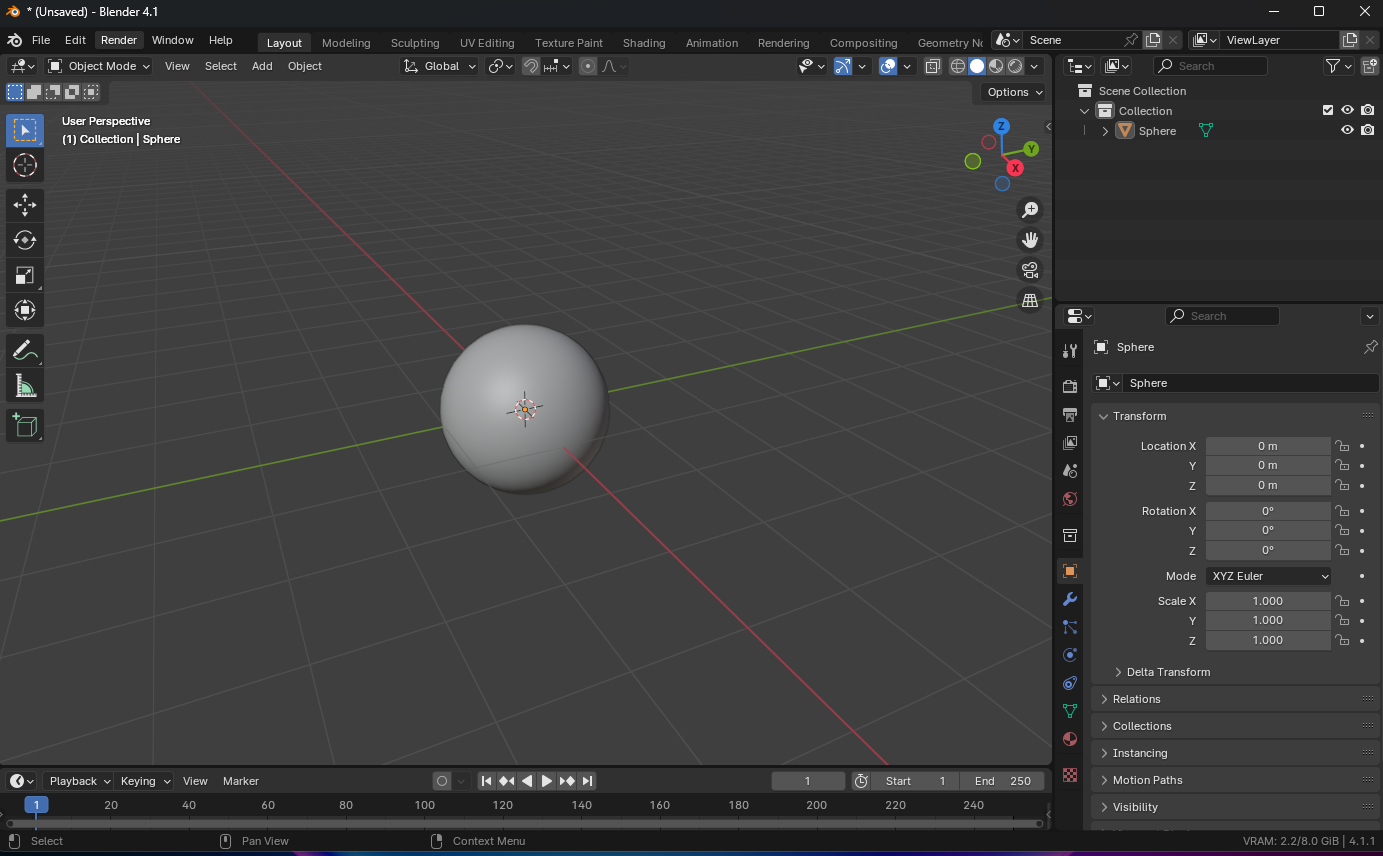
Currently, there are hard edges along the sphere, we will use smooth shading for those edges. Select the object, press [TAB] to enter Edit Mode (or use the drop down in the top left), press [A] to select all the faces, and using the menus at the top, select Face/Shade Smooth.
Modelling: Invert normals and scale
If you are not still in Edit mode, switch to Edit Mode [TAB]. Select all the faces [A] and using the menus at the top, go to Mesh/Normals/Flip.
You can check the face orientation (normals): YouTube - Display Face Orientation
Now return to Object Mode [TAB], select the object, press [S] to scale and type 500. Zoom out using the scroll wheel on the mouse and notice it's large and the ViewPort starts to clip. Using the menus, go to Object/Apply/All Transforms.
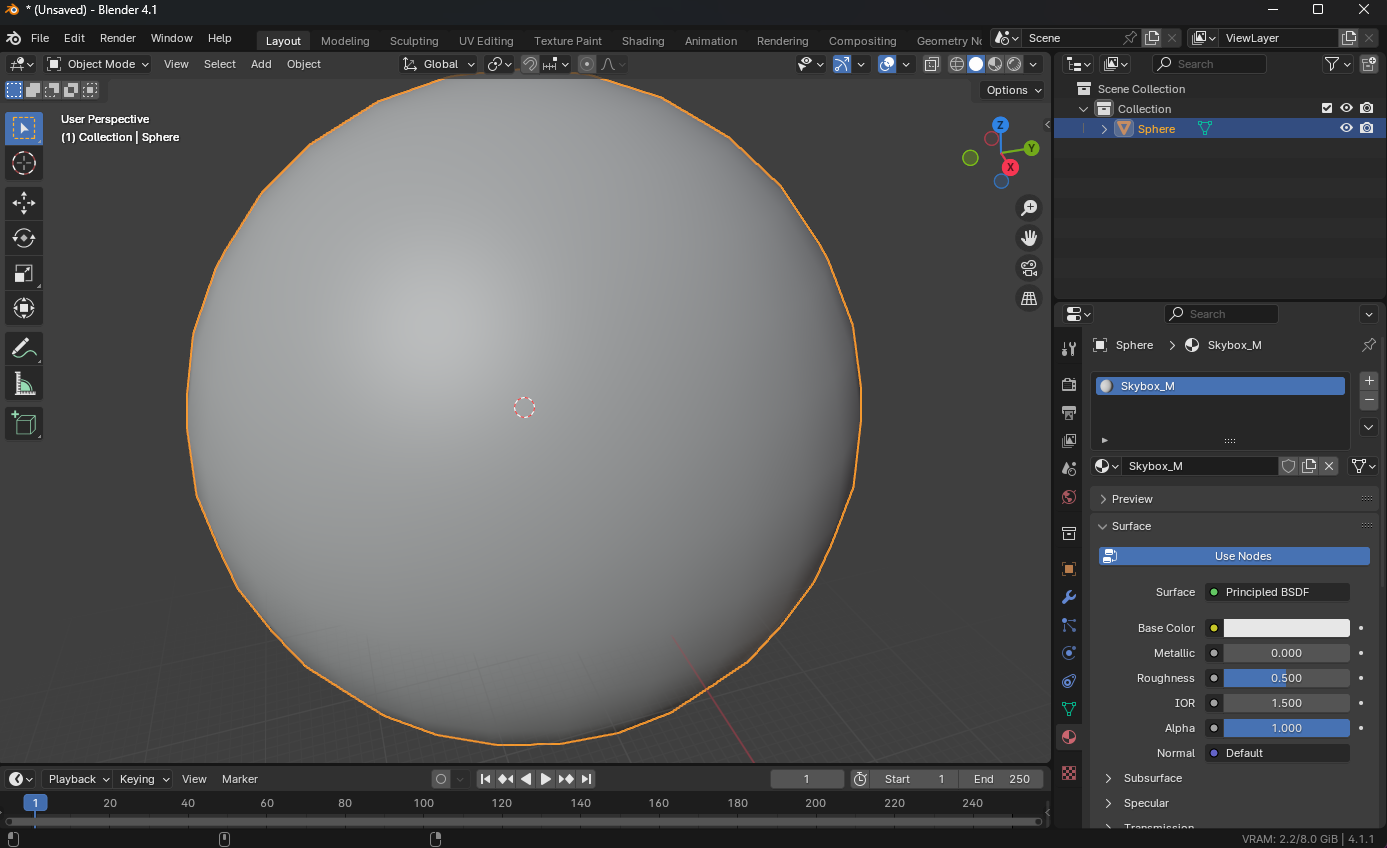
Optional: You can select the Red/Pink Material button in the right column, select [New] to create a new material, and rename it to something like Skybox_M.
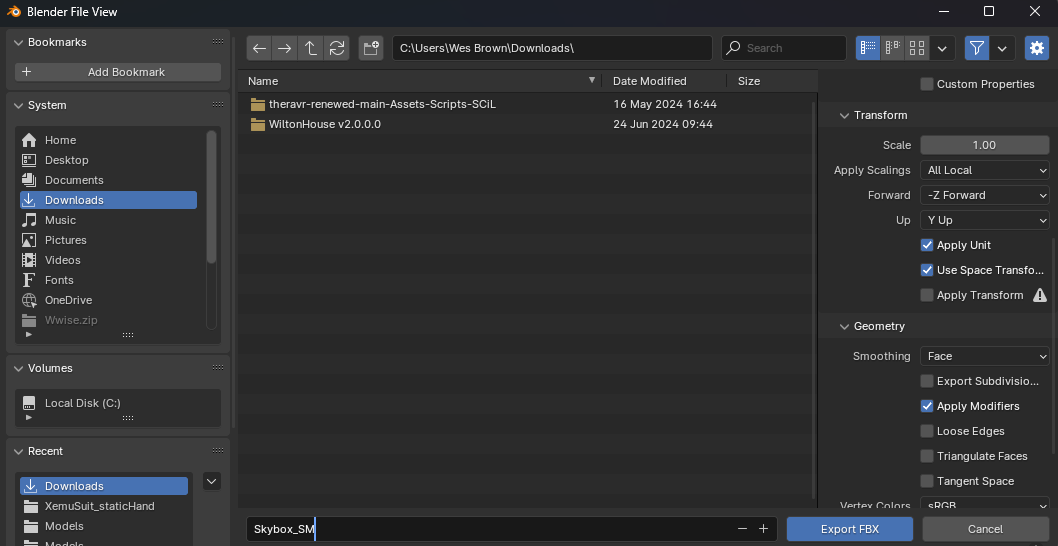
You can now export as an FBX. Go to File/Export/FBX (.fbx). Make sure under the Geometry drop down, select Smoothing: Edge
Unreal Engine
I am assuming you are using an EMPTY level, or a level without all the sky/lighting actors. I am also assuming you have imported the sky model (drag and drop) into your well-organized, stress-free, and cohesive folder structure. If you had not created a material on your model in the previous steps, create a new material and assign it to the mesh if necessary. Next, open that material.
- Click on the actual node that represents the material (it has a brown header).
- Change its Shading Model to Unlit
- Look for Is Sky and check the box
Only 1 material that is labeled as Is Sky should be in your map!
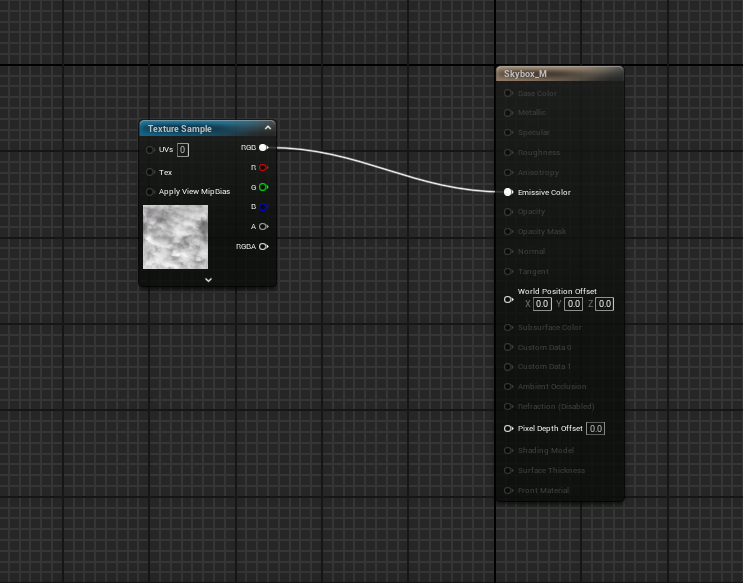
Drag and drop your 360 panorama photo or other texture you are using into your project and drag this texture as a node into the material editor. Connect its RGB output pin to the Emissive Color pin.
What about an HDR Sky?
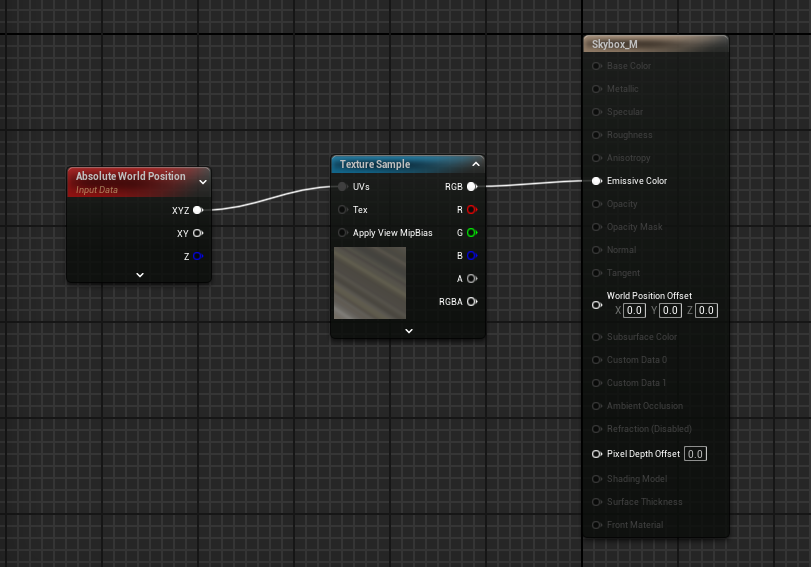
Let's say you are using an HDRI sky (.hdr file extension). You need an additional node called Absolute World Position. Connect its XYZ output to the UVs input of your texture.
The EXR file extension is not recommended because of the file size. For skyboxes, I prefer PNG first and then HDR.
Finishing Touches
Open up your scene in Unreal Engine. Add a SkyLight actor to the scene with the default settings if you do not already have one.
Now, drag the Sky mesh into the scene that you created in Blender.
- Set the scale to x: 100 y: 100 z: 100
- Leave Mobility to Static
- Adjust Collisions: Set Can Character Step Up... to No and Collision Presets to No Collision.
- Alternatively, you can open the mesh up directly in Unreal and using the menus select Mesh/Remove Collision, then save.
Save your work. Bake the lighting if needed (probably). This concludes the guide.