Setting up the Iso Booth
Any words in this format are defined in the dictionary.
DICTIONARY
HA400 Microamp: This Microamp serves as a distribution system, allowing multiple users to listen in on a session. It is powered with a 12V cable, make sure you have this plugged in!
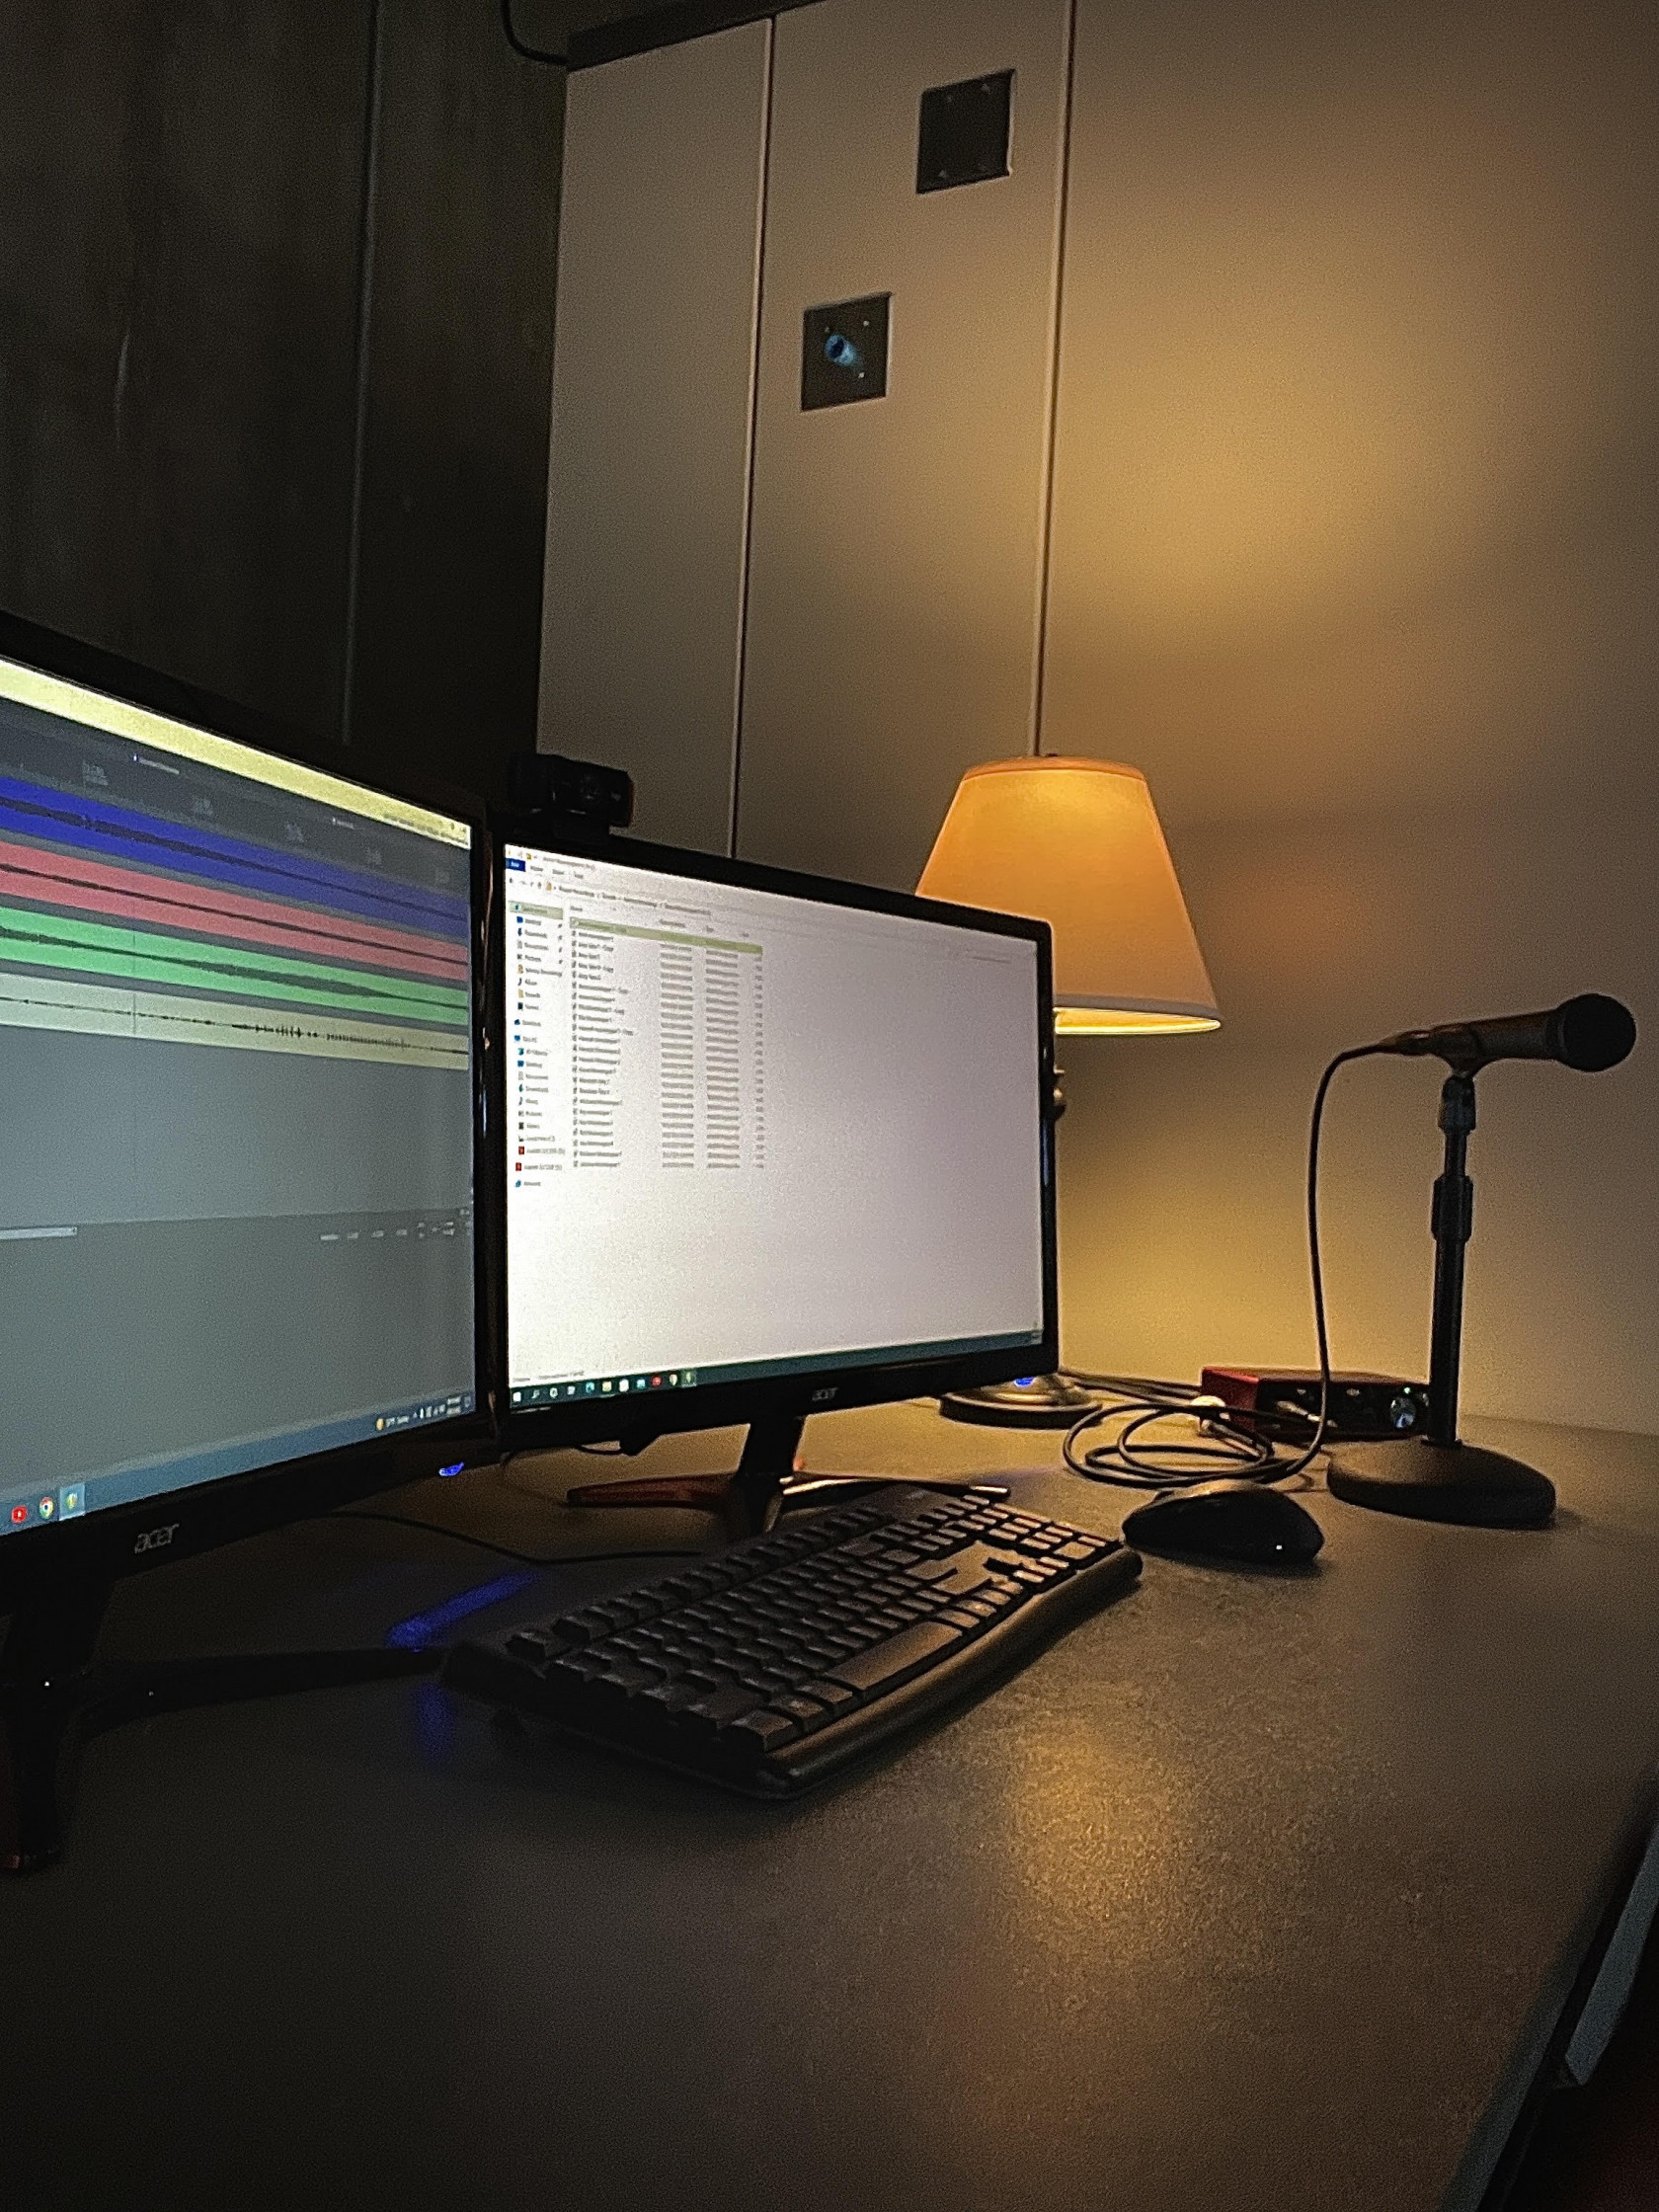
Scarlett 2i2:. Audio interface for mic and instrument plugins.
XLR: Electrical connector used for professional audio. Connector can have 3-7 pins. Three is the industry standard, and each pin serves a different purpose. One is for positive signal, the other for negative, and the third for a 'balanced' ground connection.
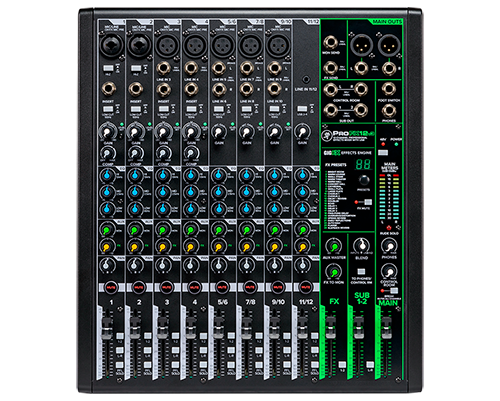
Mackie Mixer: 12-channel mixer that simultaneously controls levels of the desktop mic, and mics inside the booth. It is also used as a talkback system between the audio engineer and booth occupant.
Whisper Booth
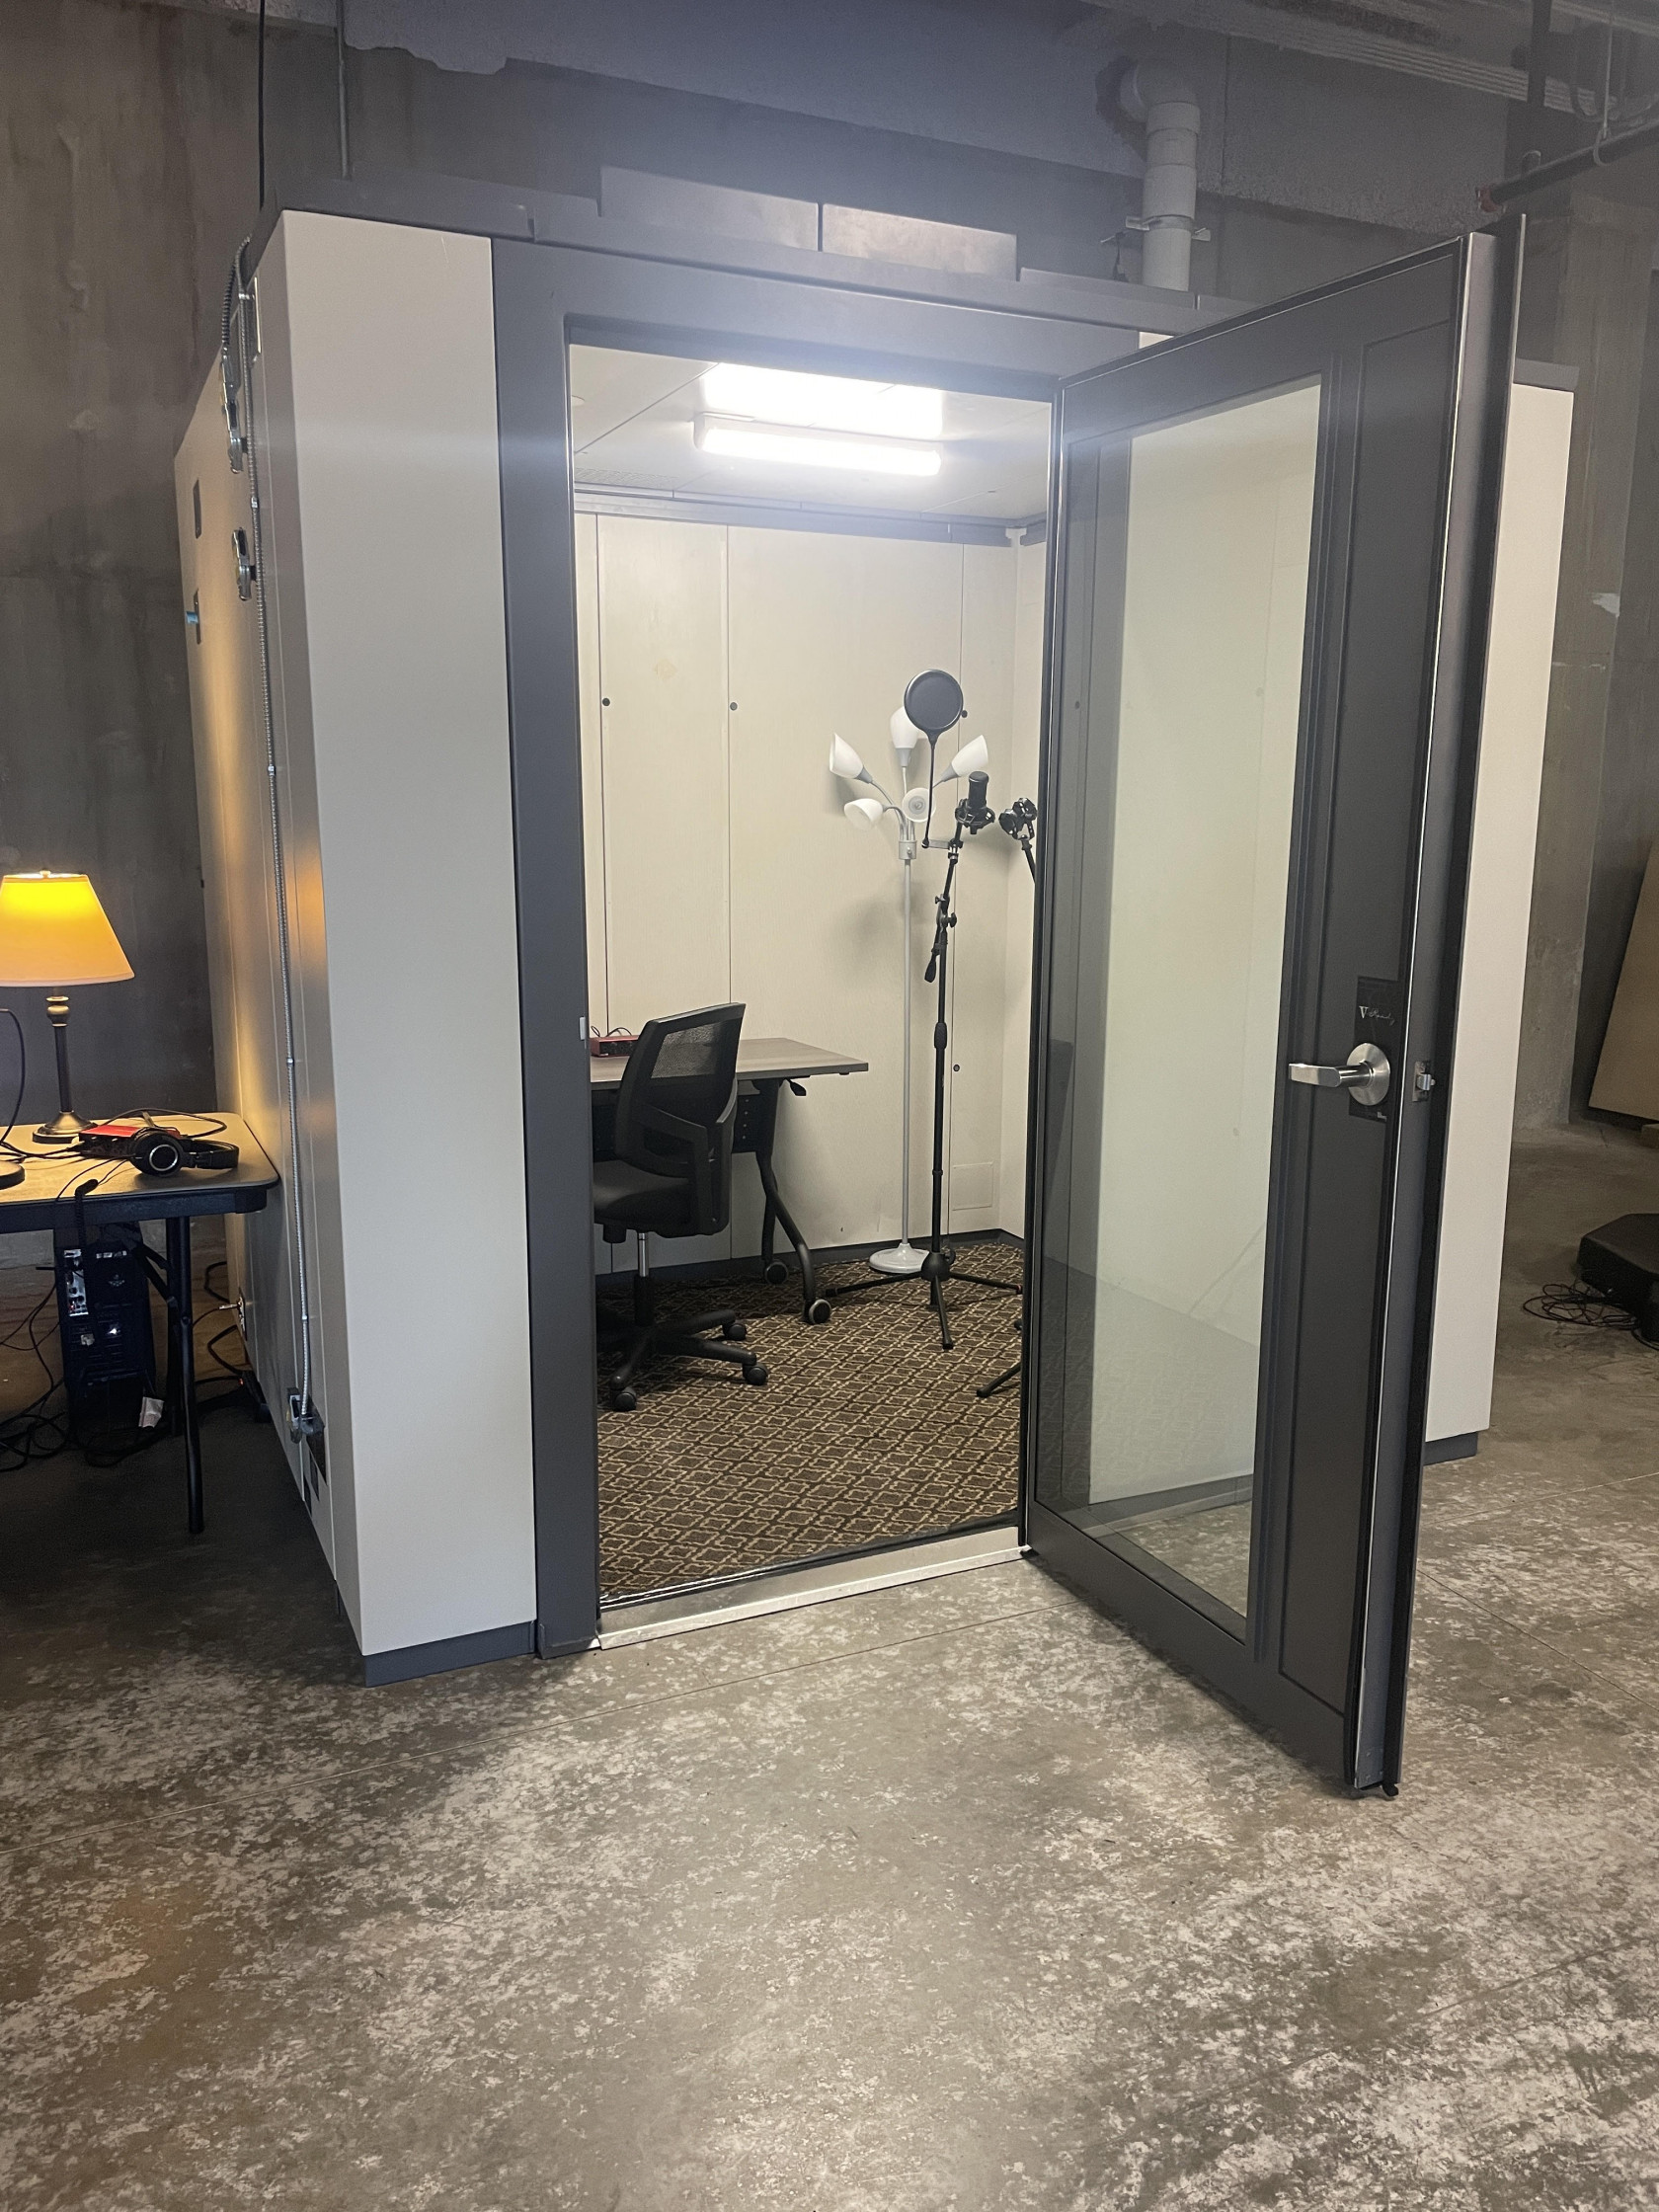
The "SCiL booth" is an iso booth for professional recordings. You can record alone or in conjunction with another person. We will approach a recording session from a two-person perspective, helping to distinguish the roles between a Booth User and Audio Engineer.
Setting Up
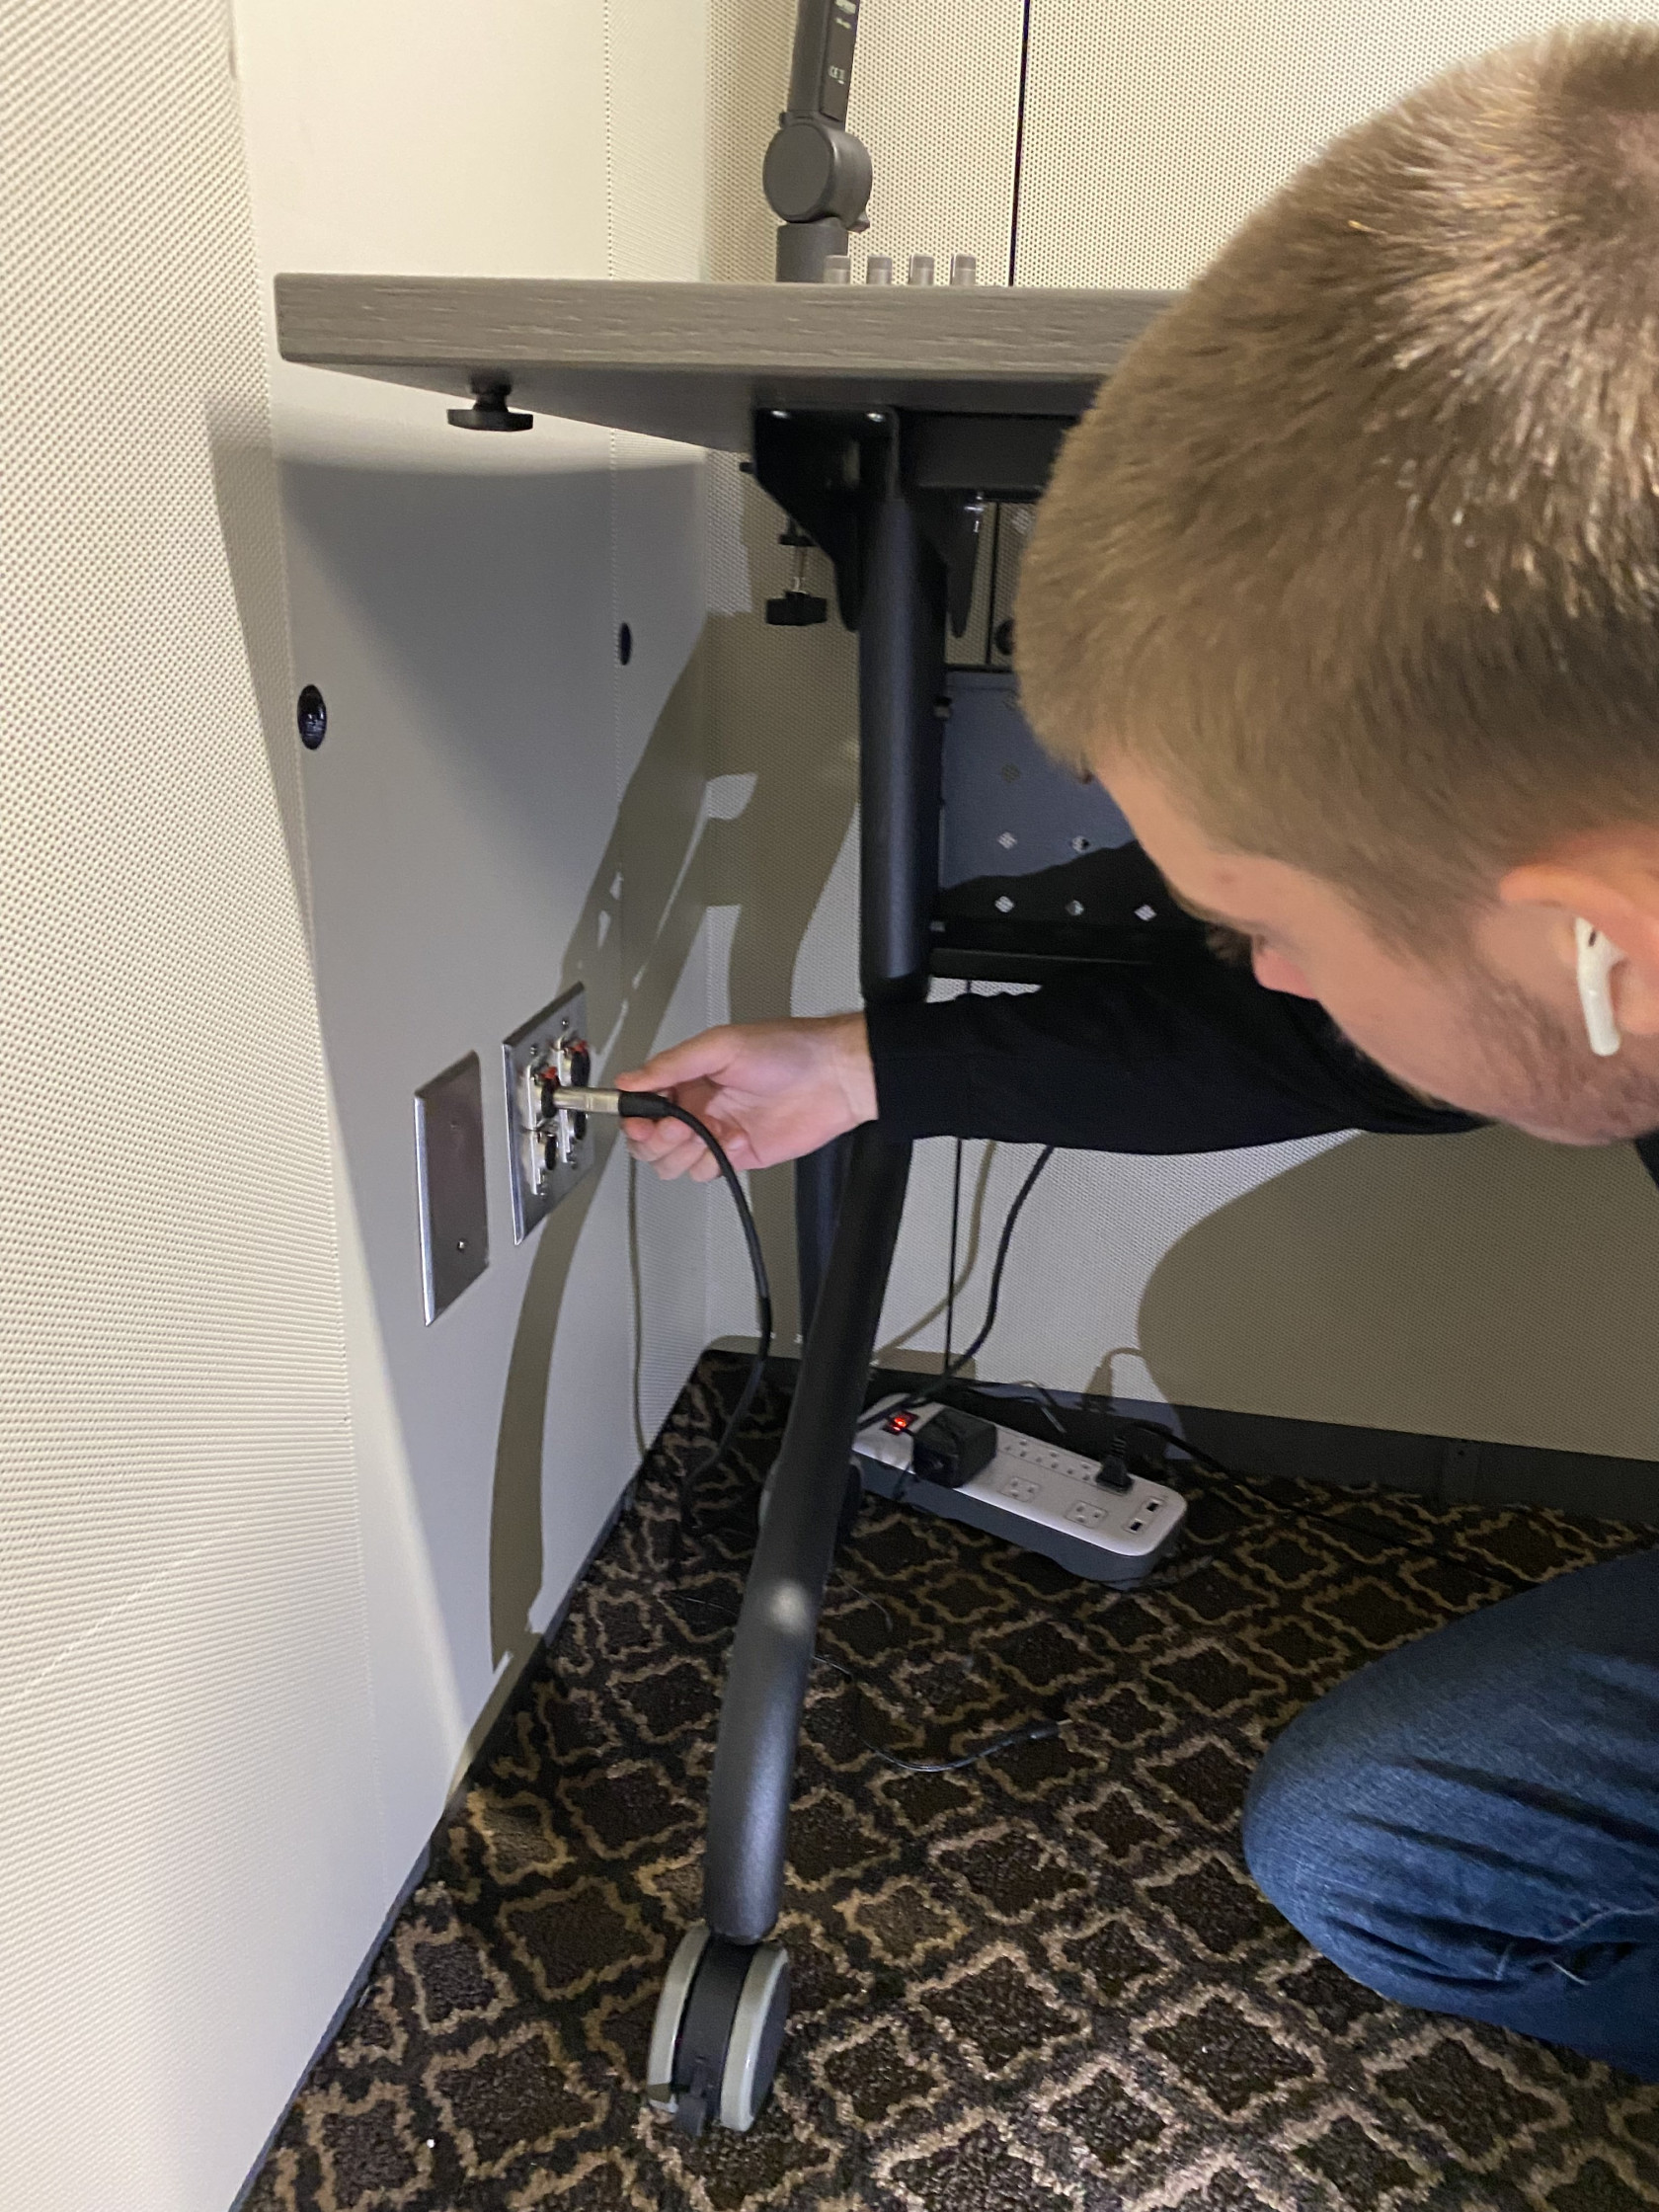
Plugging in
- Plug the first microphone that is being used into the mic 1 port in the bottom left corner of the sound booth. If you are using multiple microphones, make sure the other microphone is plugged into the mic 2 port
-
Plug in the headphone receiver on the table to power (which is under the table) and plug the ¼ cable into the HP L port in the bottom left corner of the sound booth.
-
Make sure the headphones are plugged into the headphone receiver. (Volume can be adjusted by the corresponding number you plugged the headphones into via the knobs towards the bottom of the receiver)
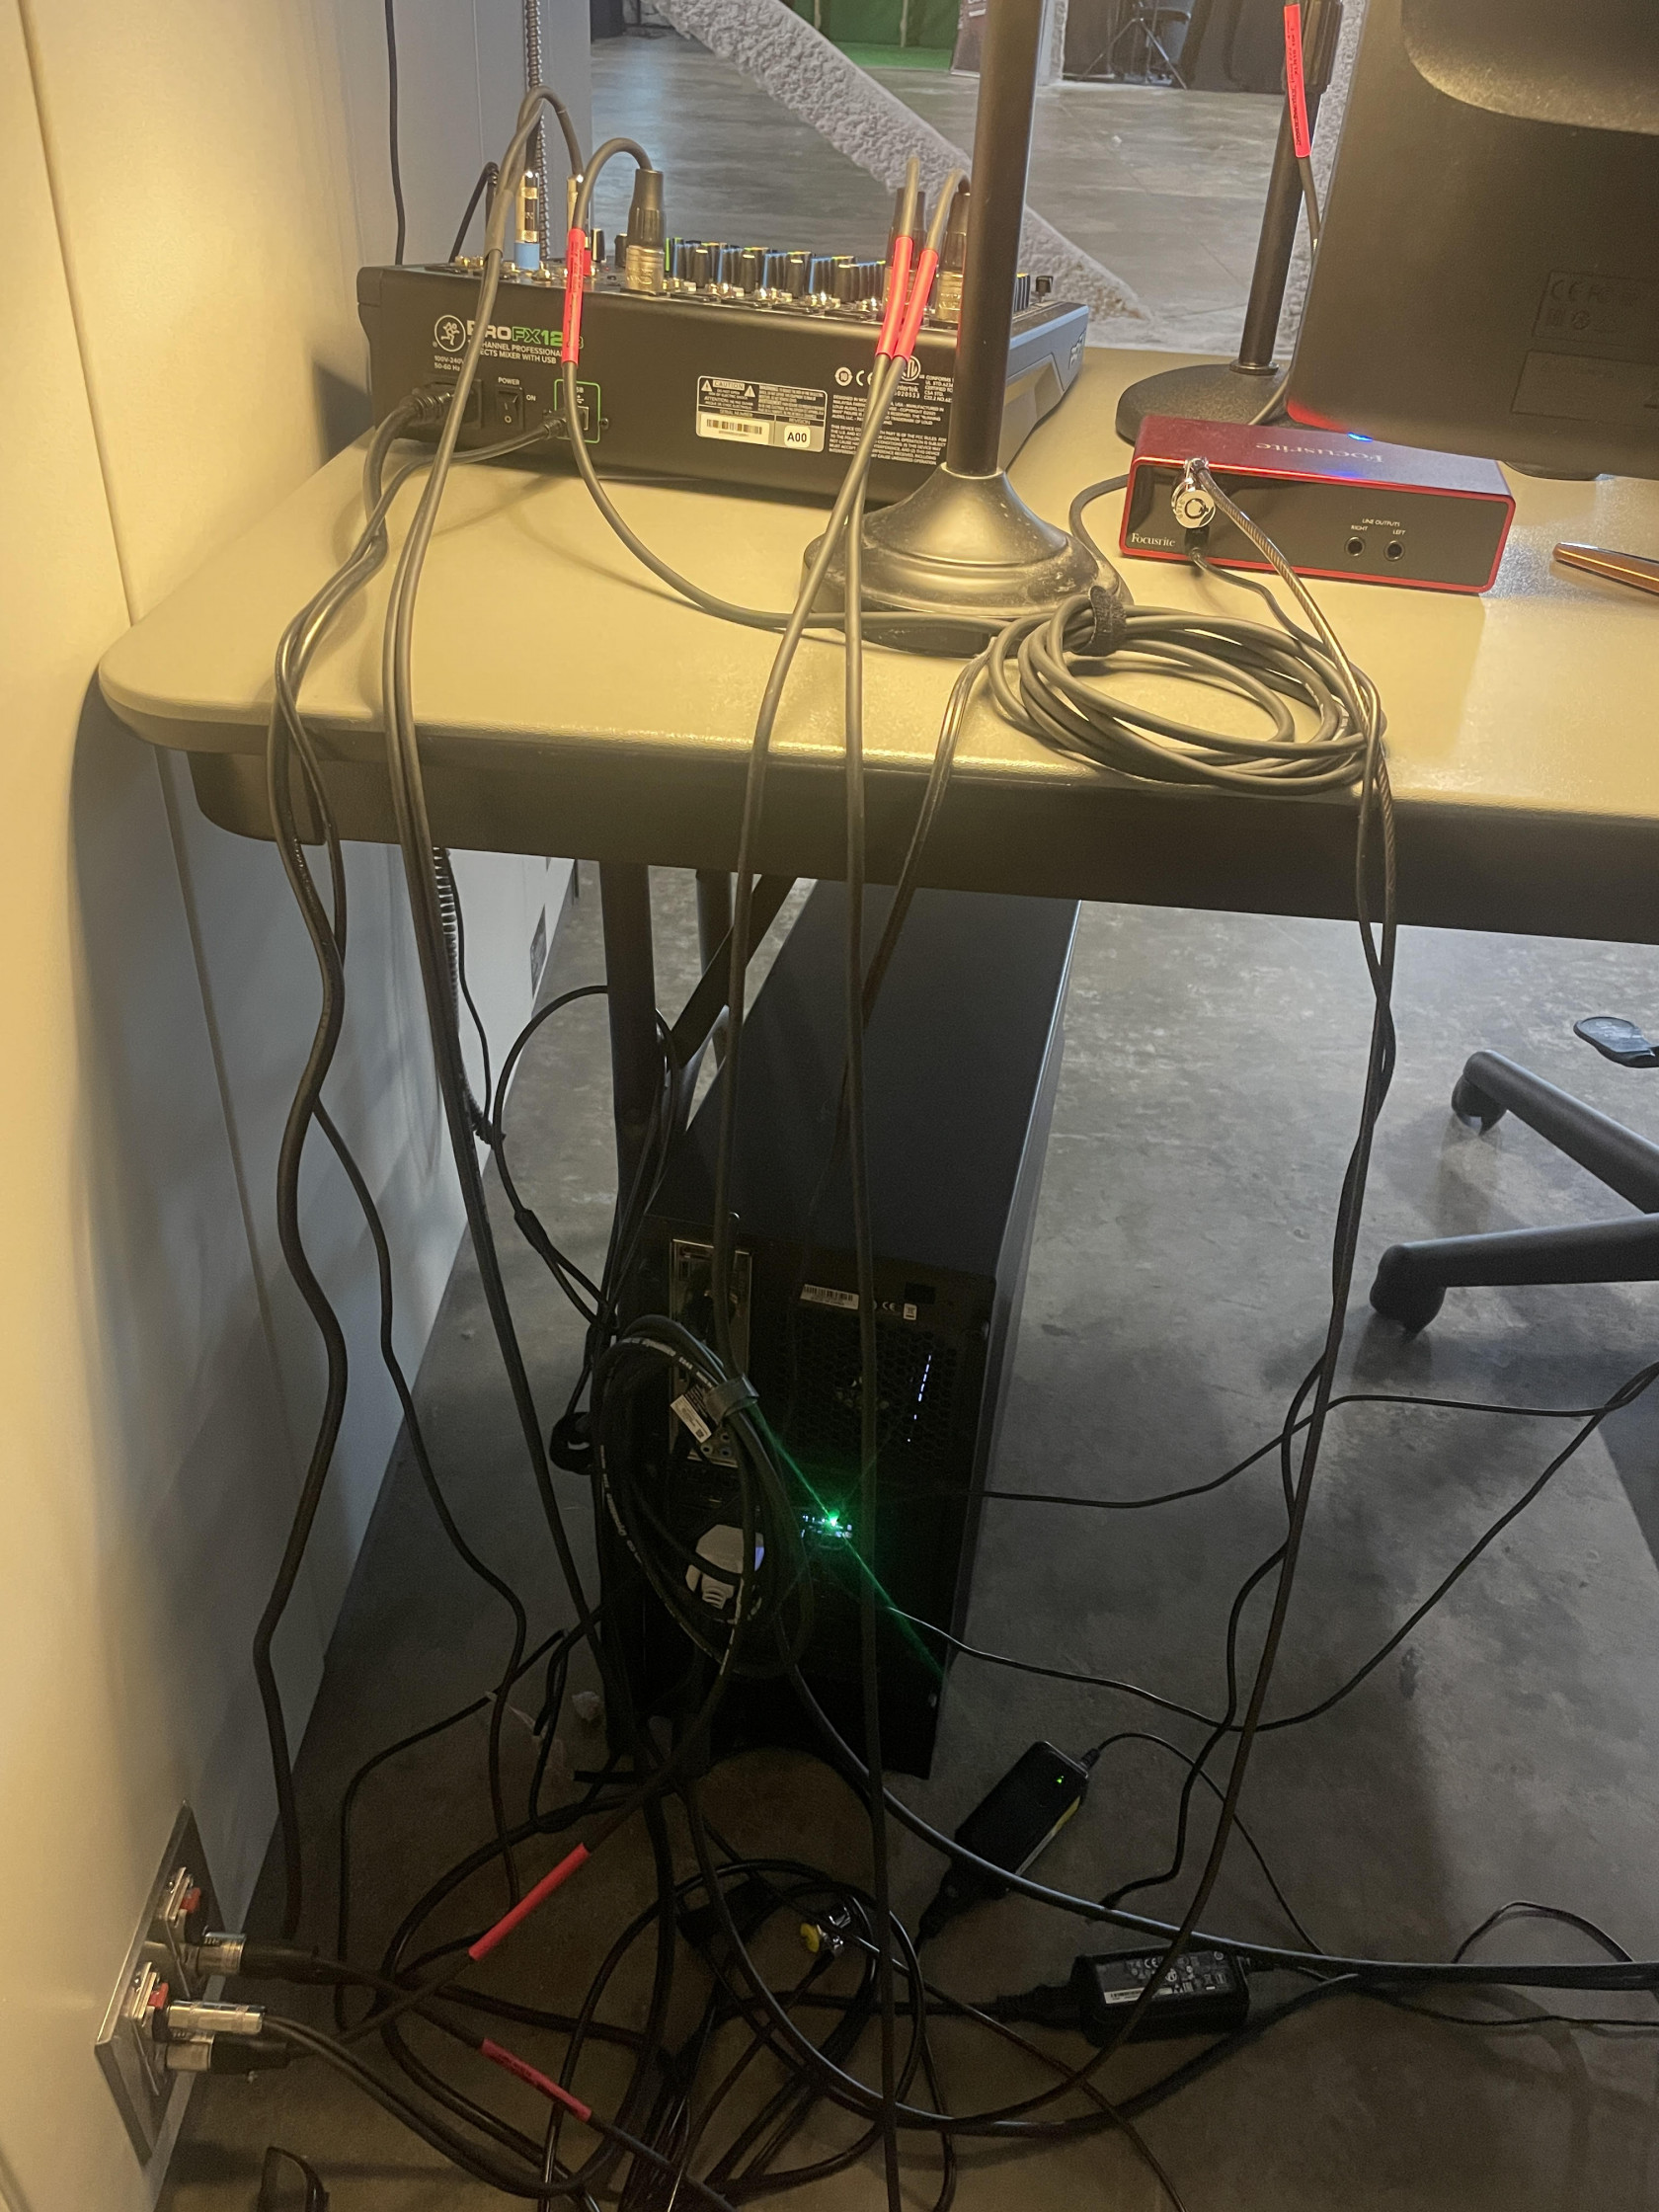
- Cables that run outside all connect to the Mackie Mixer. This connects your mic plugins to the computer, which is connected by USB-C.
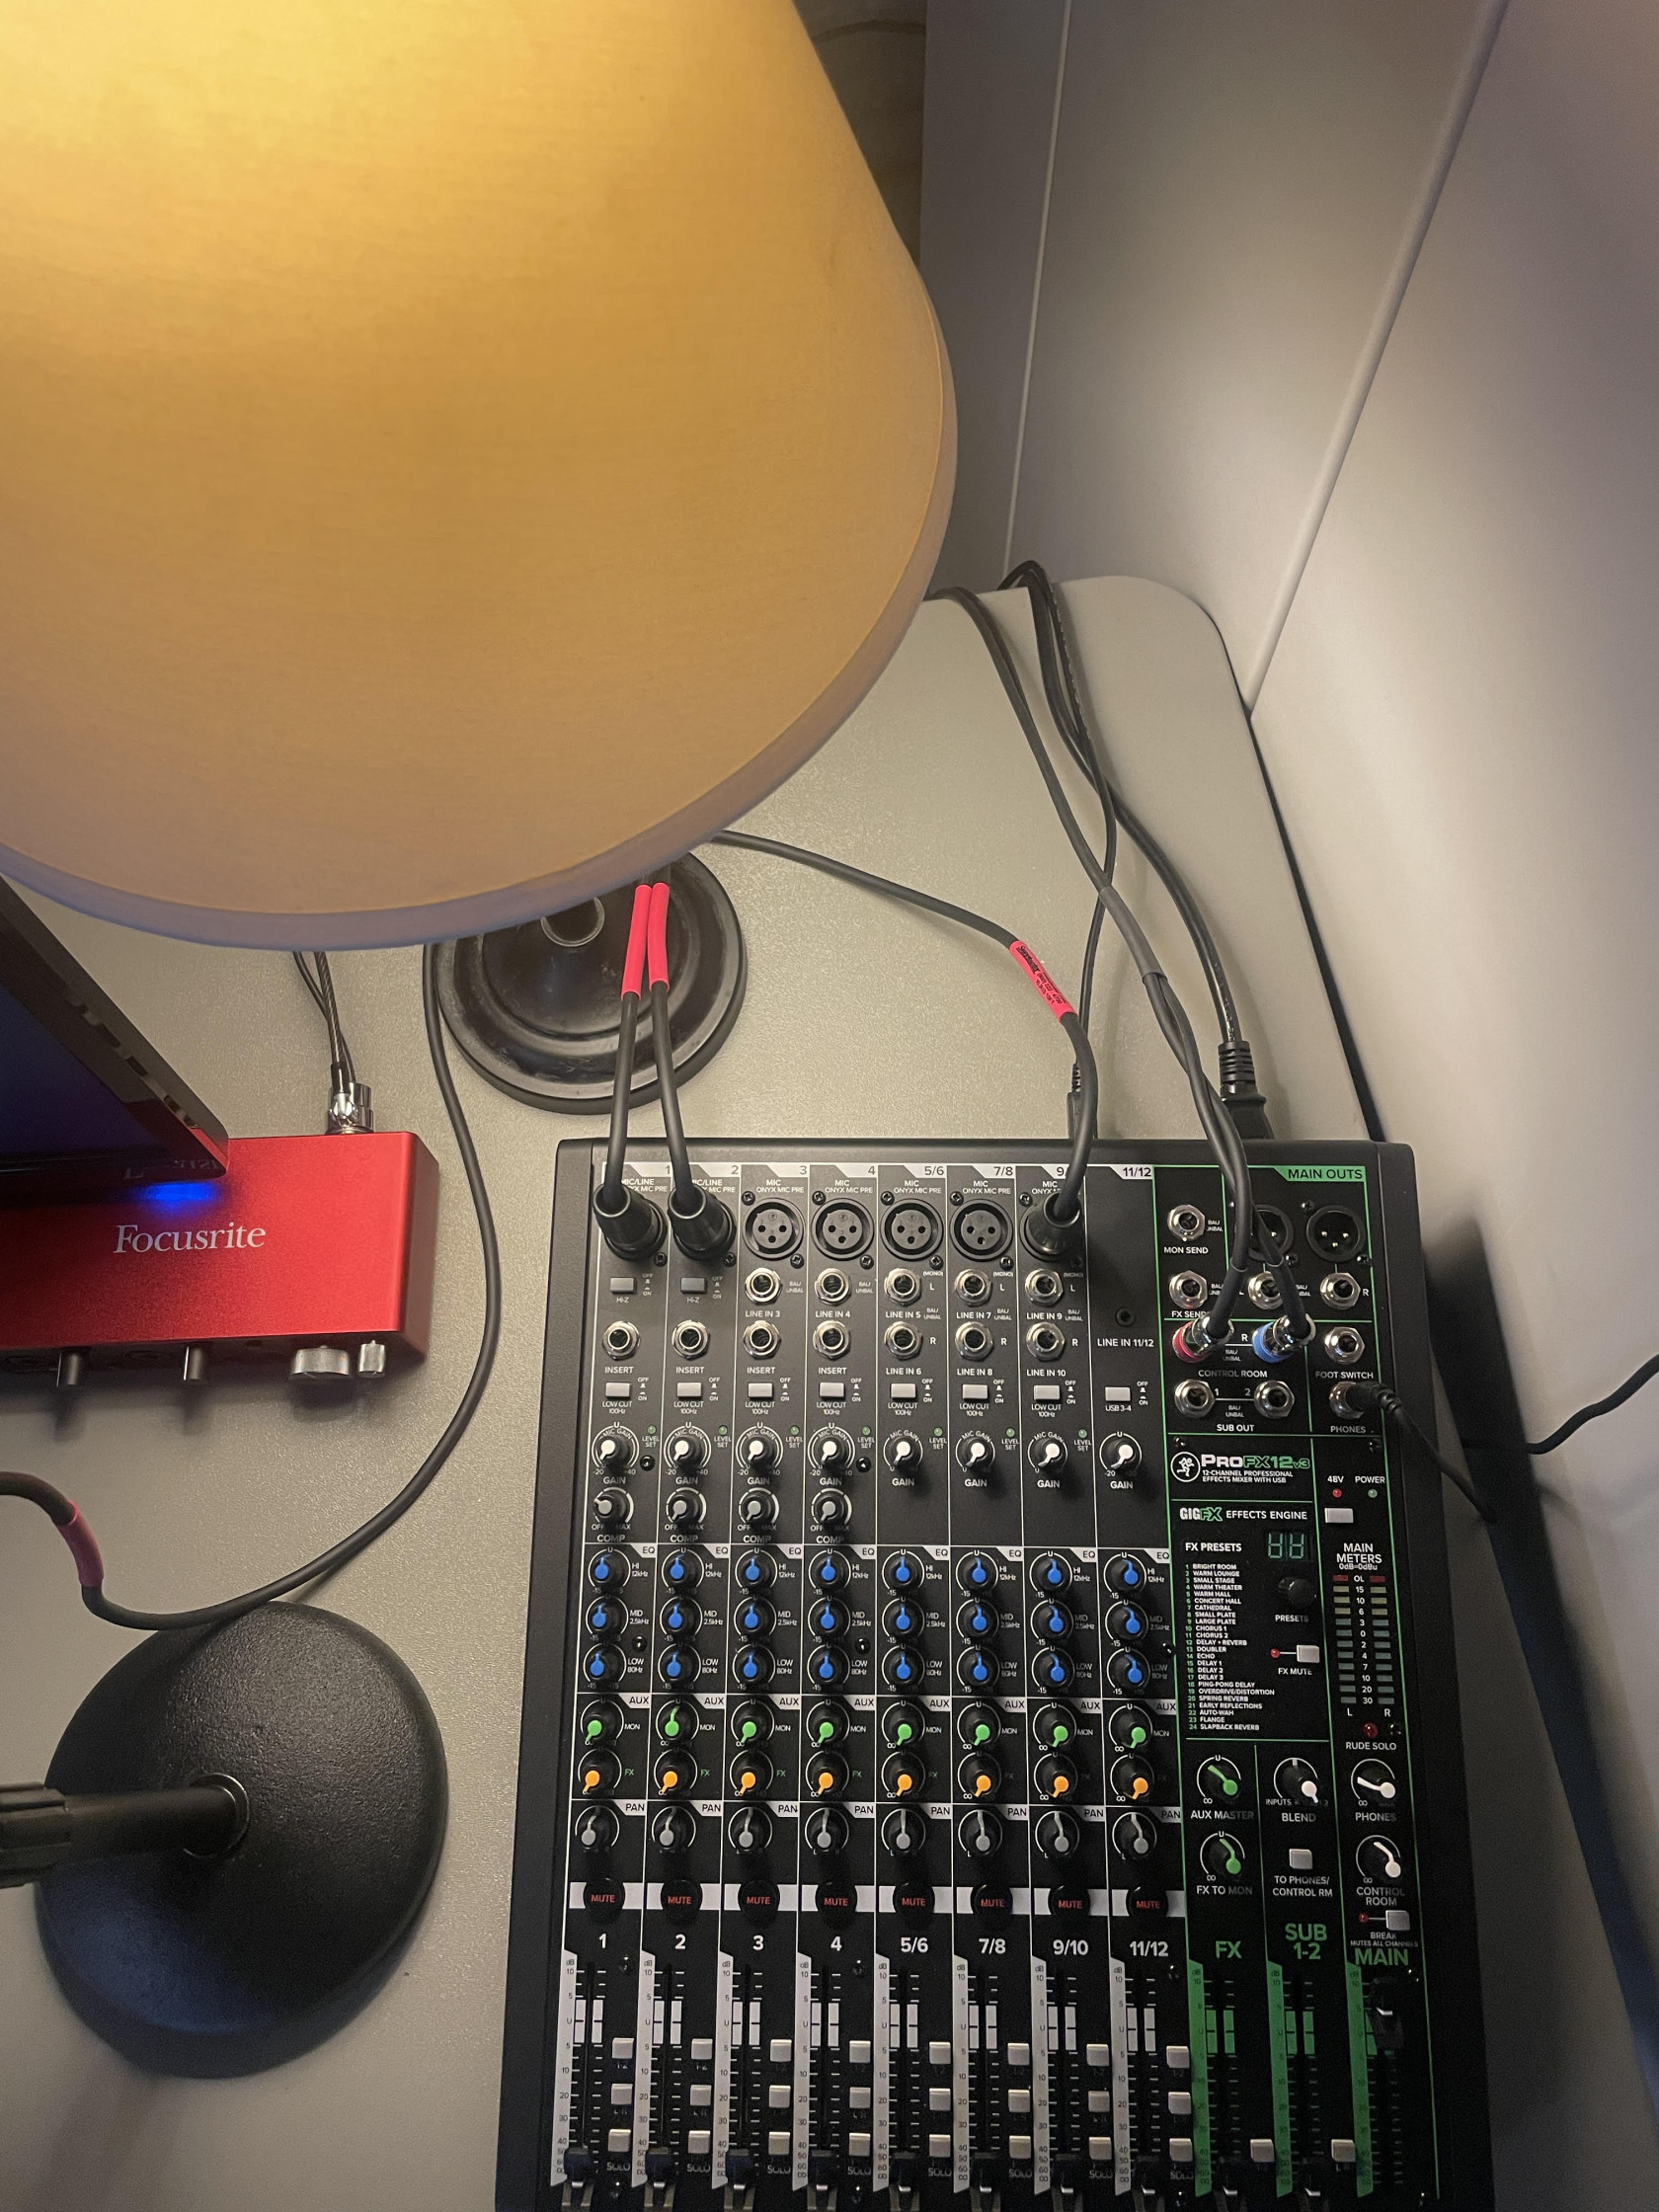
- Let's take a closer look at the interface...
Refer to the equipment page if you are unfamiliar with this audio interface, or other equipment.
- If the mic(s) and HA400 Microamp are hooked up to the inner wall pockets, they will run out the outer wall pockets and plug into this mixer.
- XLR inputs go into the combo jacks, which are connected to your mics.
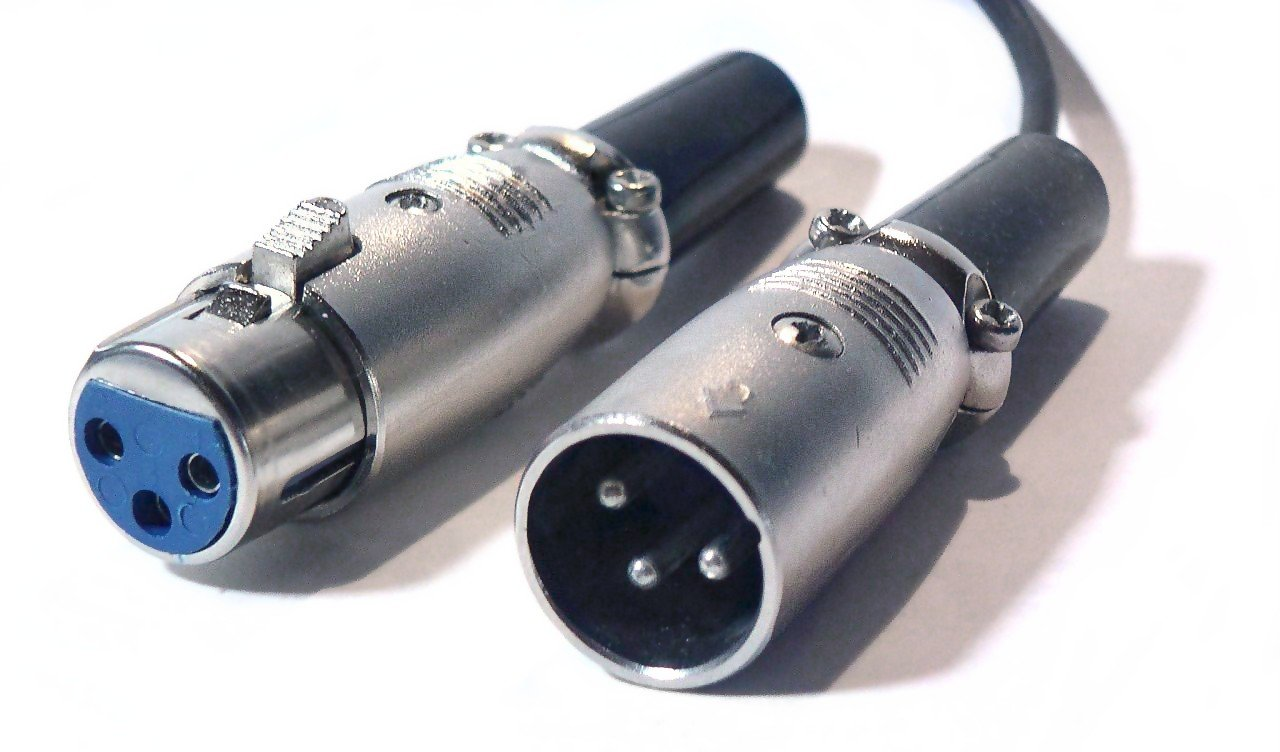
- Combo jacks can accept XLR jacks, as seen above, as well as 1/4" inputs.
- There are seven channel inputs on the mixer. One will be for the outside mic, and two others for the mics inside the booth.
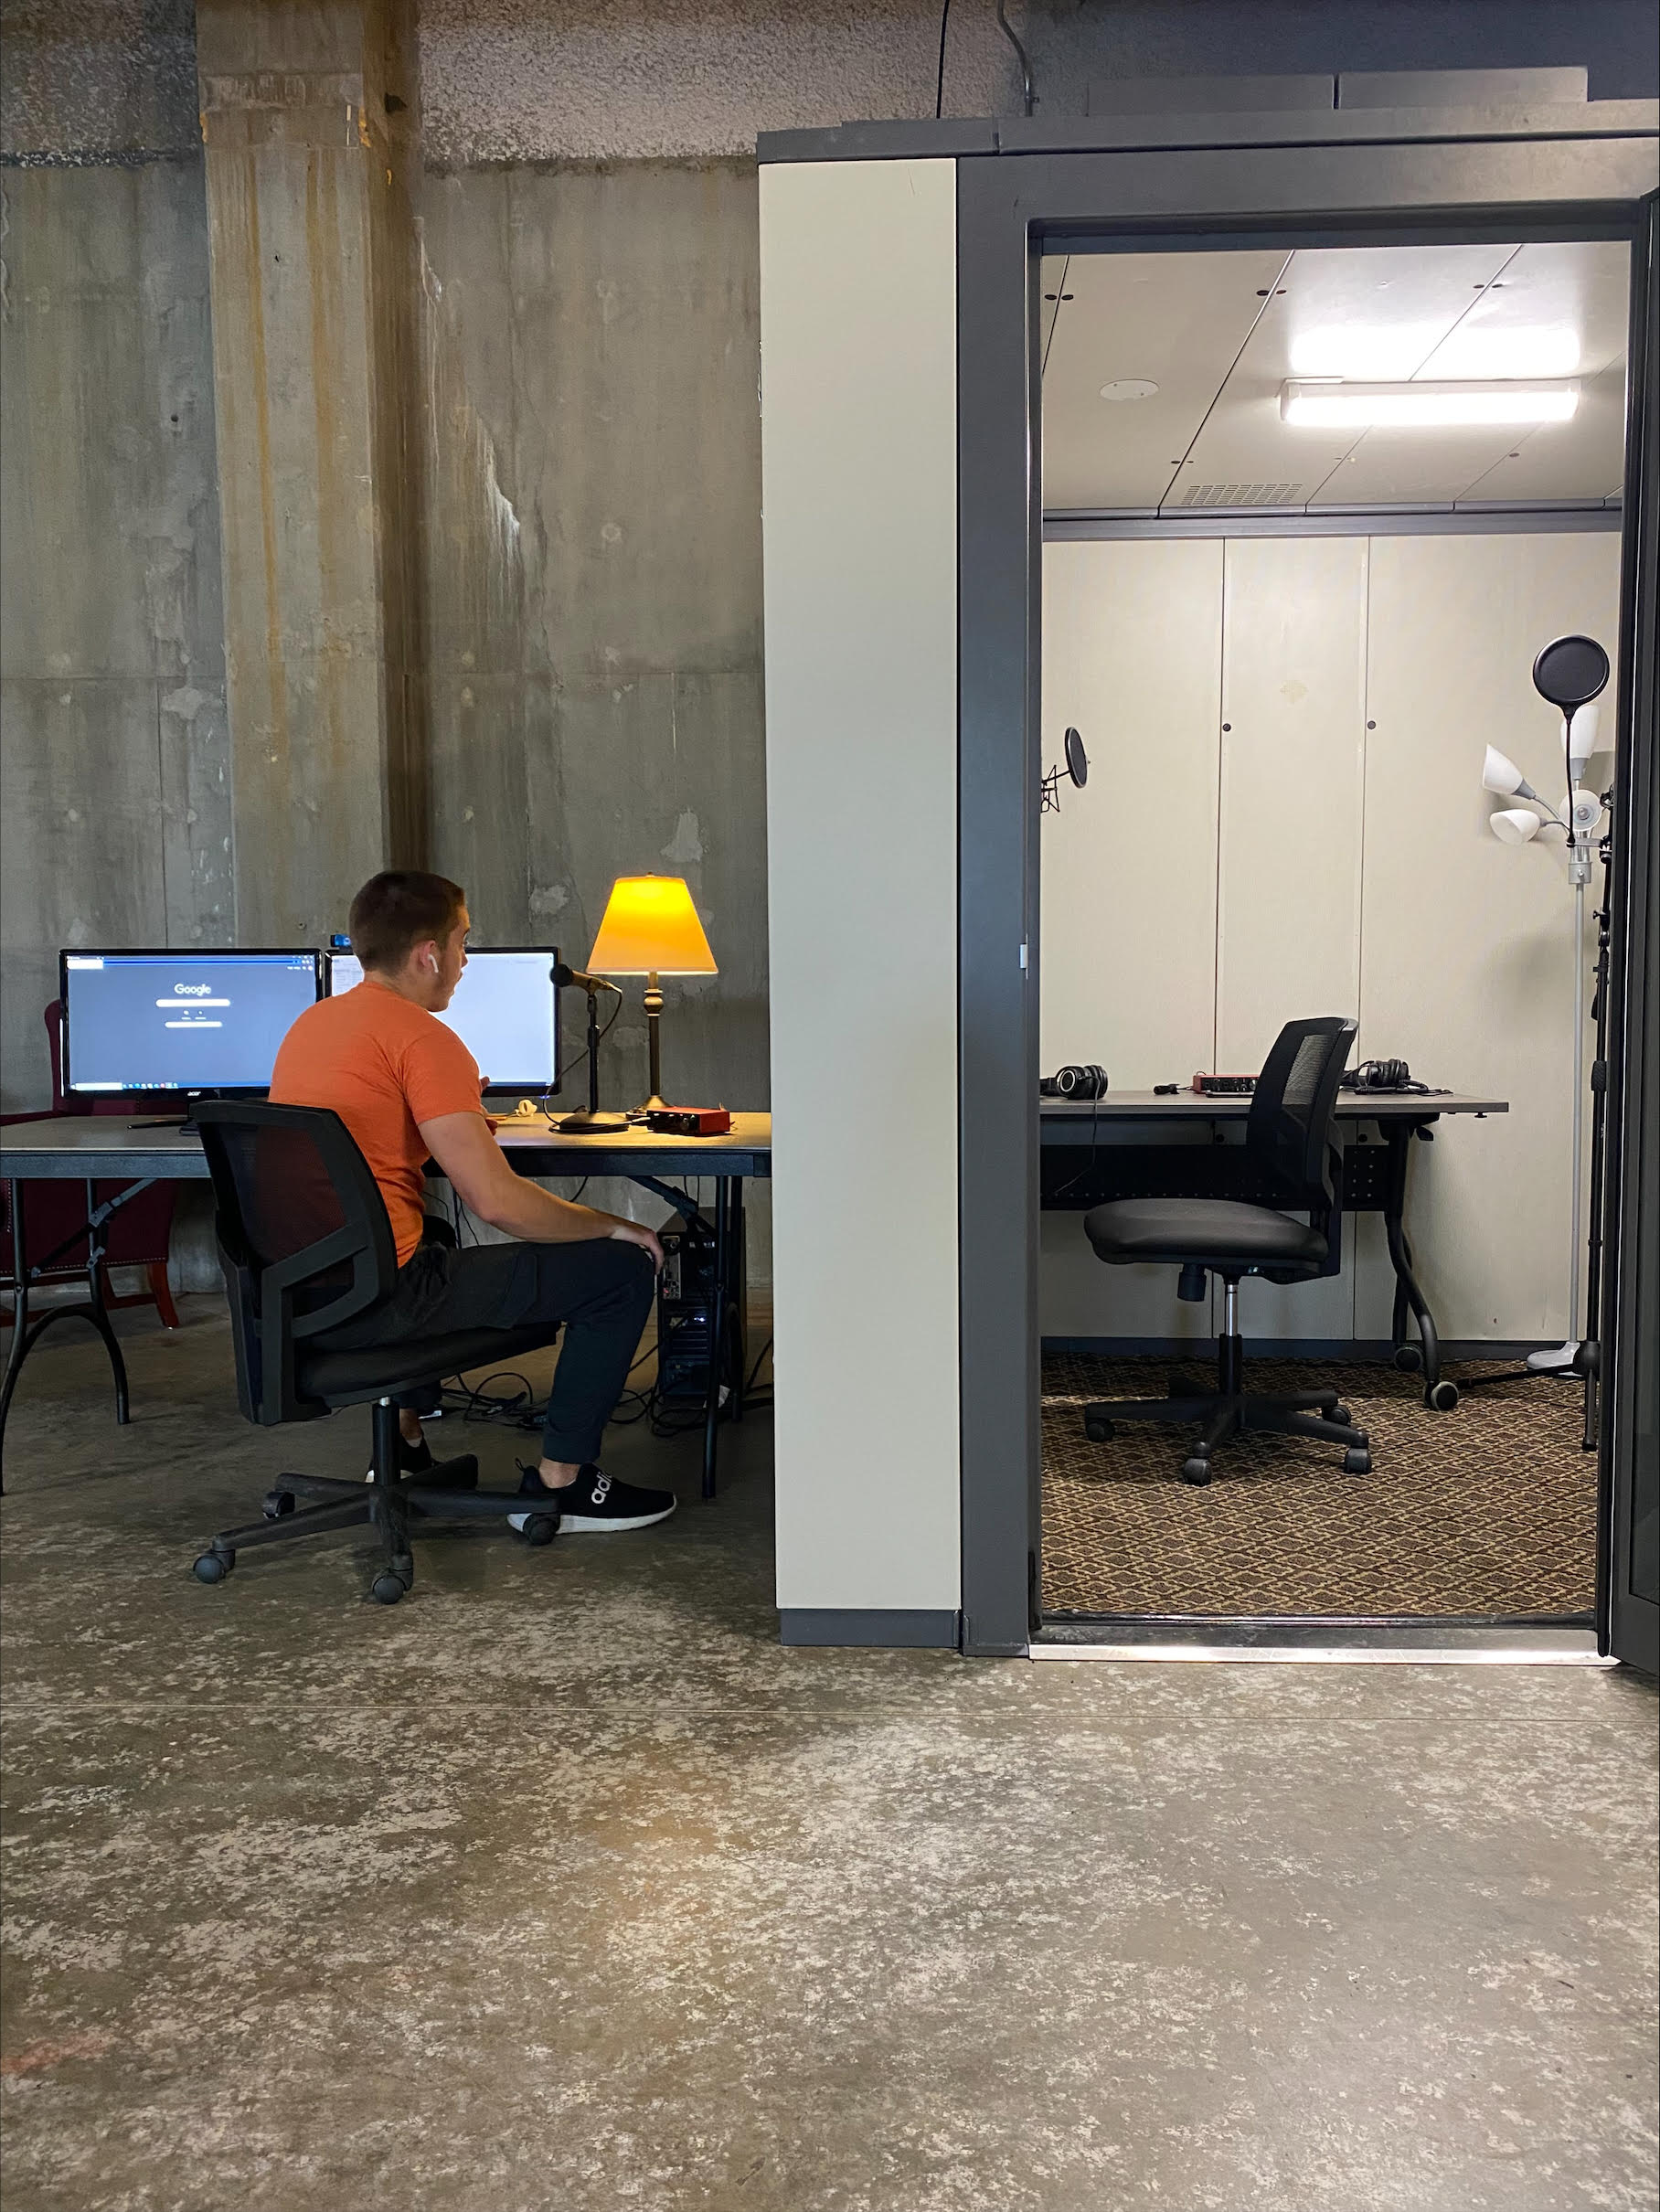

^As the Audio Engineer (left) speaks into the XM8500, the booth user (right) can hear his voice using the Audio Technica headphones. These are connected to the HA400.^
- Before we get into recording, let's recap what you do to setup:
- Mics inside booth are plugged in, that you want to use, using XLR cable(s).
- HA400 is set up: power supply unit, headphones, and the signal source 1/4" TRS connector (trip, ring, sleeve). Click here for a deeper breakdown.
- XLR cables are plugged into outer wall pocket, and run into the mixers combo jacks.
- Mixer is plugged into computer via USB-C and is turnt on (on/off switch in the back).
You are now ready to move into Recording A Session! Use that page to push forward.