Recording A Session
Any words in this format are defined in the dictionary.
DICTIONARY
Arm: Places track/channel in a condition where it is ready to record audio when the system is placed in record mode.
Reaper
It is now time to start a session on Reaper! With your desired equipment set up, we can go ahead and open up the software. To learn about Reaper's interface, we will go through a pre-made session that you have access to.

- Open the WA 47 Polar Patterns Test project file, not the backup one! Project files have the reaper icon symbol.
- If you cannot see the file, a copy of this project was also left in the Downloads section of the File Explorer.
Main Interface
- Let's take a closer look at the interface. This is what your project should look like:
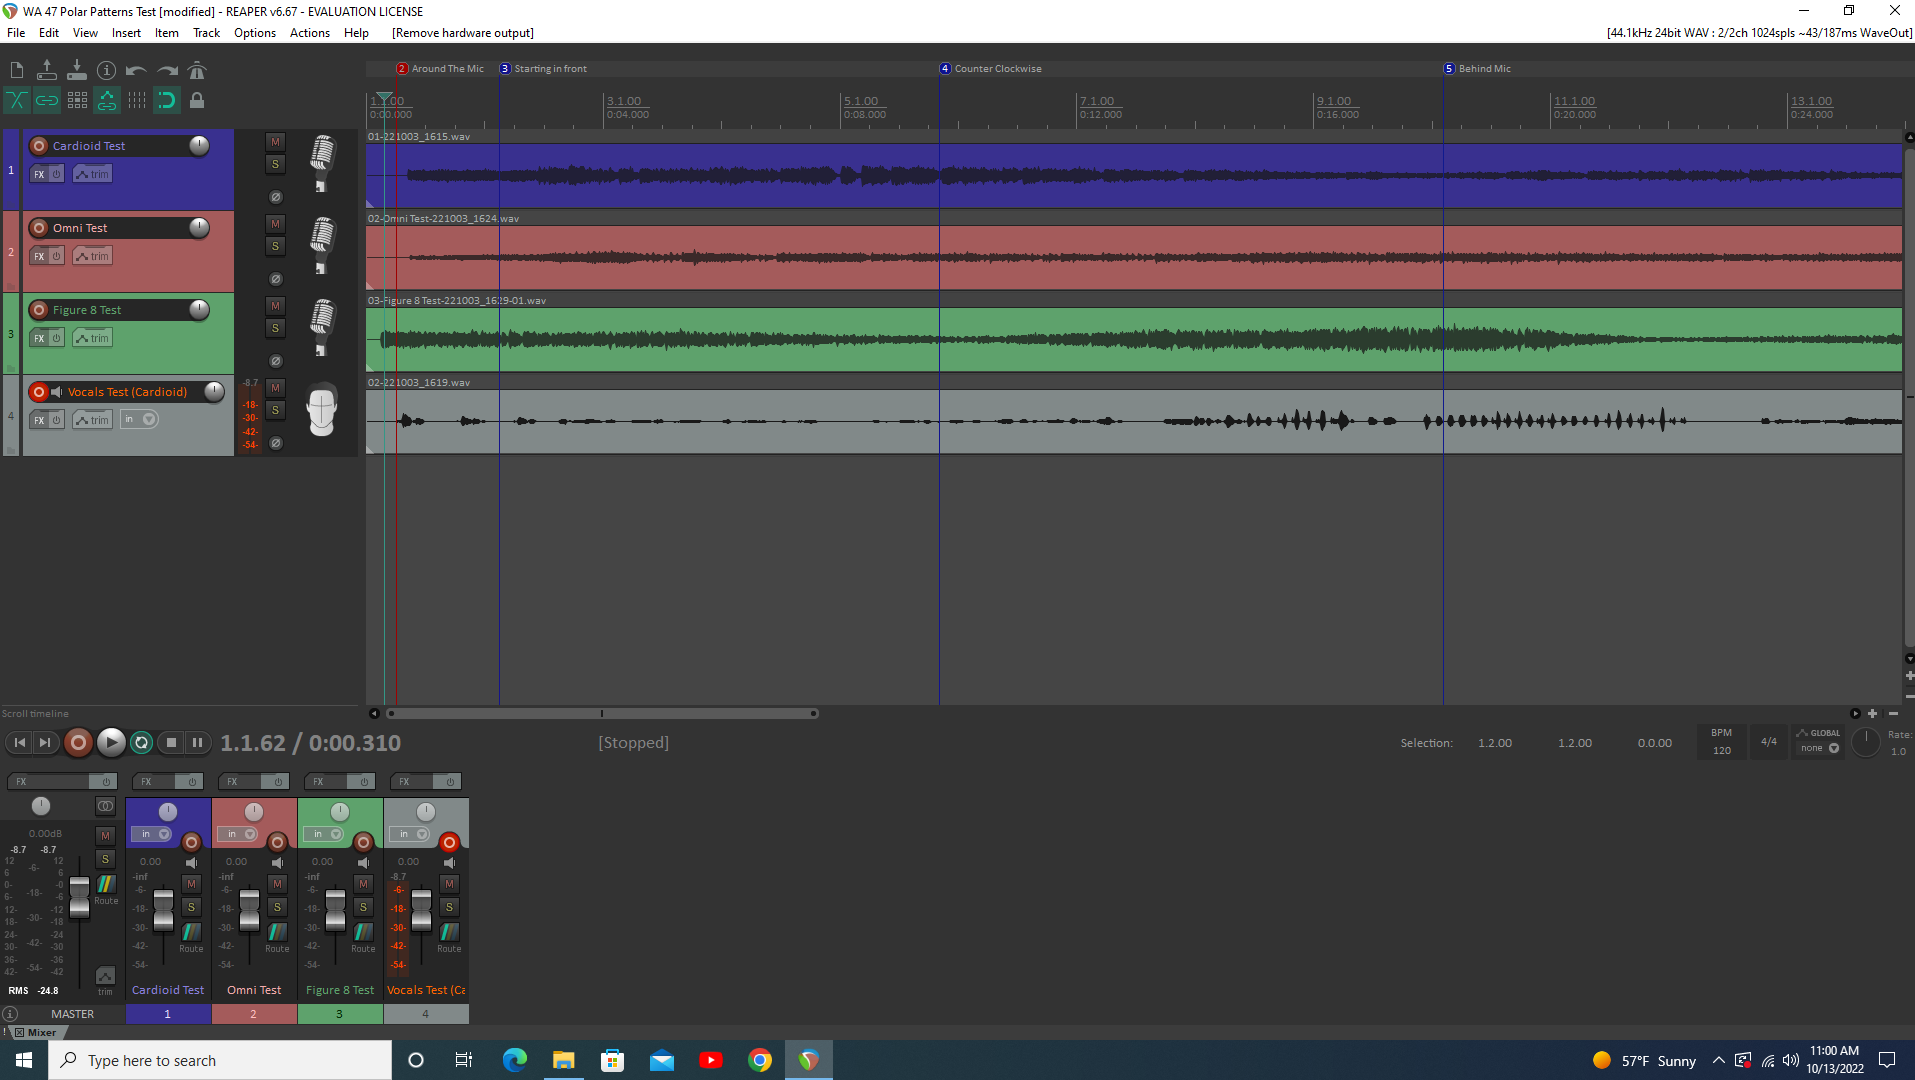
- If the timelines (middle) says "offline," make sure you have clicked in the monitor space the software is pulled up in.
- There are currently four channels in the arrangement window (left), each given a color for sorting purposes.
- Also colored are your track editors in the mixer window (bottom)
If your interface does not look like this, click Options --> Themes --> Default
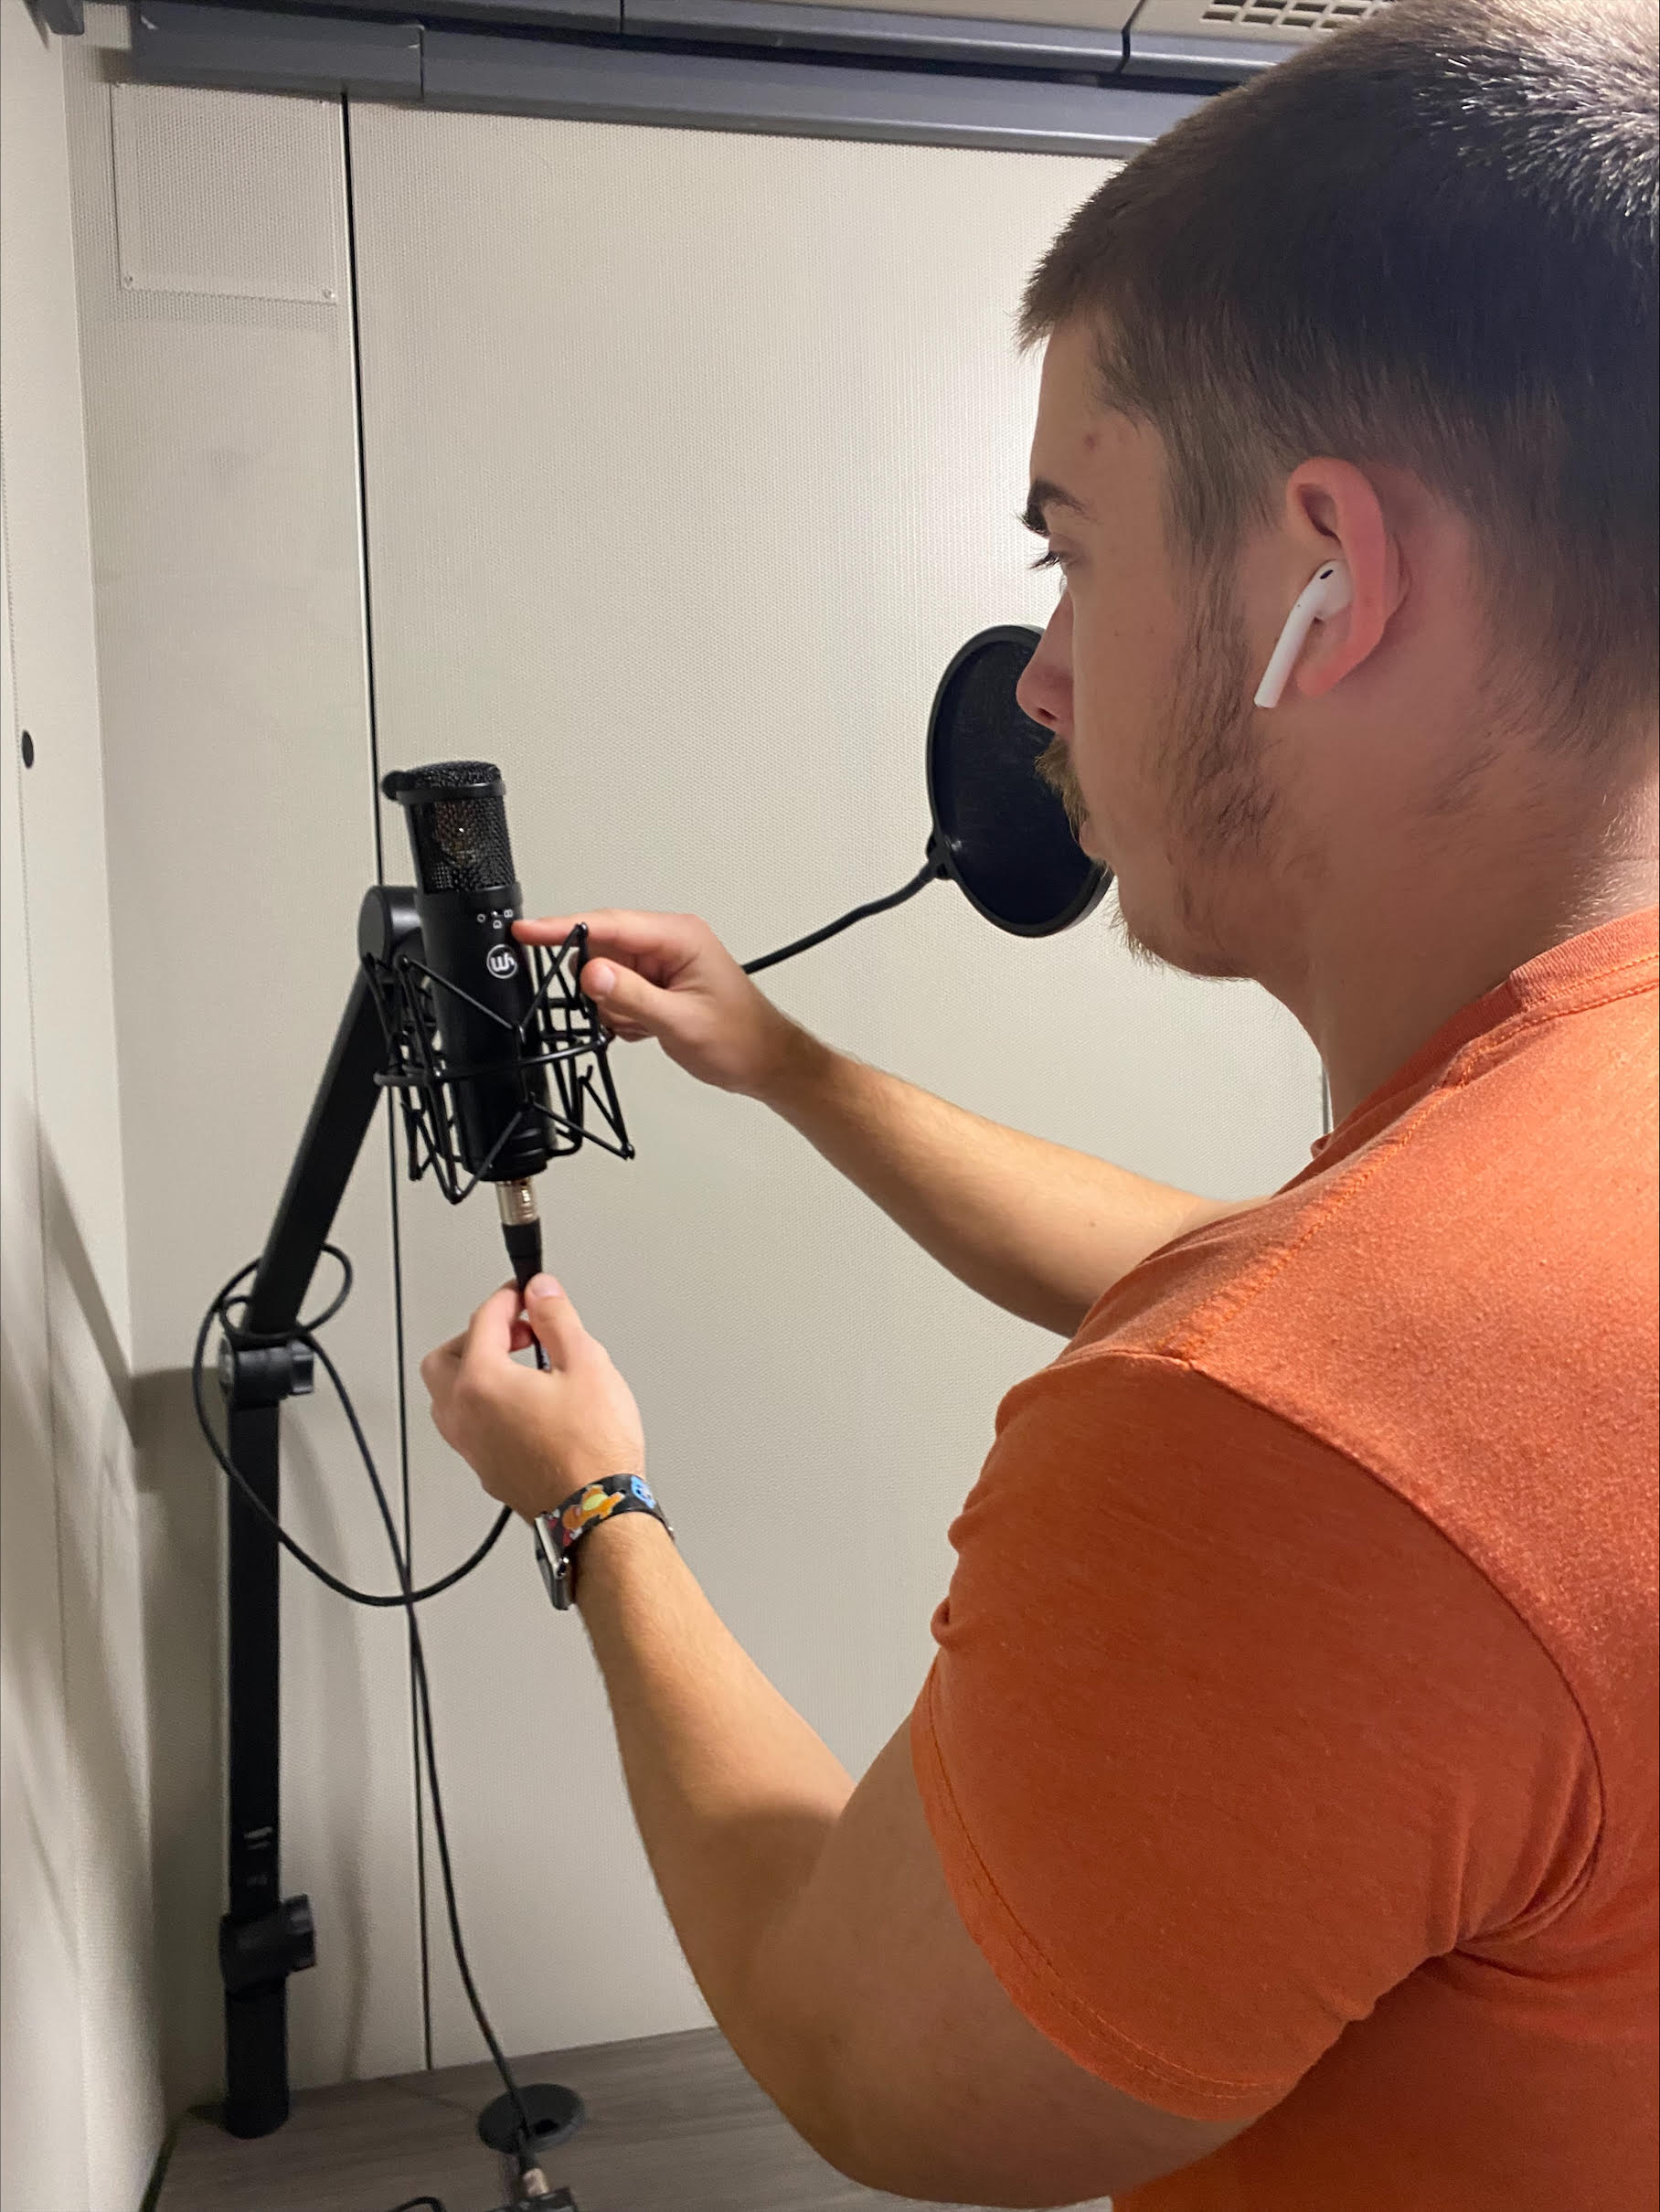
^The user is pointing at a switch on the WA-47 mic. This switch toggles between different polar patterns.^
- This project tested three polar patterns of the WA-47. For each polar pattern, a song was played from an IPhone12 and circulated around the mic. This test highlights each polar pattern's most/least sensitive range of pickup.

- Above your timeline are specific marks for time, as well as bookmarks highlighting important parts of certain recordings.
- Left click the timeline at the 1.1.000 mark, or the 0:00.000 timestamp. Your cursor should already be at the beginning, but this is how you can place it at a desired location.
- (Check your device and volume before playing!) When you click SPACE, all channels will play their audio. You want to mute all except one, in order to hear what a specific polar pattern sounds like!
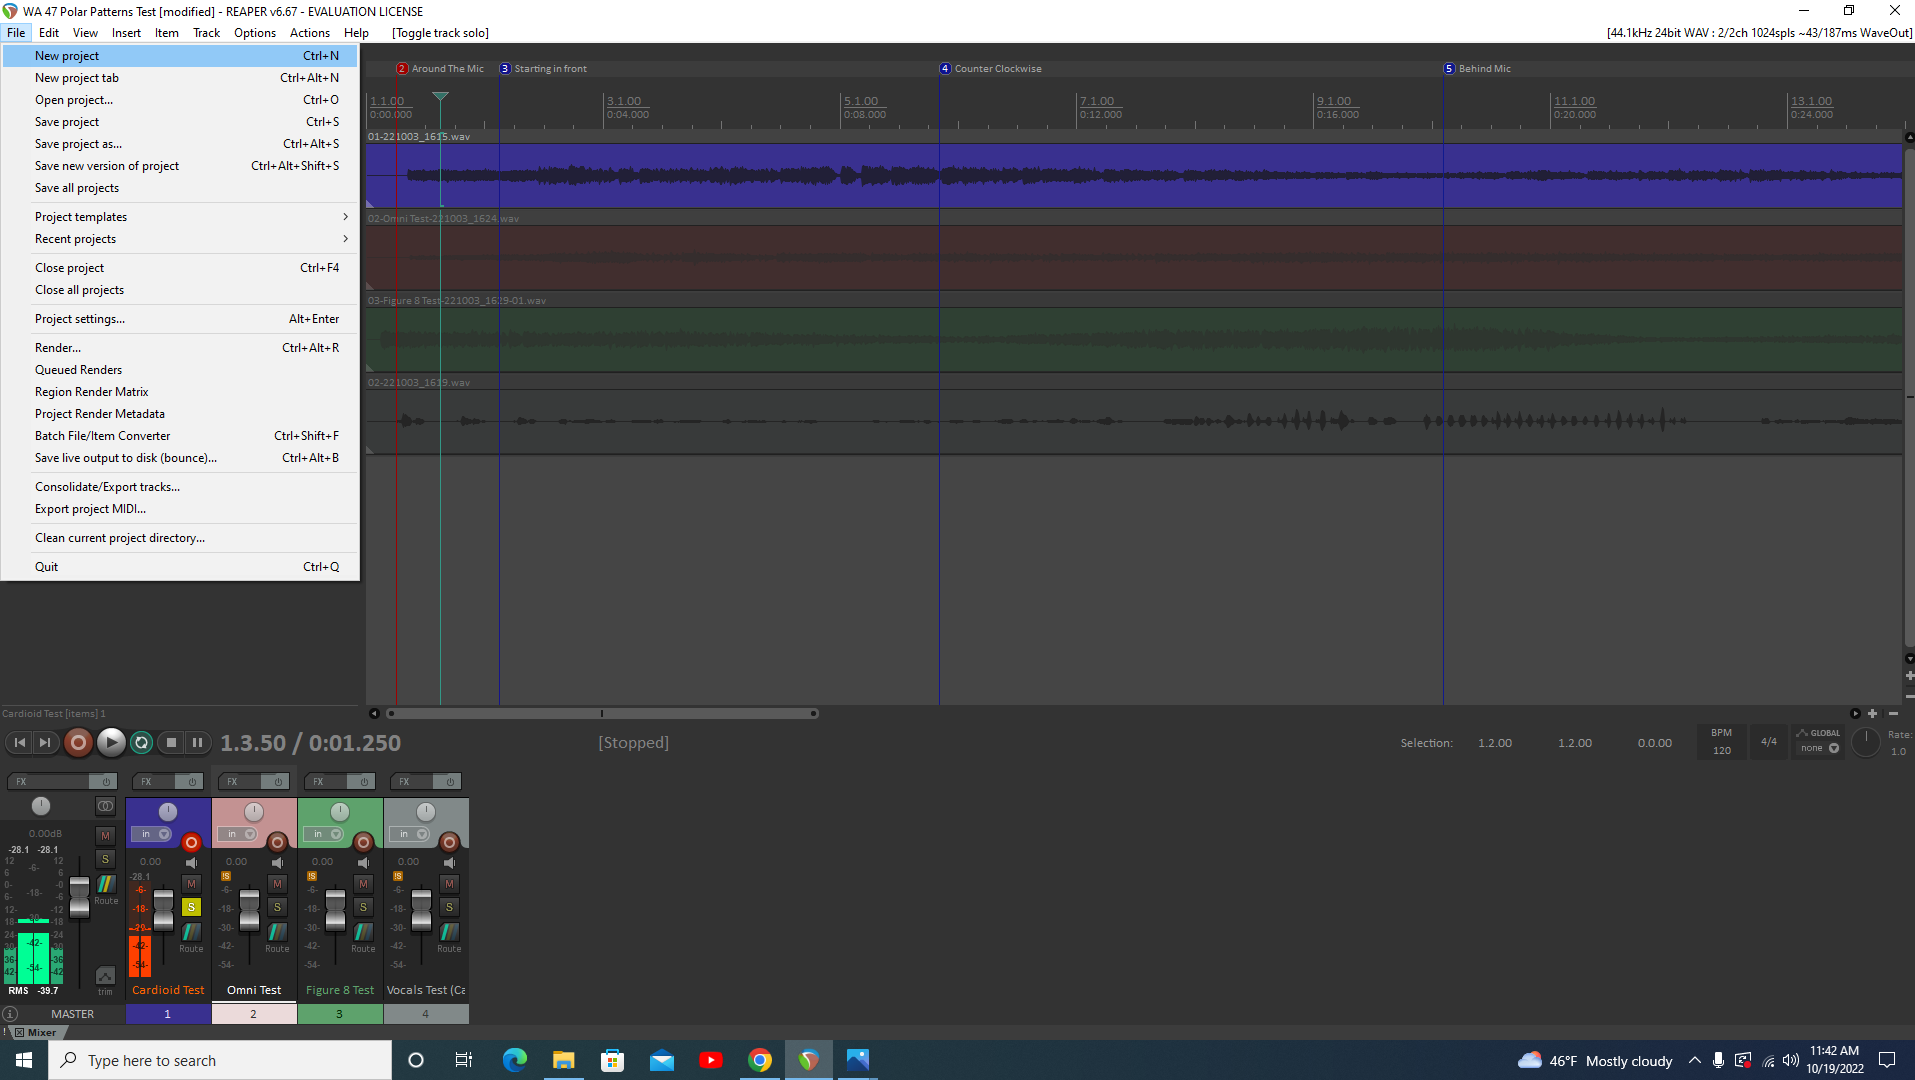
- Go to File and click New Project, or use the shortcut keys Ctrl + N
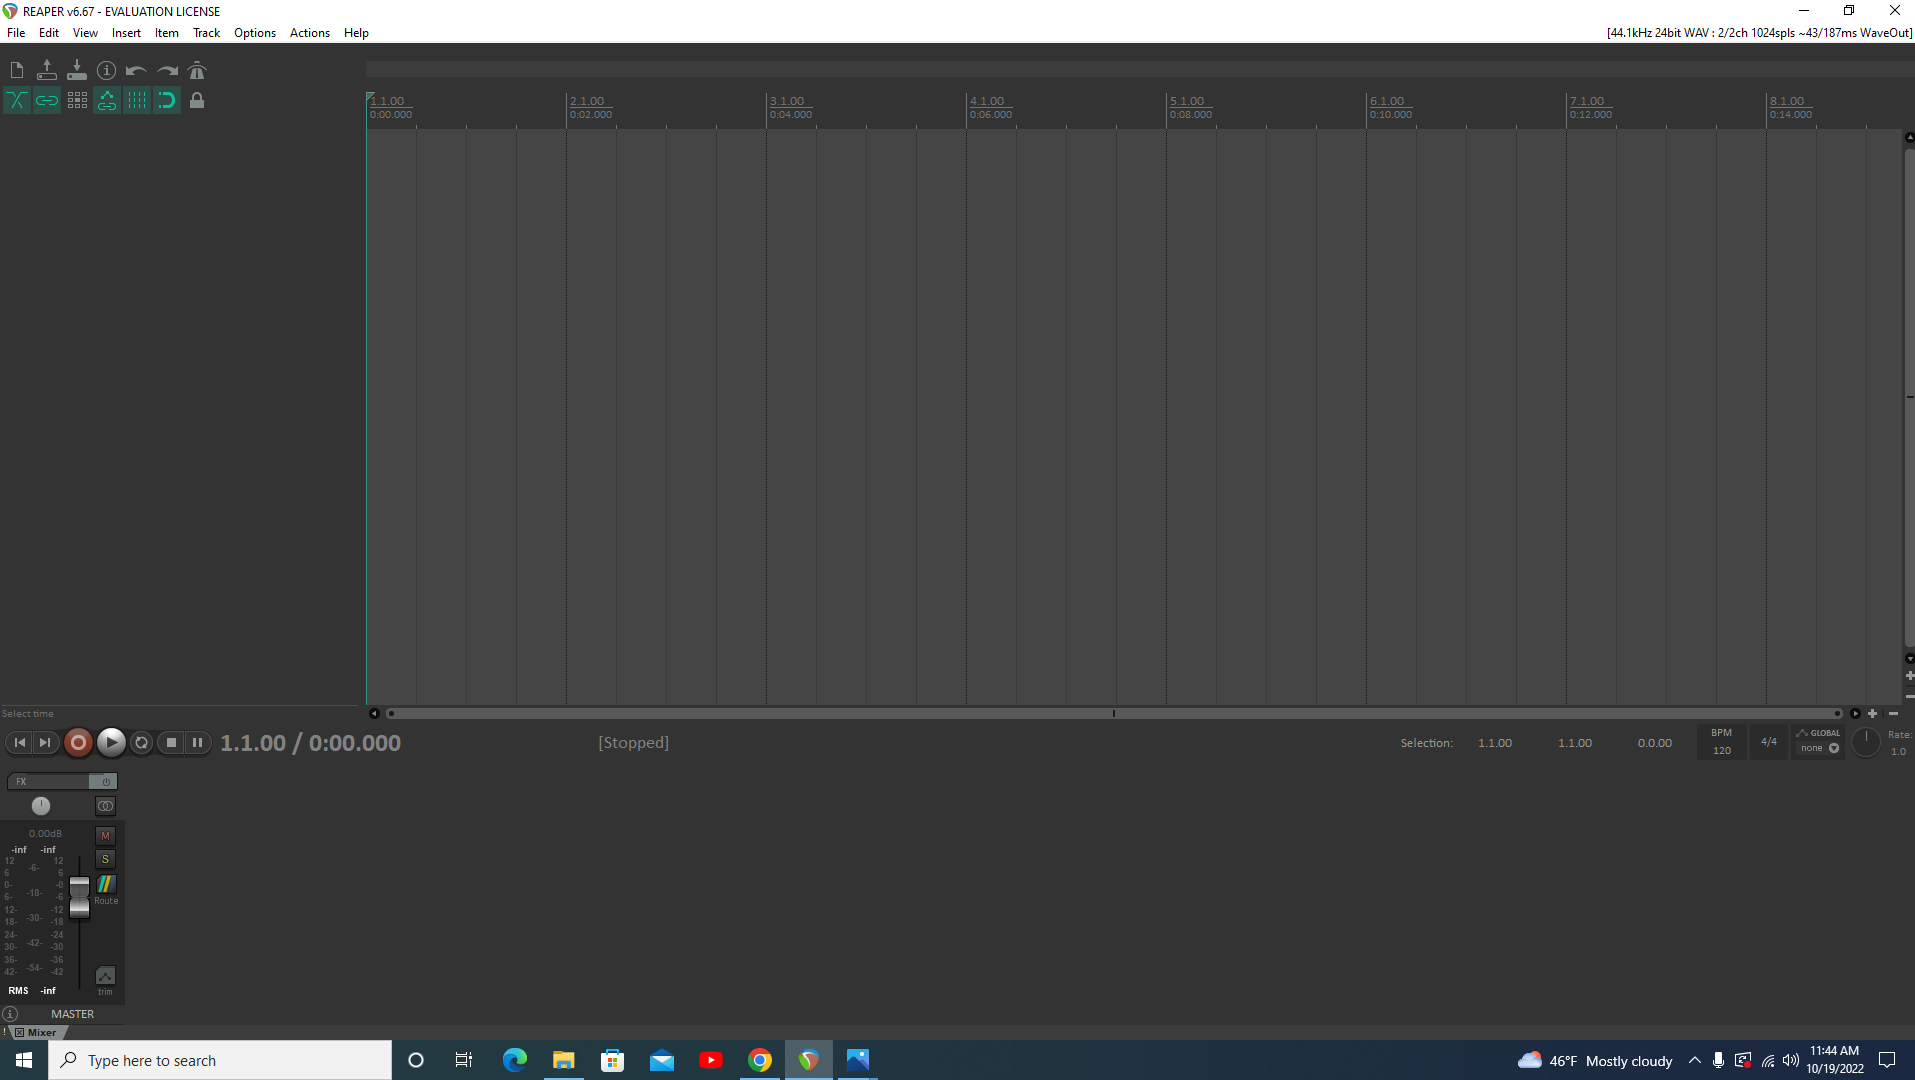
- Here is your barebones layout. The first thing we will need is a Track. Without a track, there is nowhere for our recordings to go, or mics to be routed.
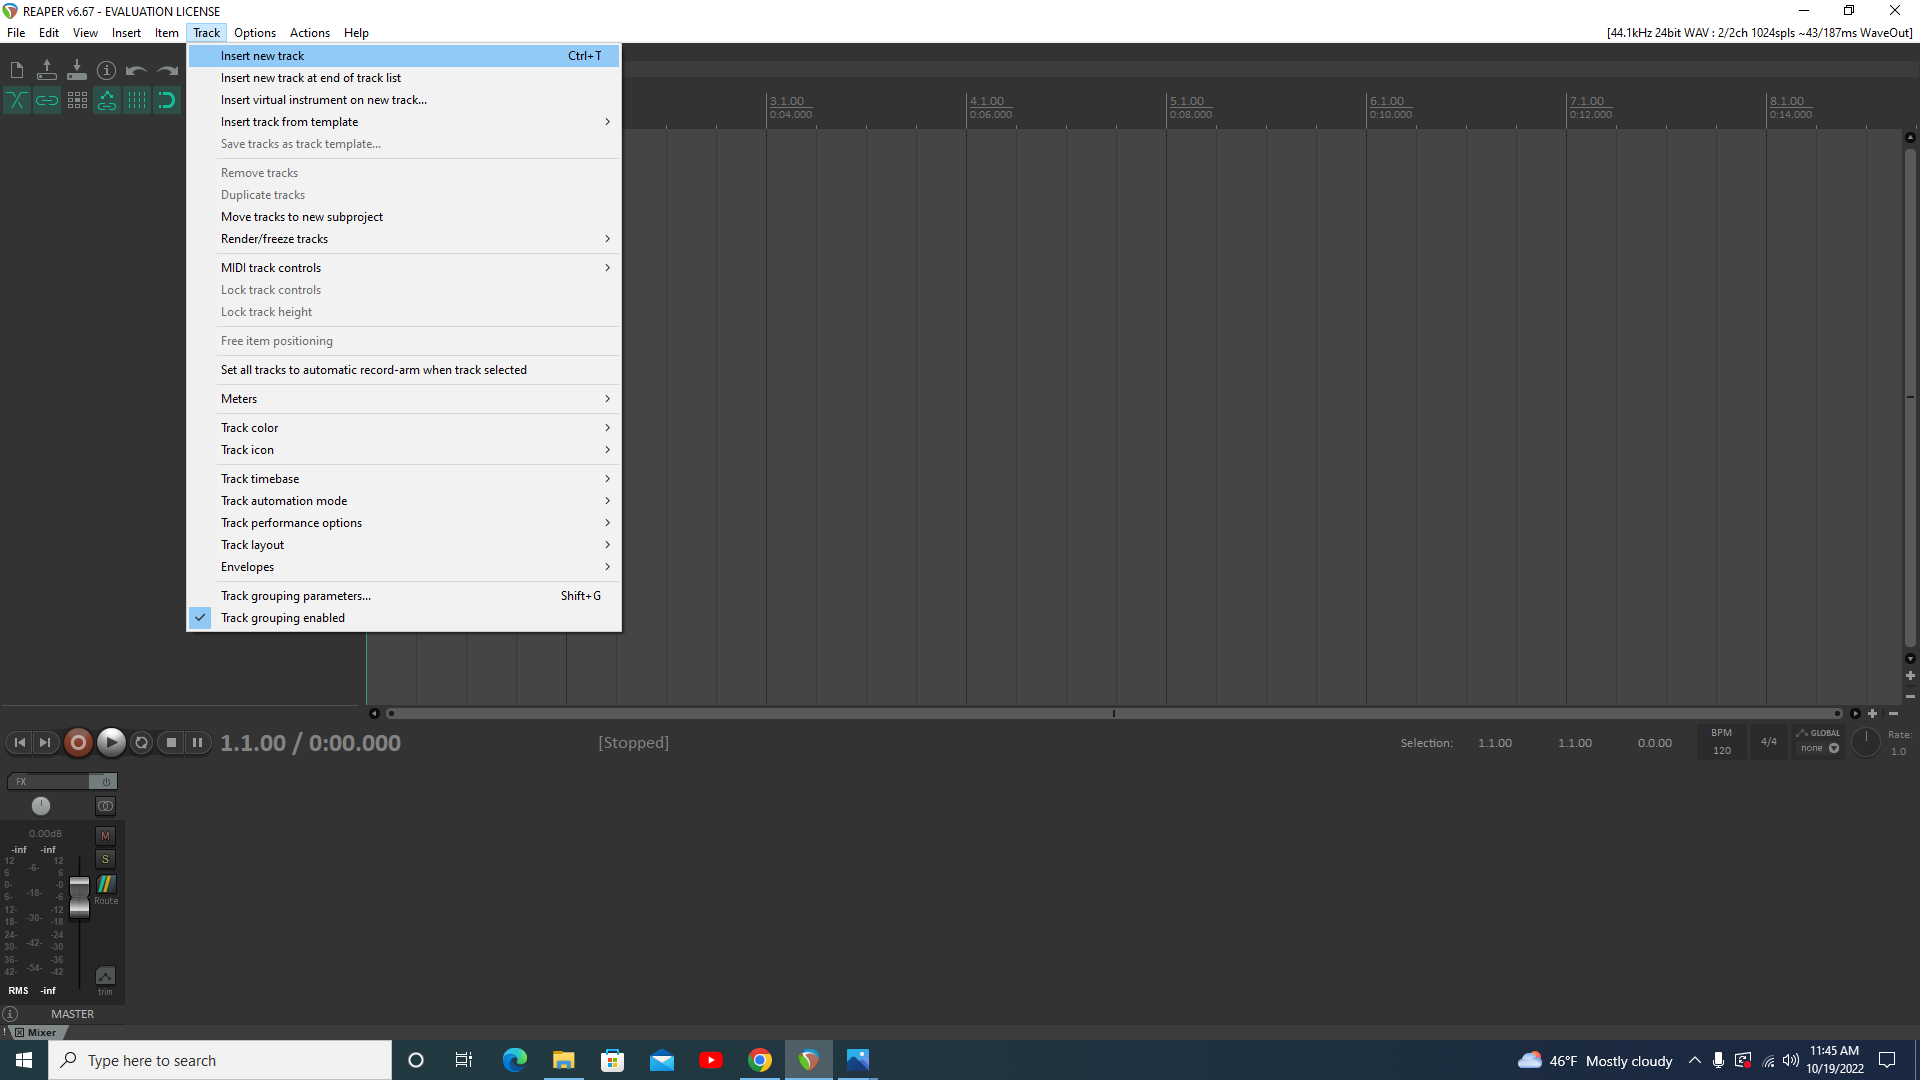
- Click Track --> Insert New Track, or use the shortcut keys Ctrl + T.
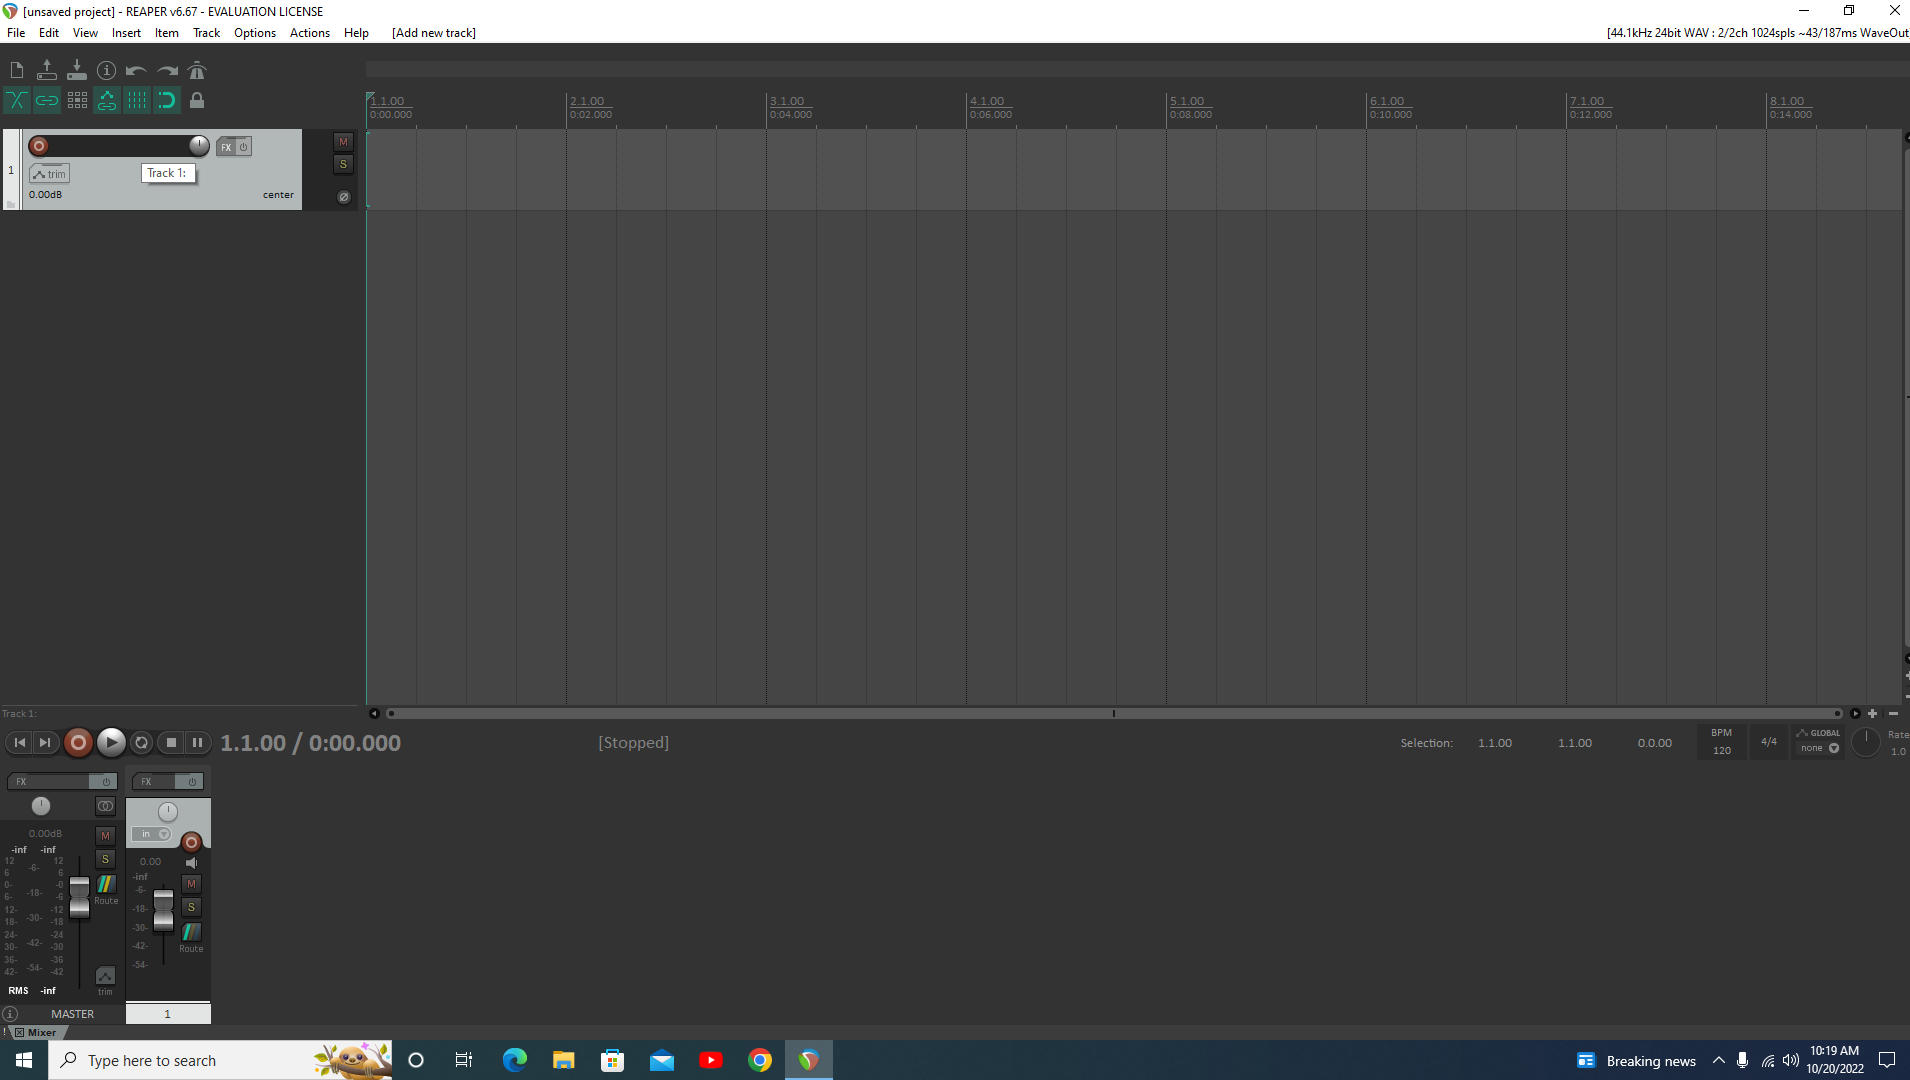
- We now have a track in both the mixer window (bottom), and arrangement window (left).
- We are going to label this. Let's pretend you have a friend named Rando, who is an expert cowbell player. He wants to record his skills in the booth using the WA-47.
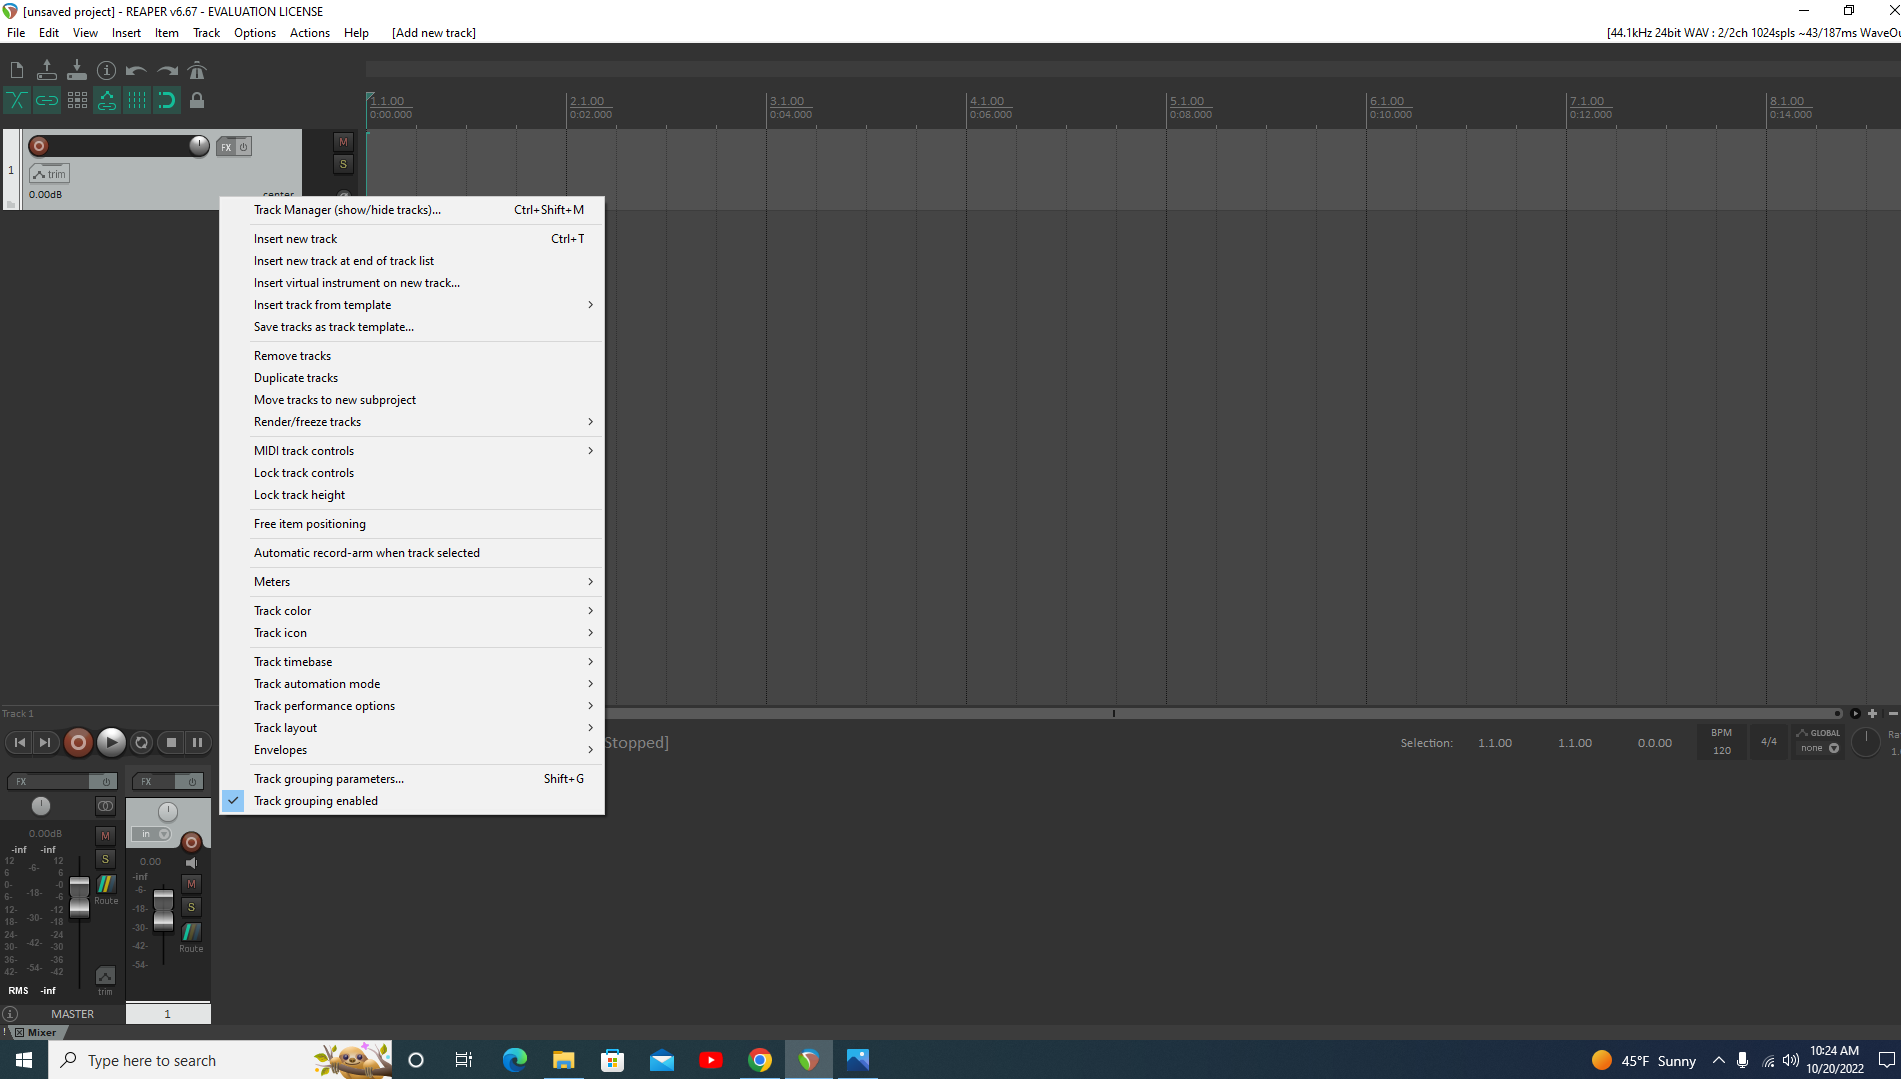
- Right-click your unnamed track in the arrangement window. In the dropdown menu, there is a Track Color and Track Icon option.
- Hover over Track icon and select Set Track Icon. Find the cowbell icon and double click that.
- You may also change the color of your track by reopening the menu.
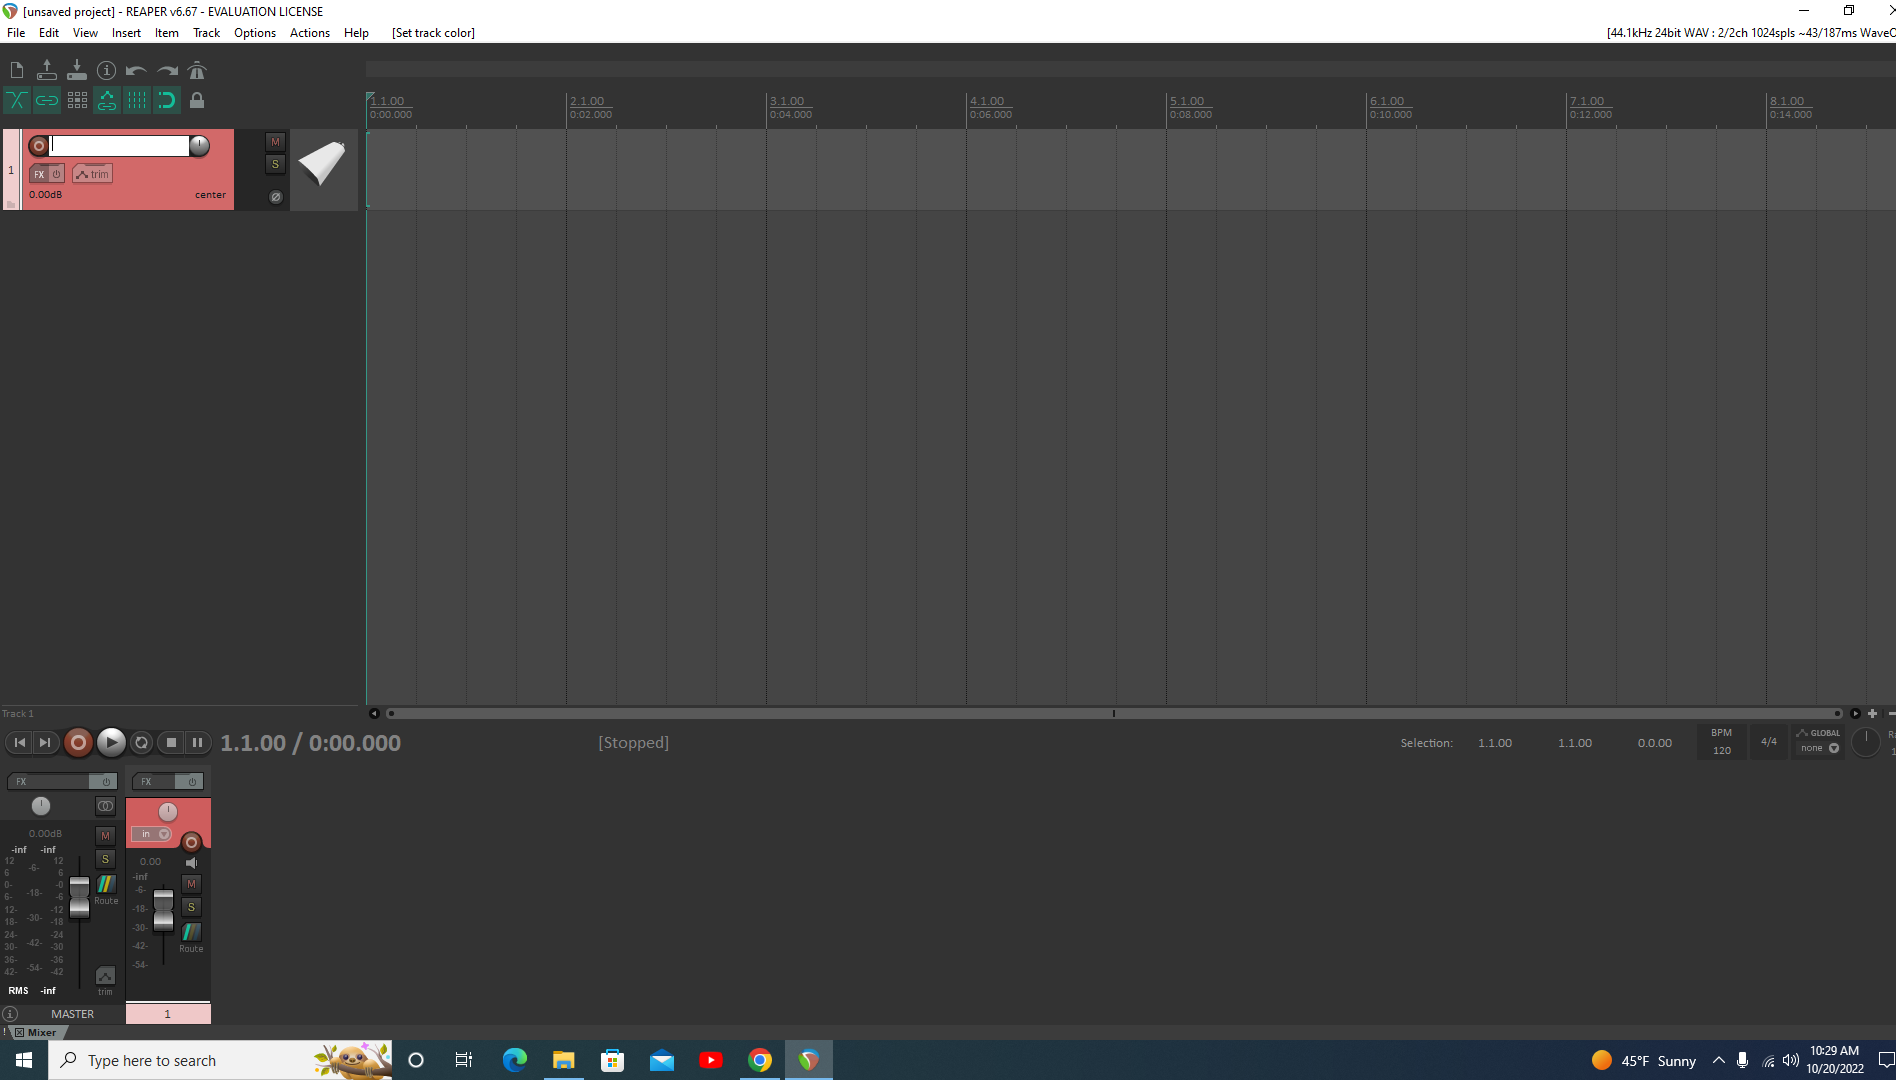
- Almost done! On your track and next to the red button (Record Arm/Disarm), double click the black text box. It should turn white and a text cursor will appear. I am going to enter "Cowbell WA-47 Cardioid."
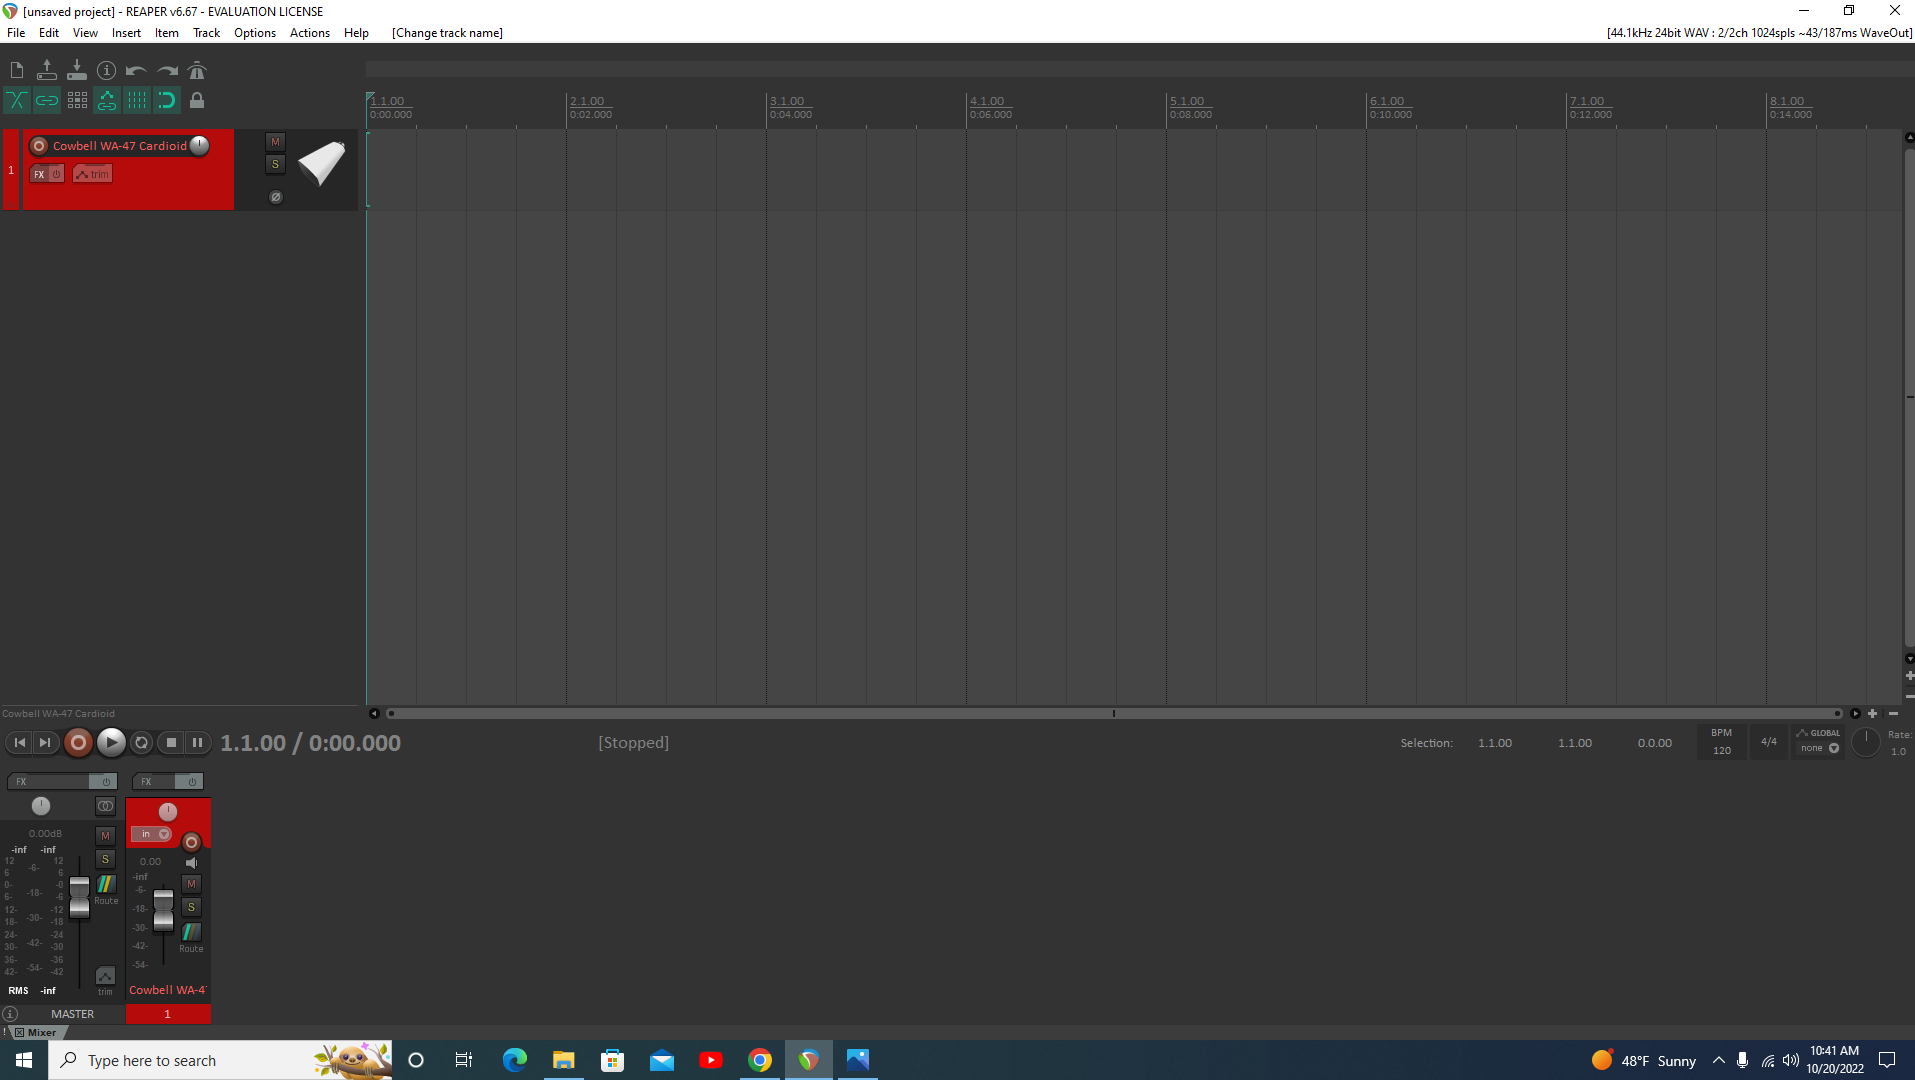
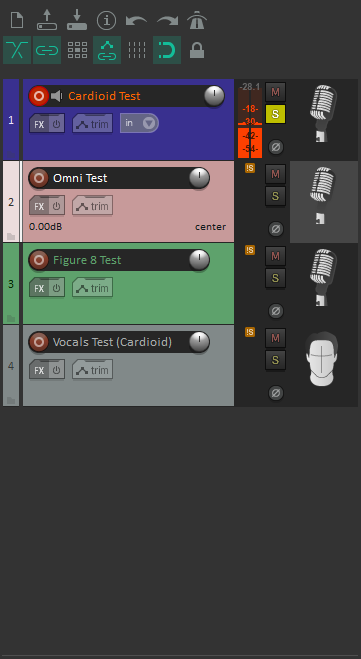
- Click on an area away from the track to deselect it. It should look similar to the image above.
- We are now moving into arming your track. You cannot capture audio unless your track is armed, otherwise it will not let you hit record.
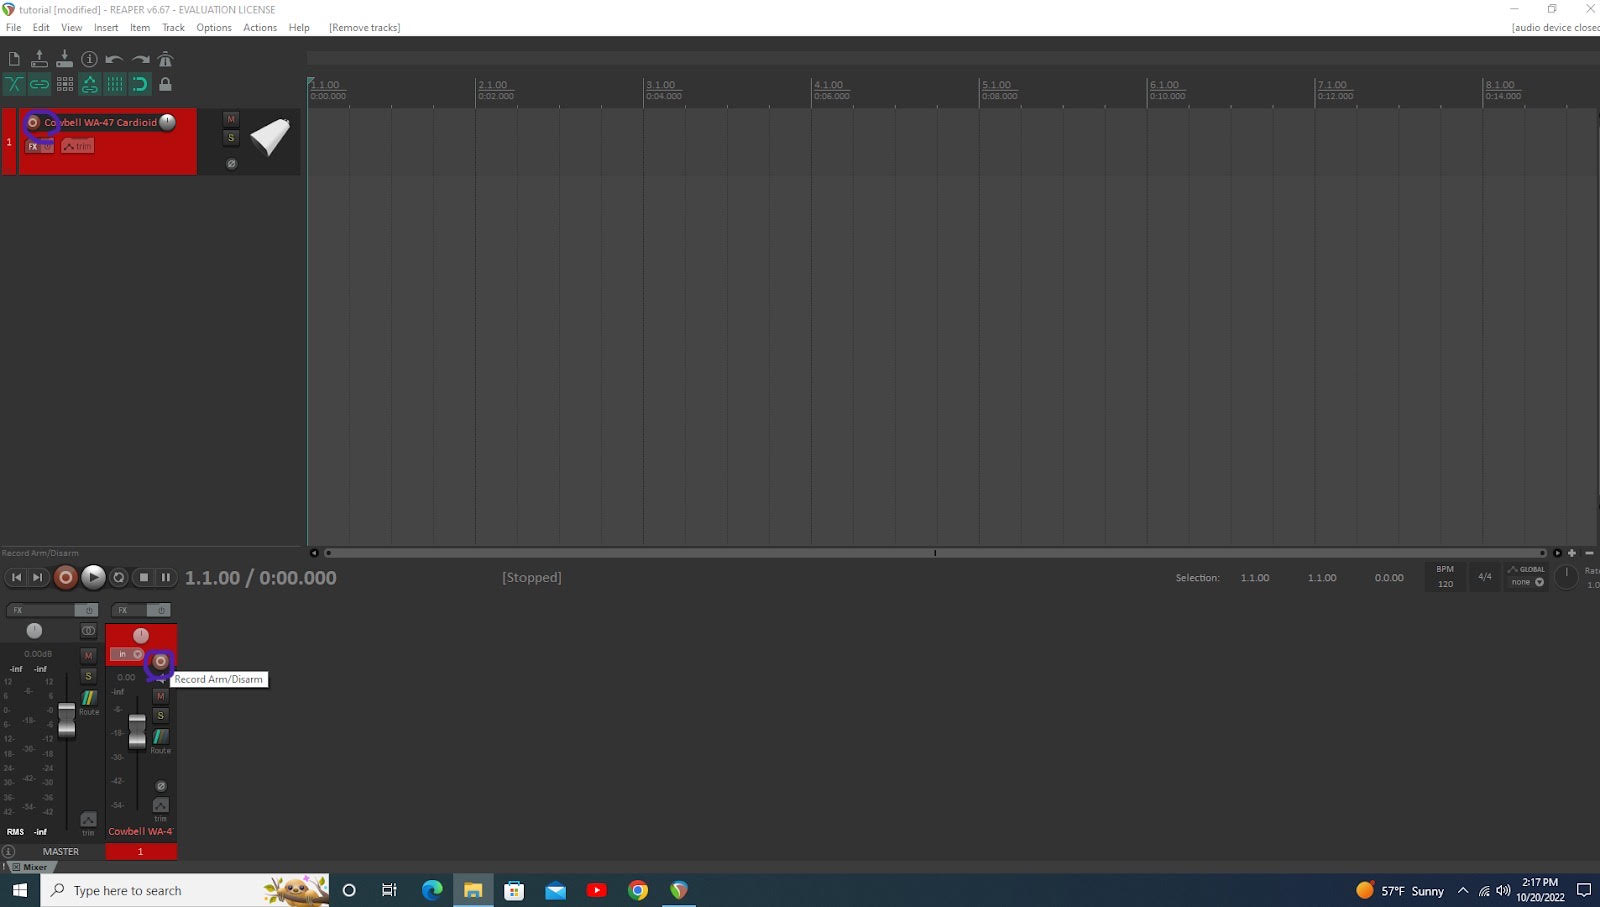
- Circled in purple is the Record Arm/Disarm button. Clicking this button sets a condition where that specific track is ready to record.
- If you are ready to record, make sure your cursor on the timeline is placed where you want the recording to start.
- This is important for when you may be doing multiple takes on a single track, otherwise you risk recording on top of captured audio! (This is why we have Ctrl + Z for undoing actions...)
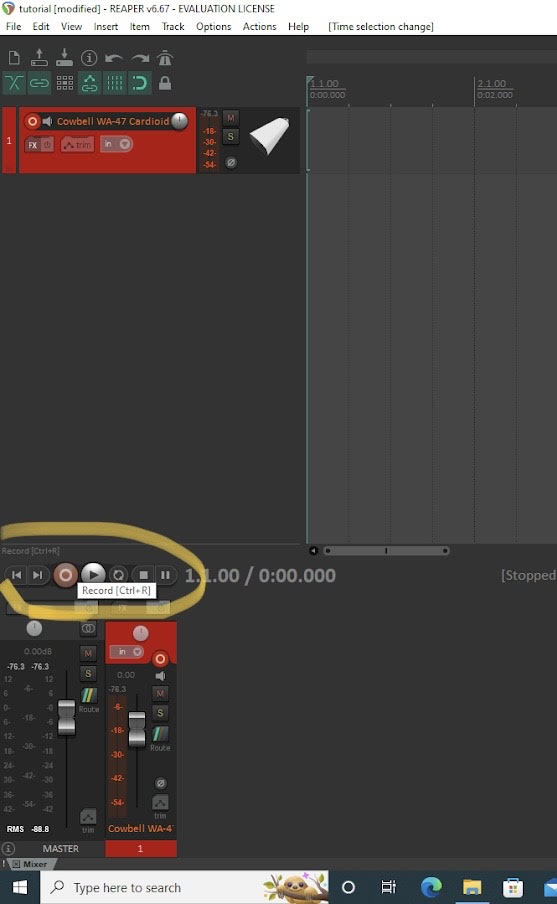
- Either click the red button in the circled area above, or use the shortcut Ctrl + R to start your recording.
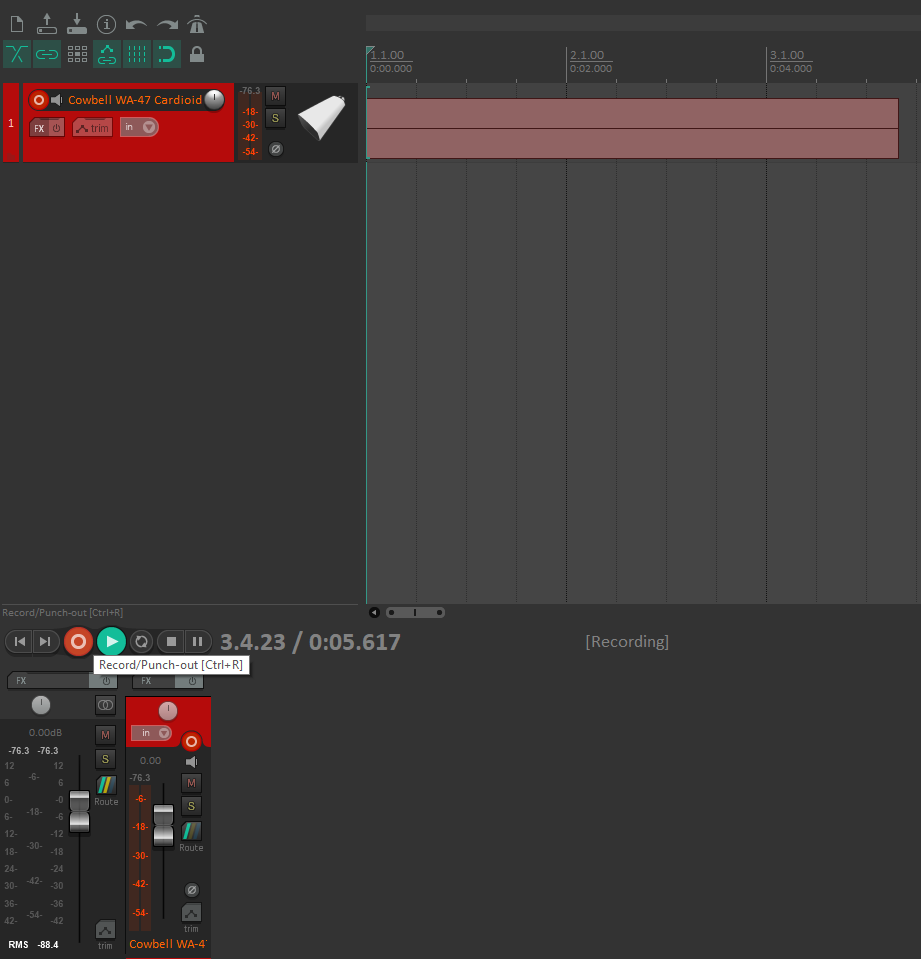
- As you are recording, you can stop or "punch-out" your recording by clicking the same red button, or using the same shortcut key (Ctrl-R).
- If everything is set up properly, you SHOULD have a nice take. Here are some things to monitor while Rando is slaying with his cowbell:

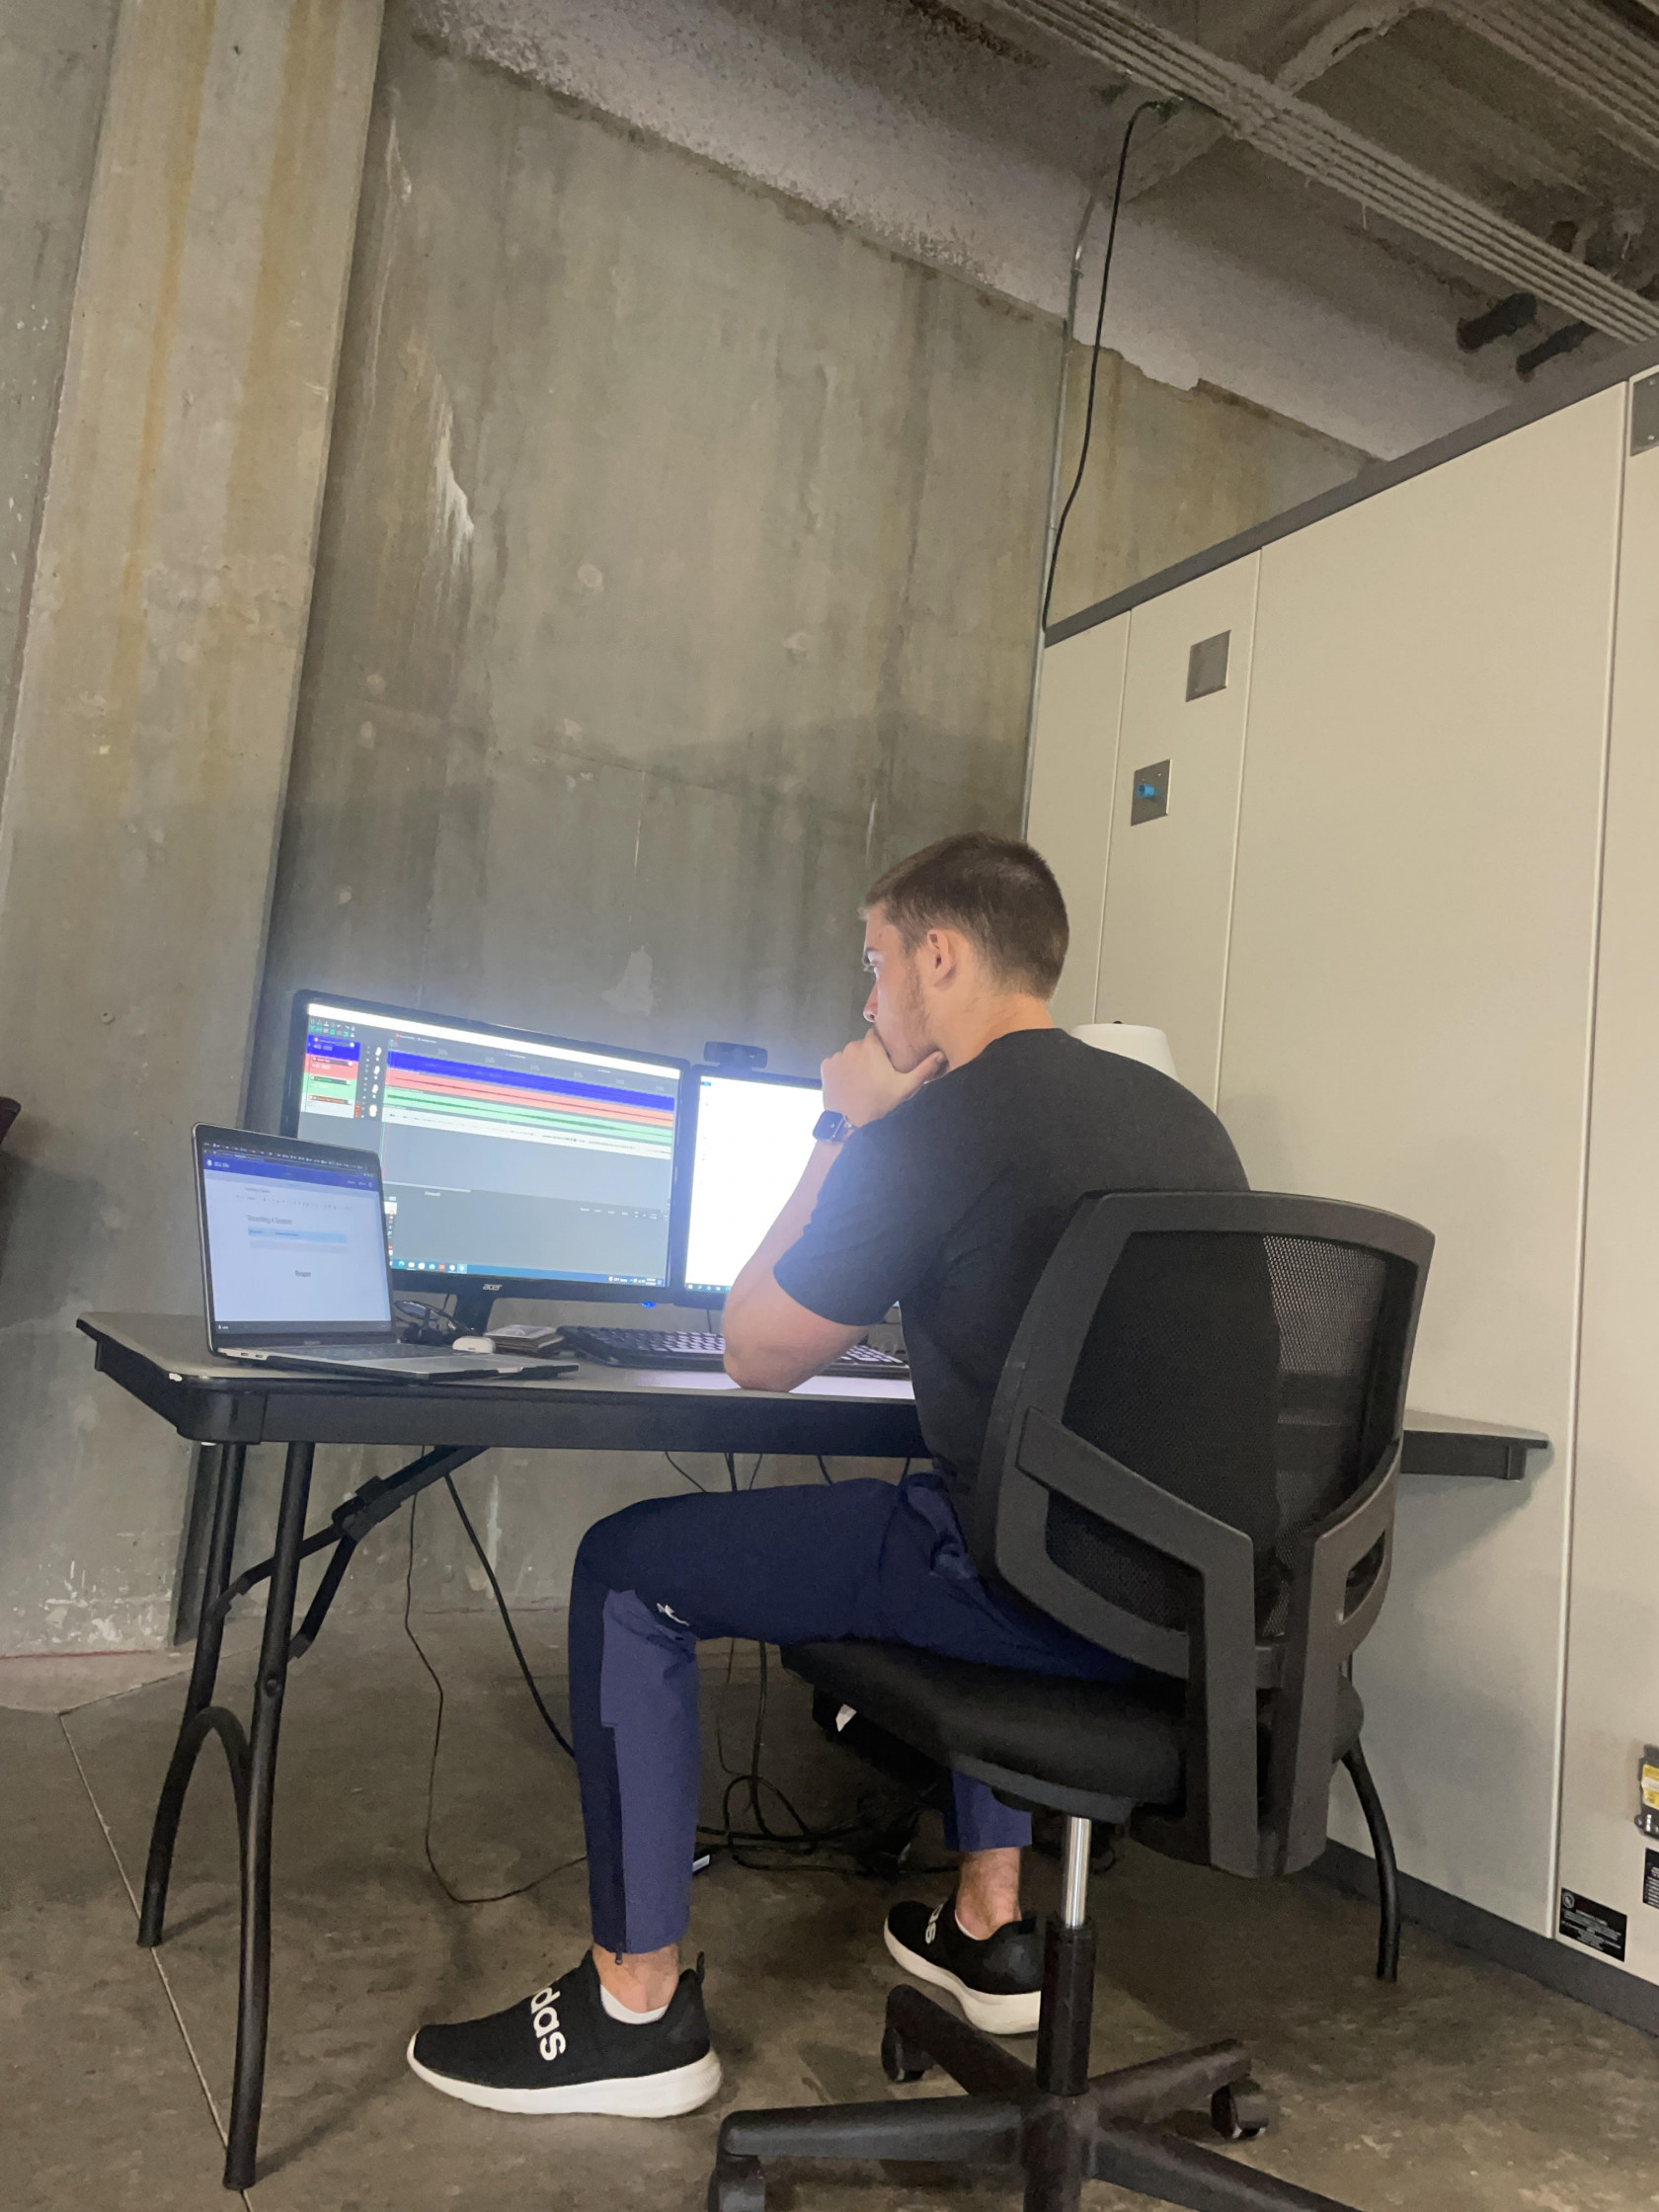
This portion assumes knowledge of equipment for the iso booth. Refer to Audio Equipment Page if you are unfamiliar with any terminology or functions pertaining to the equipment.
- Talkback System: If you are no recording alone, you will want to be using the talkback system. This is better for communication and is easy to do, once broken down.
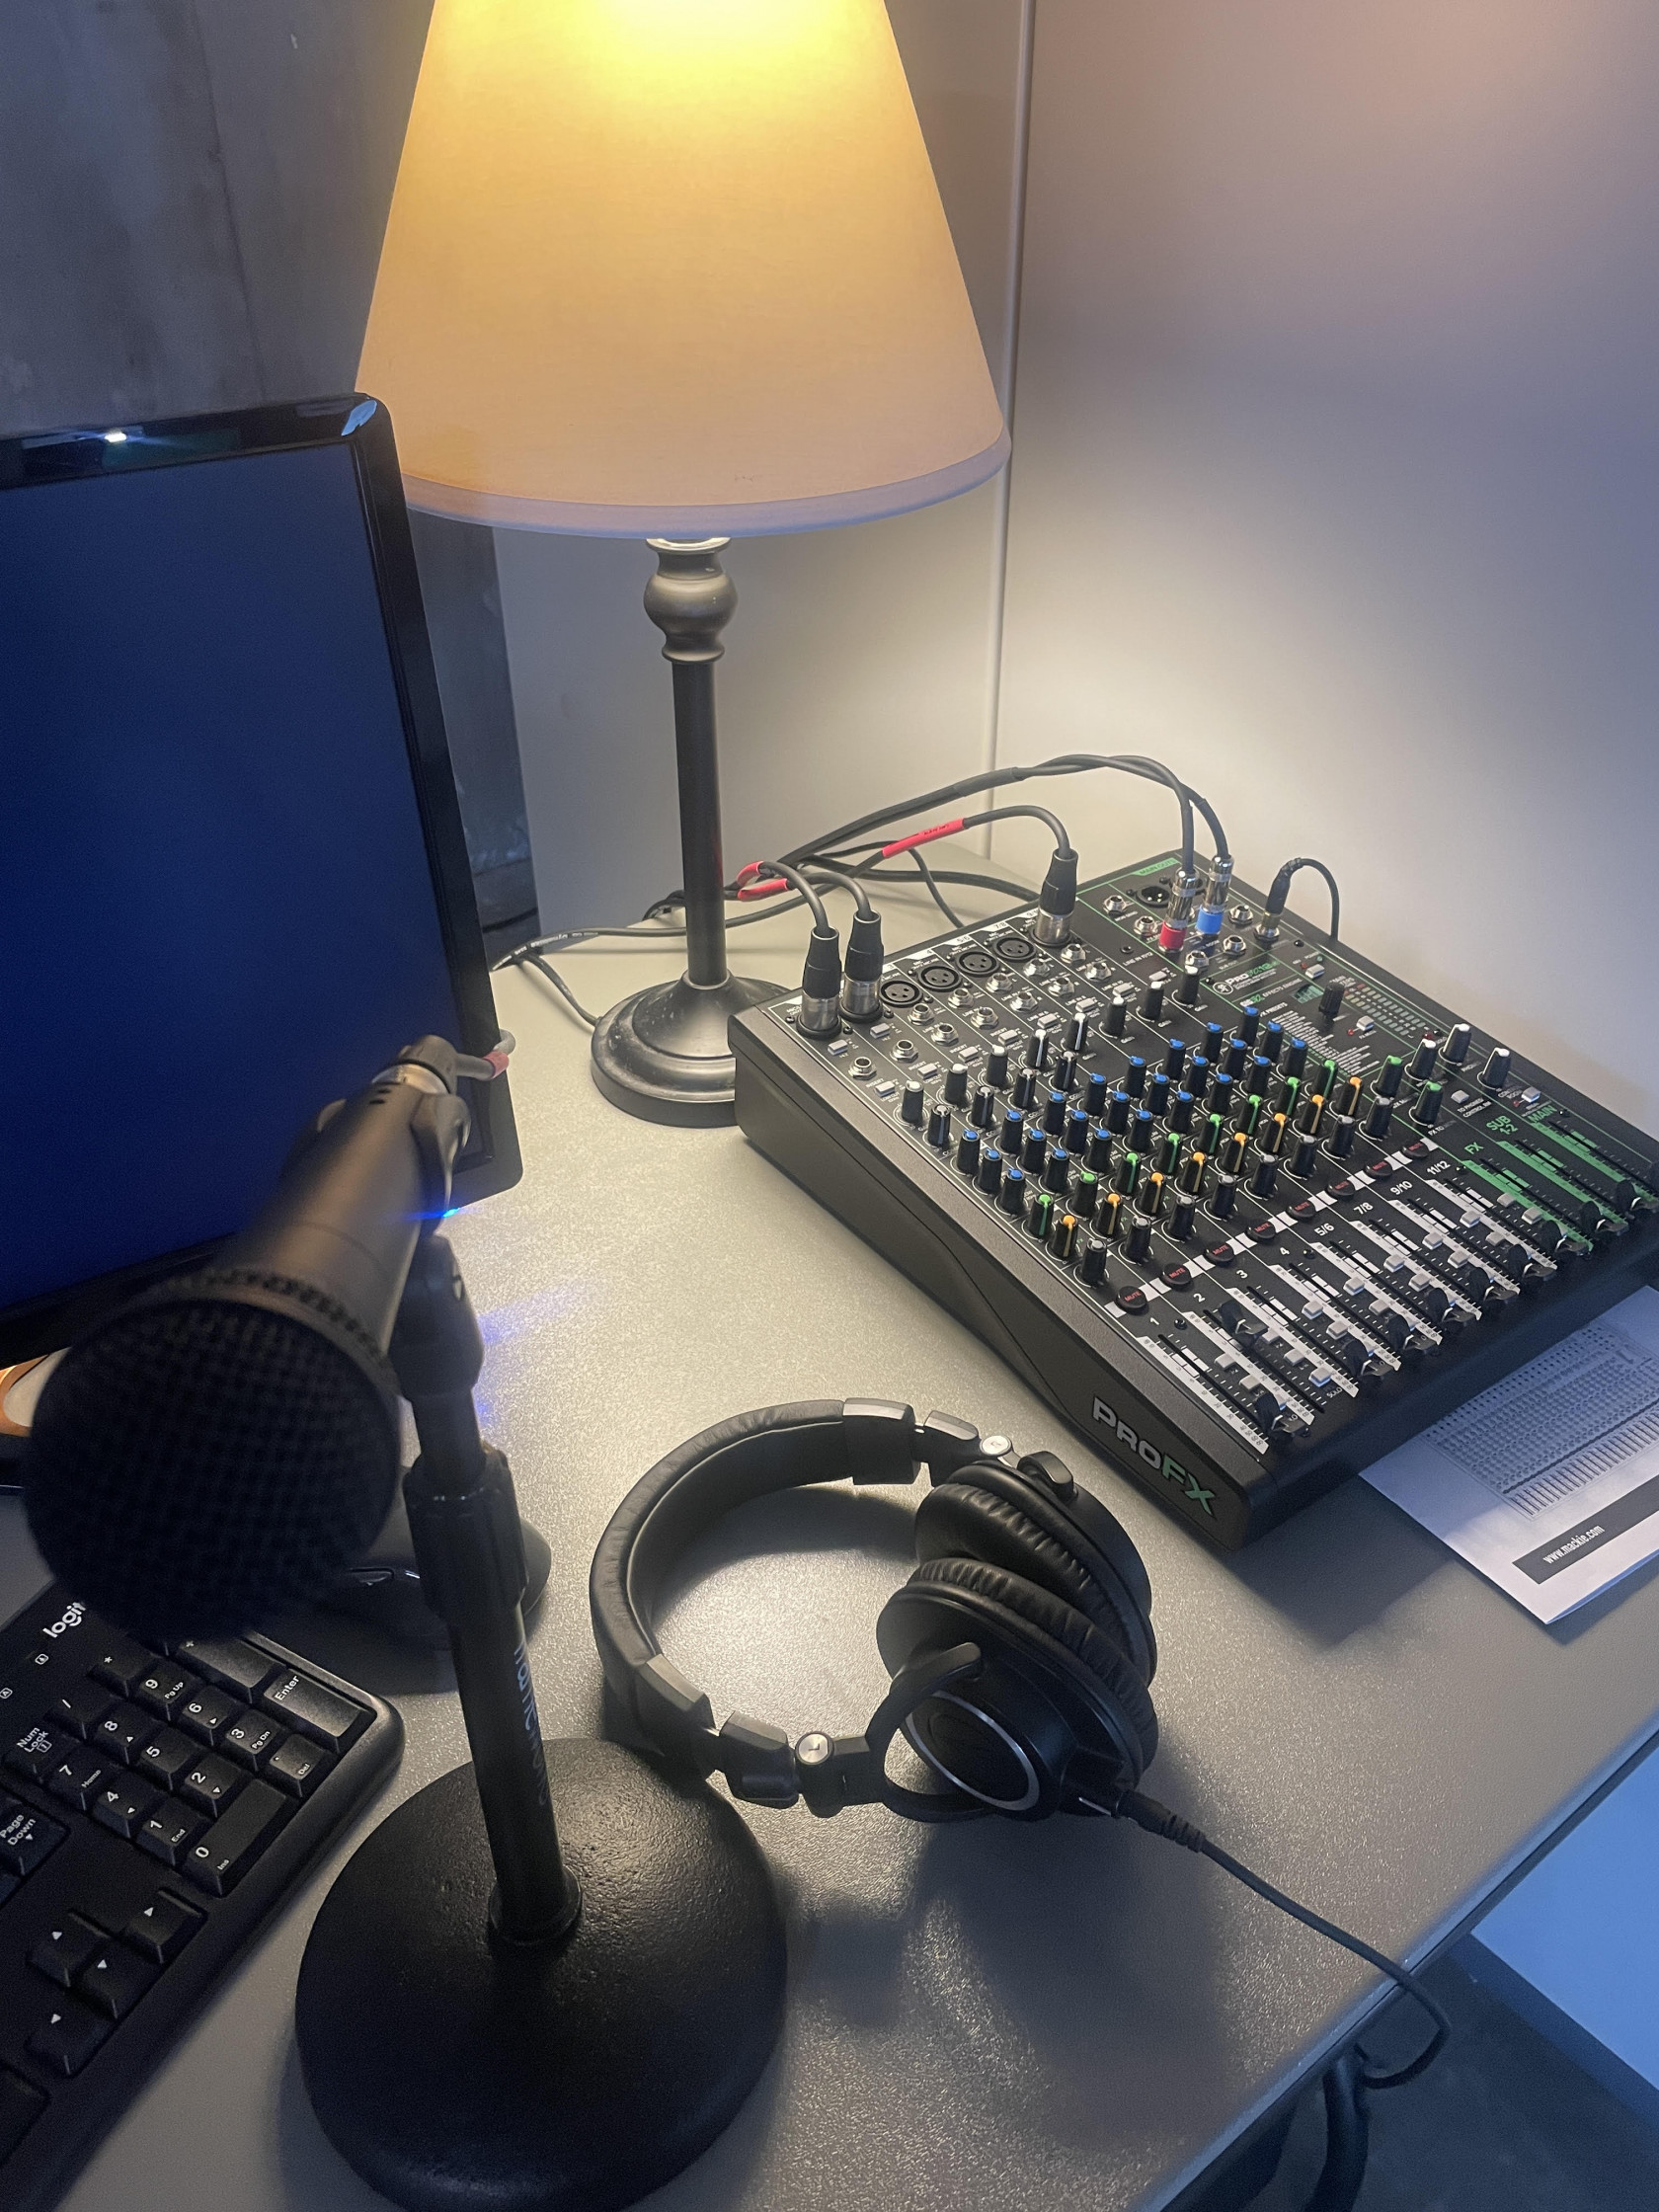
- The 1/4" jacks in the Mackie mixer run into the microamp inside the booth. On both the Mixer and the MicroAmp, a pair of headphones are connected. Currently, the audio engineer outside the booth can hear the performer's voice, so long as phantom power is on for the condenser mics, and one of the first two channels has the sliders and gain knob turnt up in order to hear and receive from a mic.
- We want our voice from the desktop mic to transmit to the performer after a recording. Lets go over how to do this using the image below.
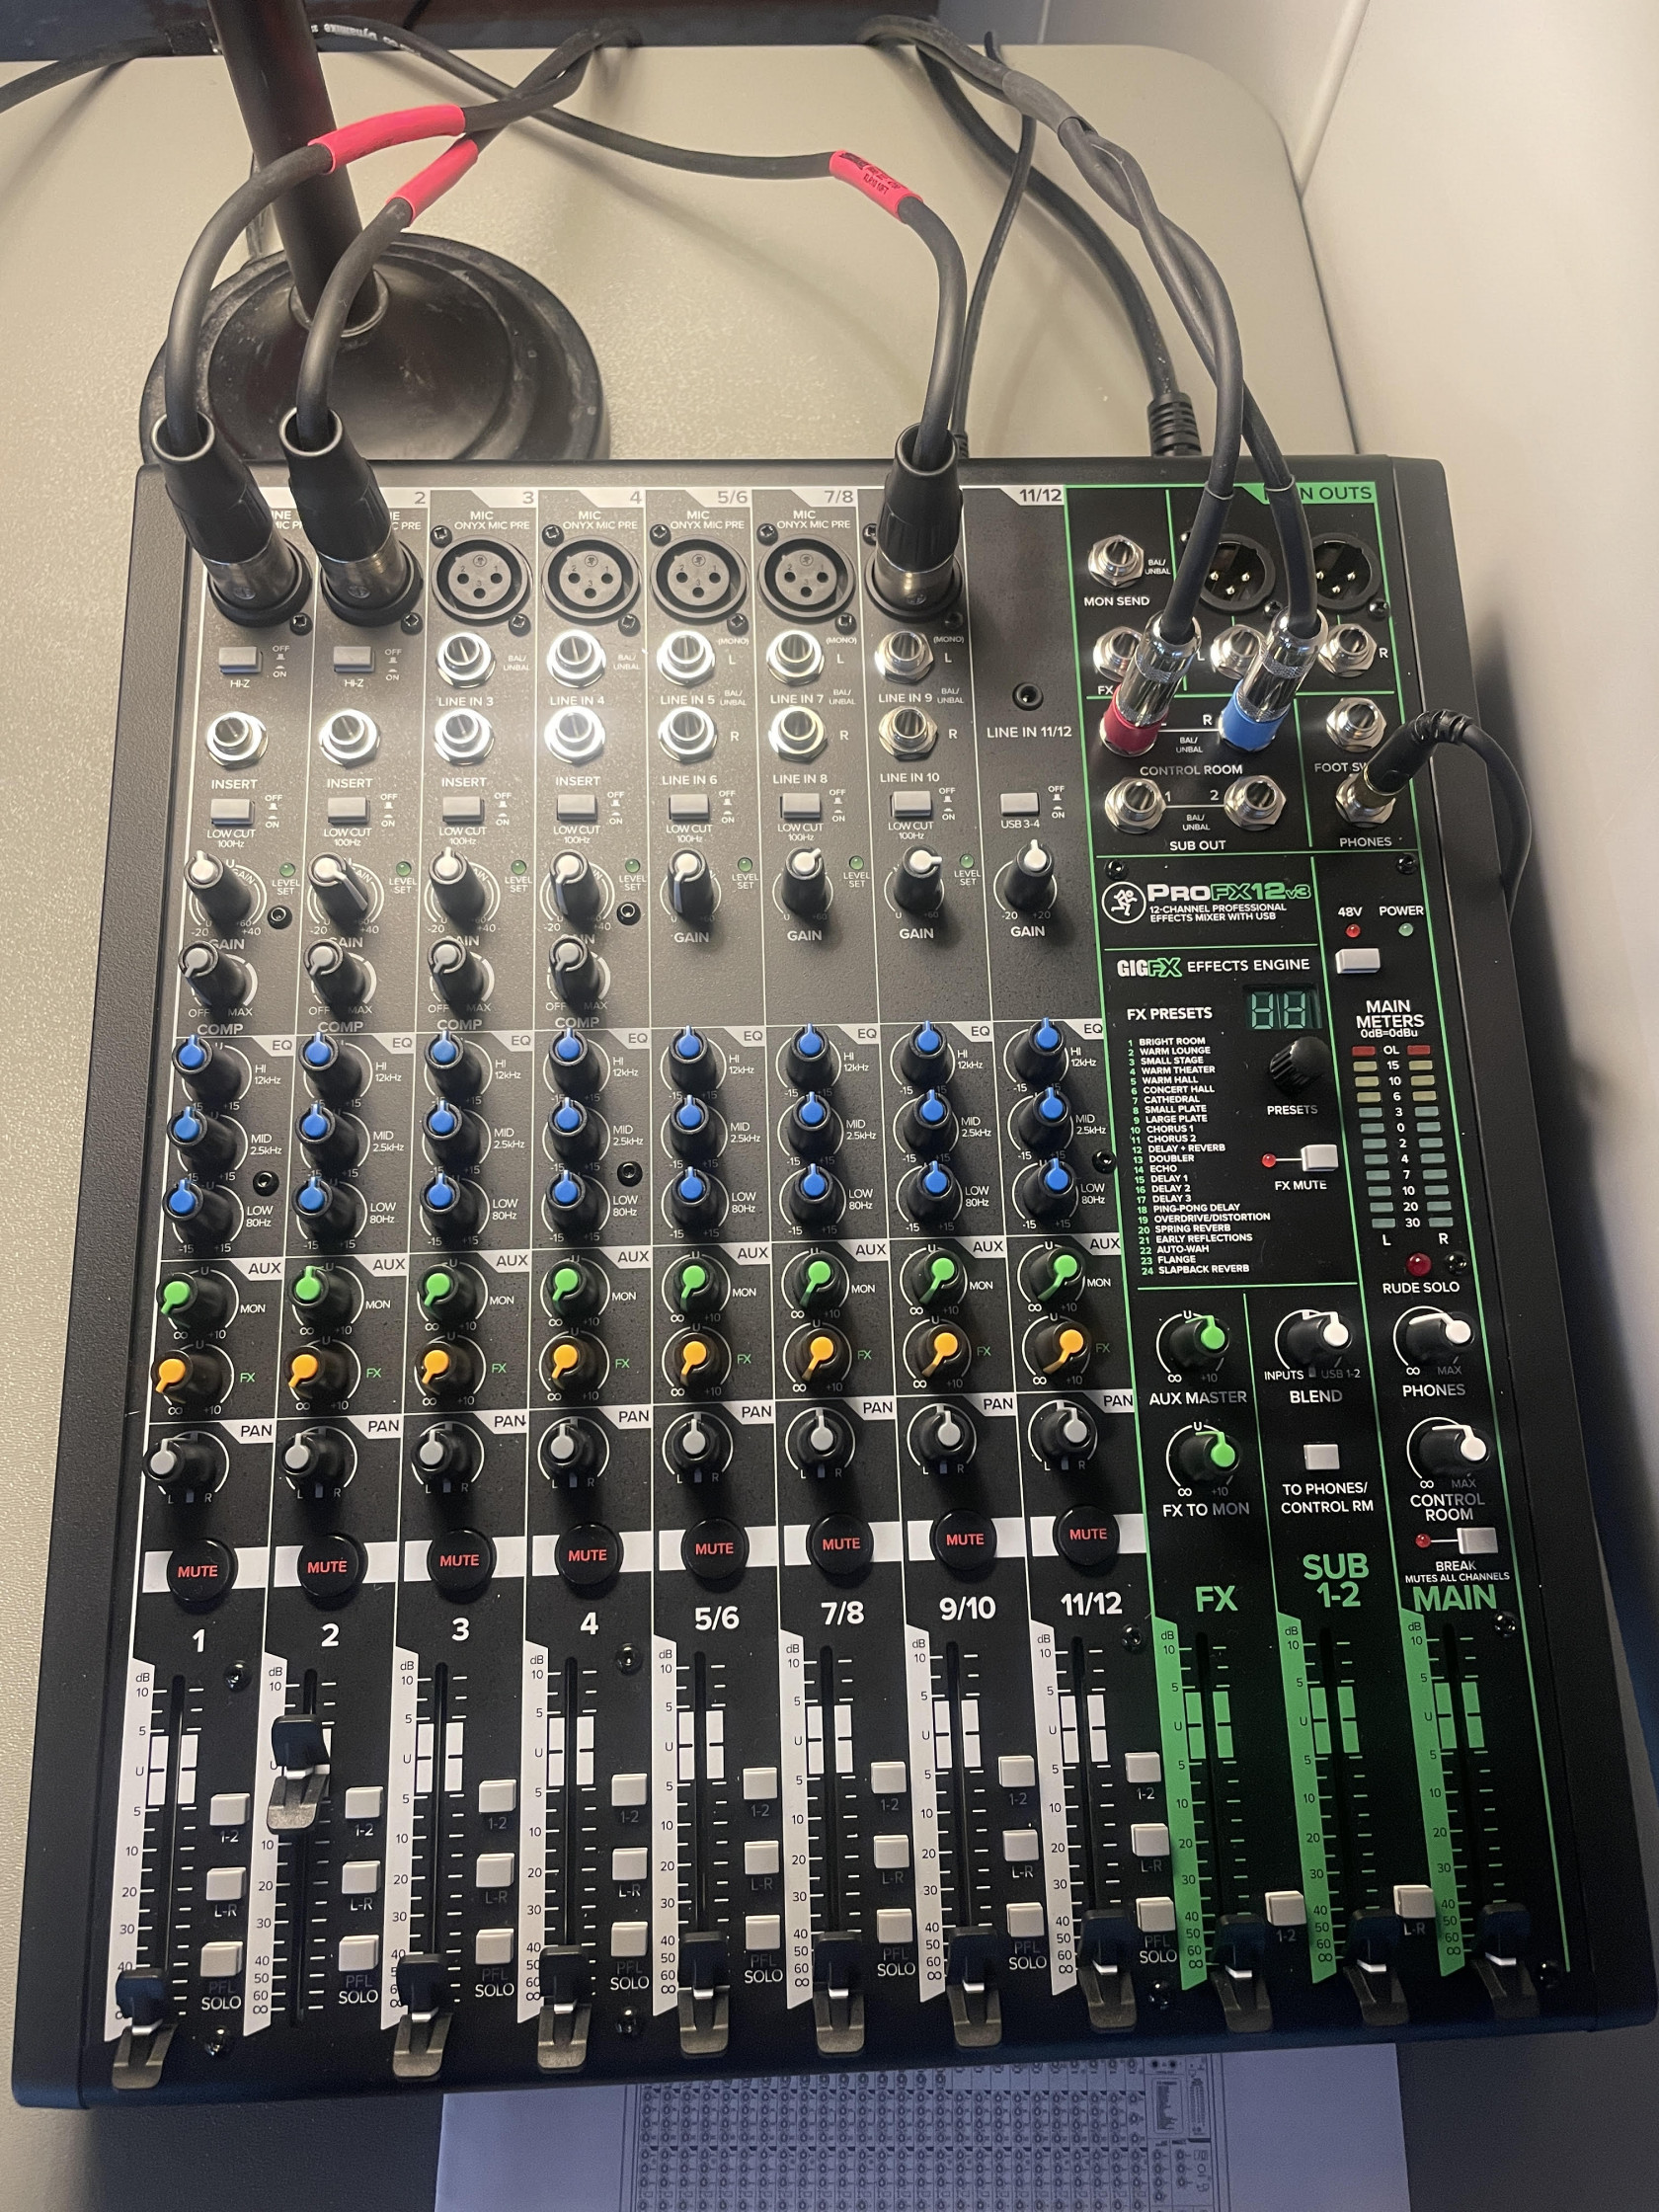
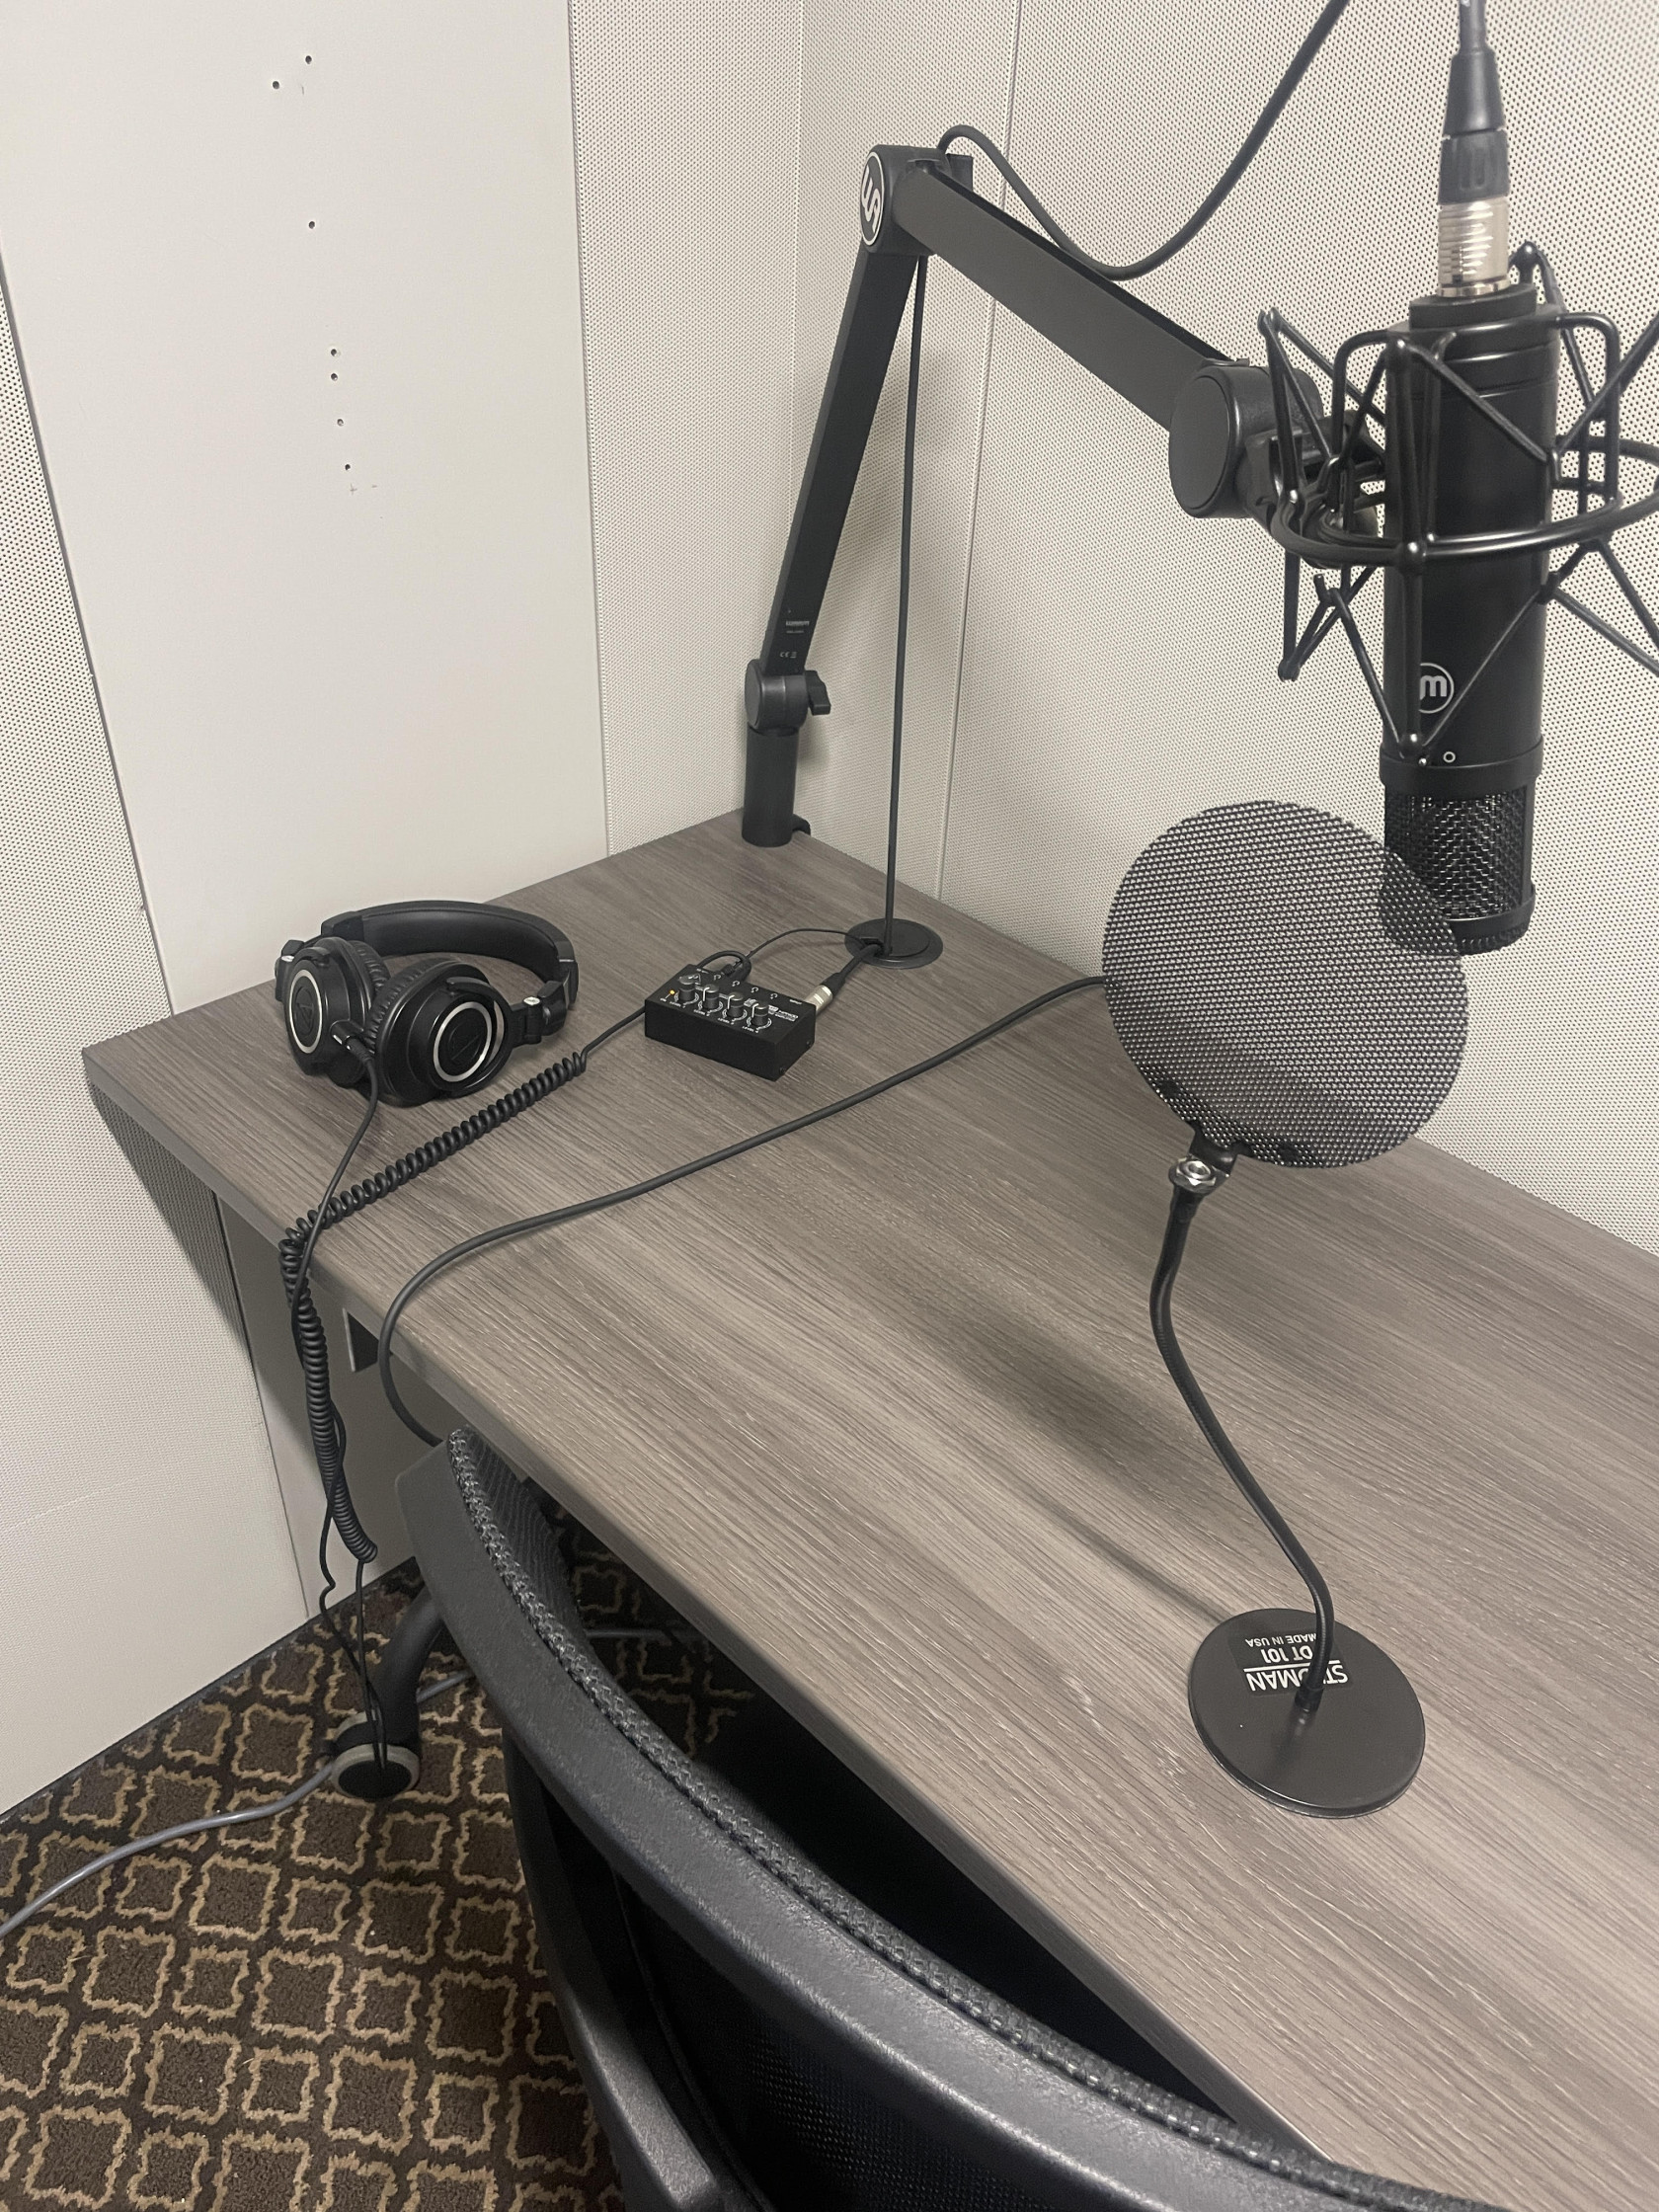
- The 1/4" jacks plug into the L/R Control Room inputs on the mixer. The single jack on the cable's other end runs into the outer wall pocket. Another 1/4" cable runs from the inner wall pocket and into the HA400 MicroAmp.
-
A pair of headphones is plugged into the jacks for both the Mixer and MicroAmp.
- Above the green channel labelled SUB 1/2 (Bottom right of the Mixer), there is a button above that says "To Phones/Control Rm" below the button. Click it and you will be sending input from both the Desktop mic and Reaper, to the performer.
- Make sure the channel slider and gain knob for the desktop mic is turnt up (Channel 9/10).
- Make sure the microamp is turnt on by being plugged in to one of the sockets beneath the table for 12V power. Also check that the gain knob for whichever channel the headphones are plugged into is turnt up.
- If the performer wants to hear their take, turn the Blend knob above the "To Phone/Control Rm" clockwise. USB 1-2 is you connection to the computer, meaning you are prioritizing the output from Reaper to send to the listener. Turning it to the left, where it says INPUTS prioritizes the mics connected to your mixer, meaning the listener will only hear your voice.
- When you are done using the talkback system, click the button to turn it off or turn down the slider for your Desktop mic all the way down. In case you do another take, you want to do either of these so that the person inside doesn't hear any interference.